If your beans are going crazy in the garden this year let me show you the best (and easiest) way to preserve them for use all year long - here is a quick tutorial on how to freeze beans!
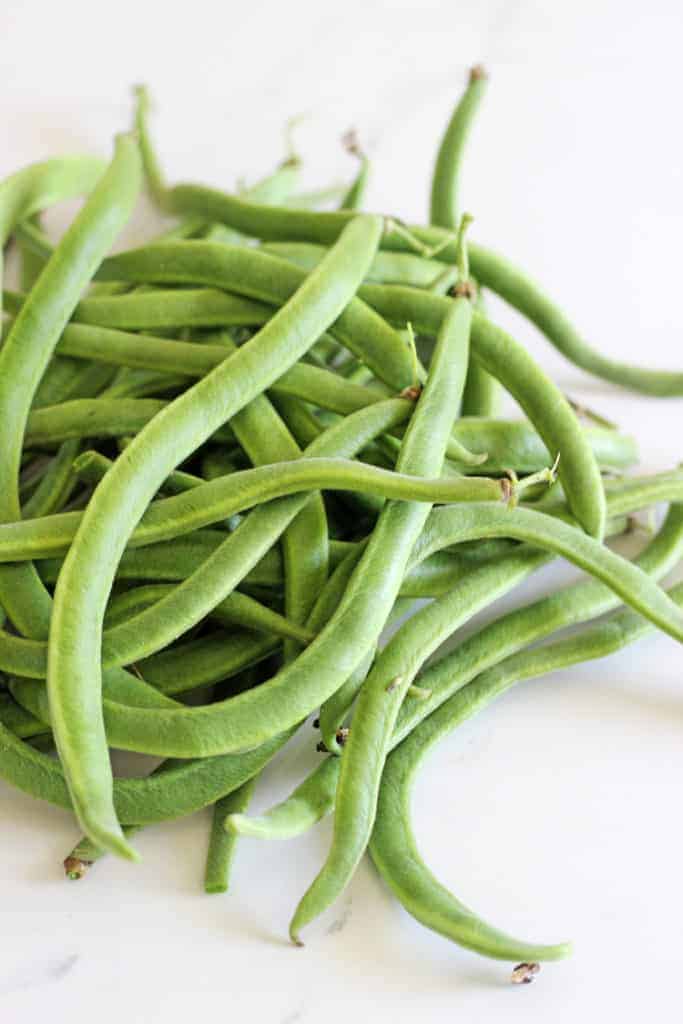
Our beans have gone CRAZY this year! I grow them every year and it seems that every other year is a great year. We grow Scarlet runner beans which are actually perennials. You grow them one year, let them die back when they're done and they grow again when it's warm enough the next spring!
So this year is year 2 for our plants and they have done better than I hoped for. Considering that I also planted 16 bush beans to ensure we had a good supply of beans all winter, we have really been drowning in them! I think at last count I have frozen 3kg of beans which I am pretty excited about and the plants are still going strong!
Tip: Runner beans can get a bad rap for being tough and stringy. Trust me, I know! The key is to pick them early. The bigger they get, the more fibrous they get and they can be very unpleasant to eat. If there are some on the plant that are looking pretty big I don't even bother - they go straight in the pig bucket. No one likes a stringy bean!
As much as I love bottling fruit and vegetables, freezing is just SO easy! And if you have the freezer space, it makes a lot of sense.
Click here to Pin this post to your food preservation board on Pinterest to save it for later.
I know some people prefer to skip the blanching step which is where you plunge the beans into boiling water for 2 minutes. This partially cooks them. I have done it both ways, and I do prefer to take this step. I find it helps the beans to retain their crunch and fresh flavour. It only takes a few minutes and is well worth it in my opinion!
Here is how I freeze my beans
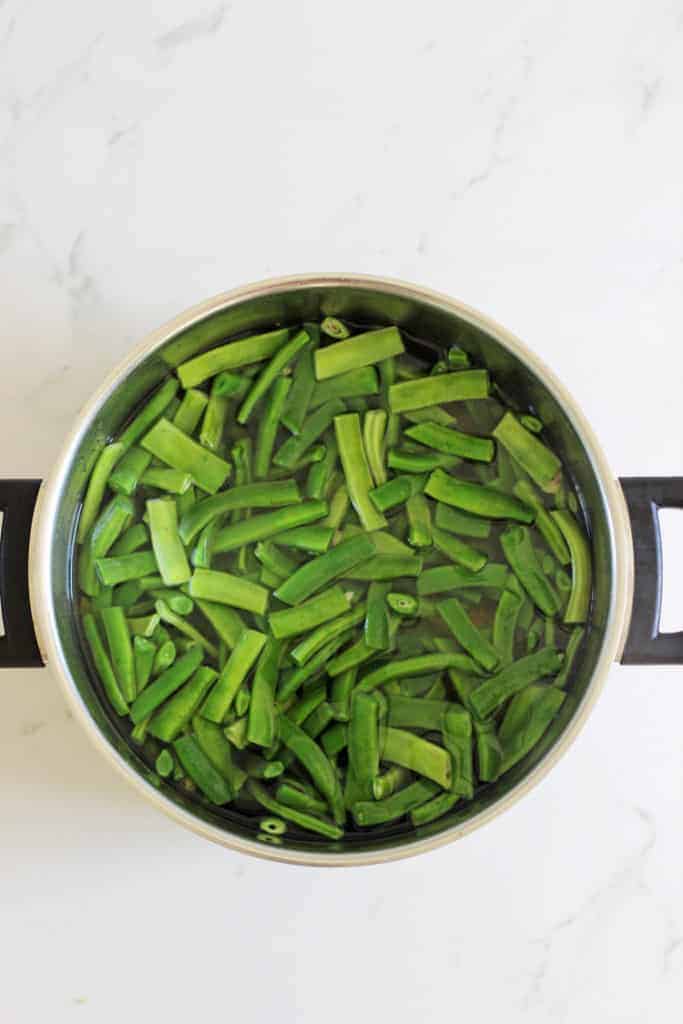
Step 1: Bring a large pot of water to the boil
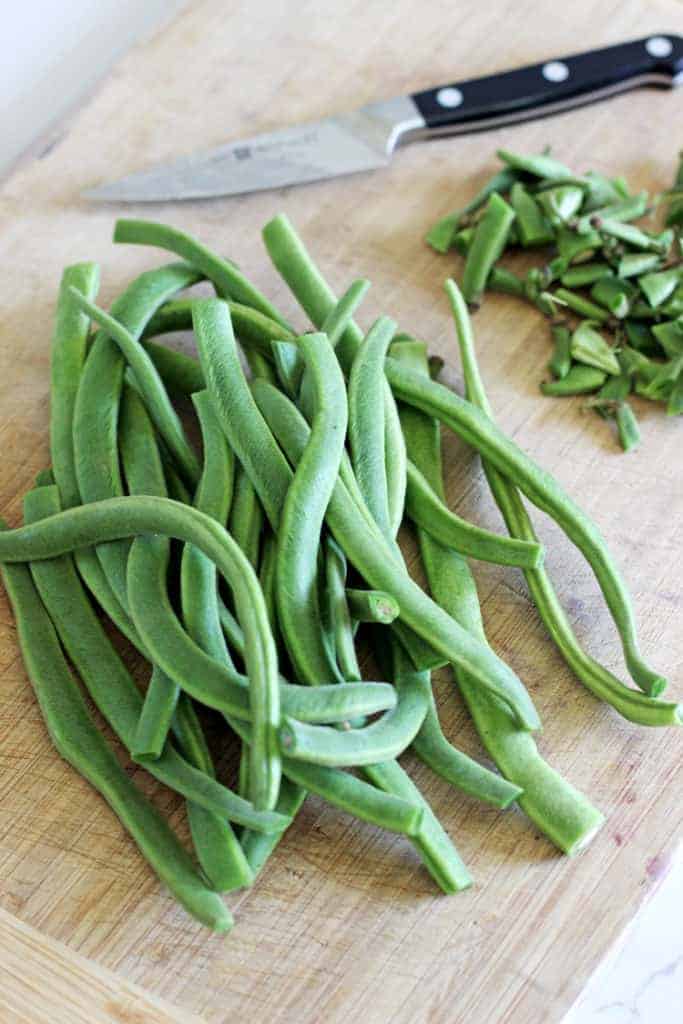
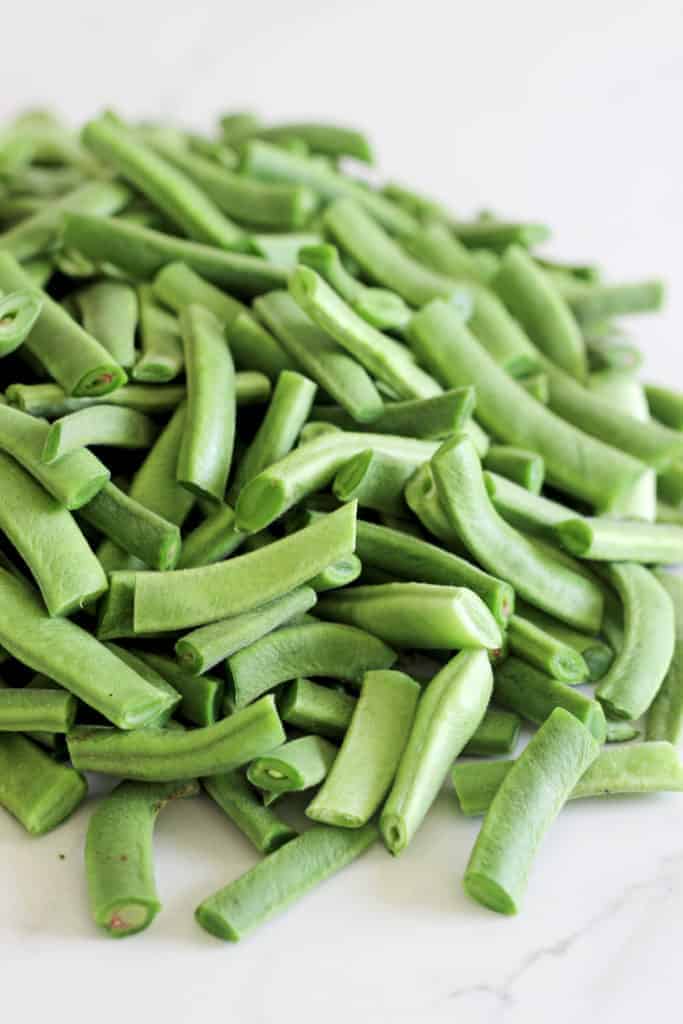
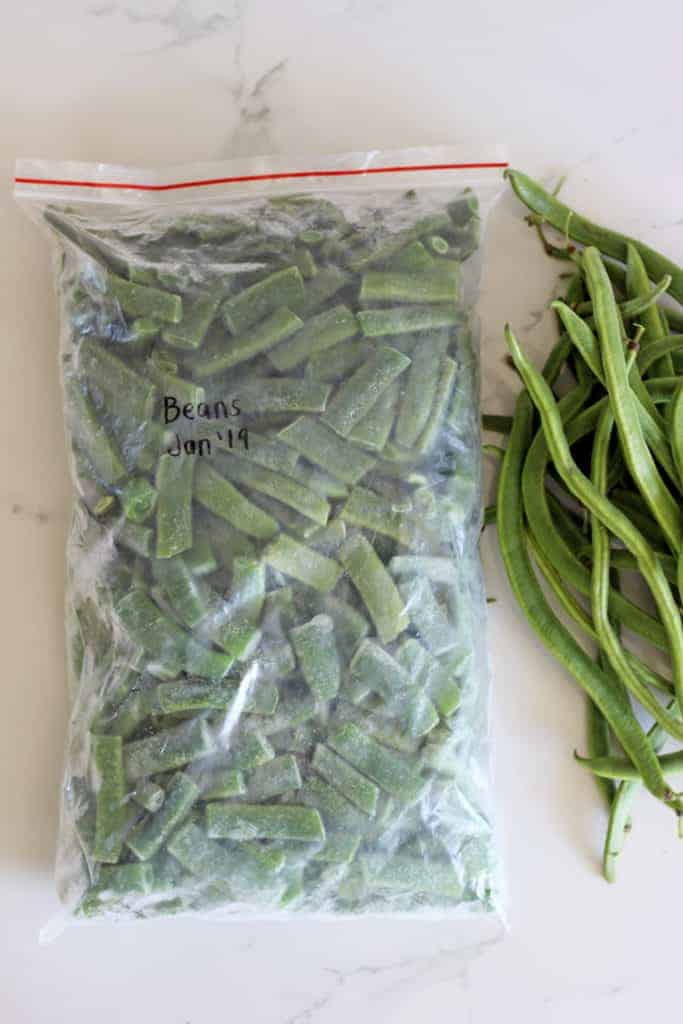
Step 2: Top and tail the beans (cut off both ends) and then slice them into approximately 3cm pieces
Step 3: Pour all beans into the boiling water and leave them in for 2 minutes - this is called blanching them and just slightly cooks them. When 2 minutes is up, drain and let the beans cool. You can put them in an ice bath to stop the cooking process but I find letting them cool naturally is perfect.
Step 4: Once they are completely dry, lay them in a single layer on rimmed baking sheet lined with baking paper or a silicone liner. This ensures that they don't freeze in one big clump of beans and are free flowing. Freeze overnight.
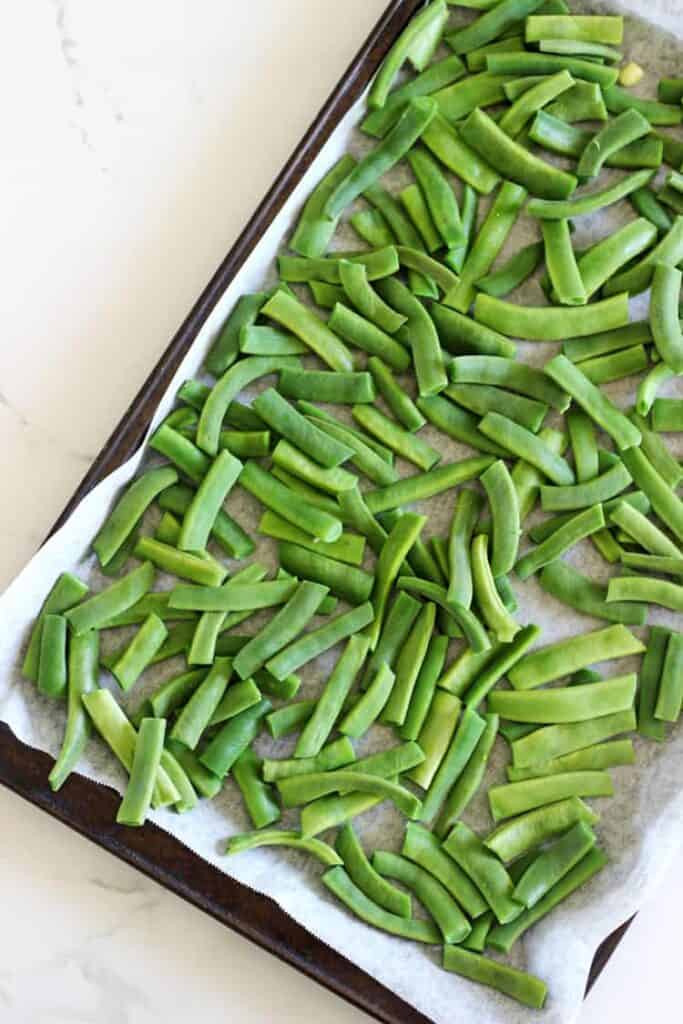
Step 5: Once frozen, transfer from the tray to a snaplock bag labeled with what they are and the date.
These beans keep well in the freezer for the whole year - just in time for the next harvest!
Recipes to serve green beans with:
- Sweet & Sour Pork
- Sausage & Veggie Sheet Pan Dinner
- Parmesan Pork Chops
- Herb Lamb Chops
- Easy Baked Mac & Cheese
Made this recipe? Tag me on Instagram @thekiwicountrygirl and hashtag it #thekiwicountrygirl.

How to Freeze Tomatoes - 3 methods
Ingredients
- Tomatoes
Instructions
Method 1: Peeling and chopping tomatoes before freezing
- Step 1: Wash tomatoes and remove stalks- fill a clean sink or bowl with water and give the tomatoes a quick wash to remove any bugs, leaves or dirt.Step 2: Peel tomatoes - there are 2 ways you can peel your tomatoes - I find grilling the tomatoes to be much quicker, easier and less fussy - you can do a lot more in one go!Grill (my preferred method) - line a large rimmed oven tray with baking paper or a silicone liner. Slice the tomatoes in half and place skin side up on the tray. Place under the pre heated grill (as hot as it can go) for a few minutes, keeping a close eye on them. Once the skins start to blister, remove the tray from the oven. Once they are cool enough to handle, slip the skins off and discard.Blanch and peel - Bring a large pot of water to the boil and fill the clean sink with cold water and ice. Score a cross in the bottom of the tomatoes and place several in the boiling water for about 30 seconds to 1 minute until the skins start to peel back. Use a slotted spoon to transfer the tomatoes to the ice water and once they are cool enough to handle, remove the skins - they should slip right off.Step 3: Roughly chop tomatoes and weigh into snap lock freezer bags or freezer proof containers in any quantity you prefer - I usually do 400 grams as that is the equivalent of a tin of chopped tomatoes. If I am using a snap lock bag I like to fill with tomatoes, squeeze out any excess air and then spread the tomatoes flat to fill the bag so that it freezes flat. This makes them easier to stack in the freezer and they also thaw out much faster.Label the bag or container with the contents, date and weight of tomatoes and freeze.
Method 2: Chopping tomatoes before freezing
- Step 1: Wash tomatoes and remove stalks- fill a clean sink or bowl with water and give the tomatoes a quick wash to remove any bugs, leaves or dirt.Step 2: Roughly chop tomatoes and weigh into snaplock freezer bags or freezer proof containers in any quantity you prefer - I usually do 400 grams as that is the equivalent of a tin of chopped tomatoes. If I am using a snap lock bag I like to fill with tomatoes, squeeze out any excess air and then spread the tomatoes flat to fill the bag so that it freezes flat. This makes them easier to stack in the freezer and they also thaw out much faster.Label the bag or container with the contents, date and weight of tomatoes.
Method 3: Freezing tomatoes whole
- Step 1: Wash tomatoes and remove stalks- fill a clean sink or bowl with water and give the tomatoes a quick wash to remove any bugs, leaves or dirt.Step 2: Pack tomatoes directly into snap lock freezer bags and freeze. The tomatoes will not stick together so will naturally freeze free flow (individually) making it easy to remove as many as you need.Label the bag or container with the contents, date and weight of tomatoes.
If you tried and loved this recipe, please leave a comment and a rating below!

Emily says
Hey Laura, the top half of this is detailing how to freeze beans but the actual recipe is freezing tomatoes? I think you might have the wrong one linked 😊
SHEILA BADOCK says
Thank you for this...expatriot!!!
Chrissie Heinrich says
We have had a bumper cropp of
Snake Beans this year 2021
& your method of blanching and freezing them has saved them for our Winter meals!
A big thanks!!
Candice says
What happens if you freeze them without blanching?
Laura says
Hi Candice. Nothing happens, I just find that they keep their colour and flavour and freeze better being blanched. It also has the bonus of stopping any enzymes that could lead to spoilage. Laura