A simple to follow tutorial for how to make your own bottled gherkins! Make the most of that summer harvest and enjoy homemade dill pickles all year round!
Update January 2024: I now exclusively use the water bath method for canning/bottling everything as an extra layer of food safety. I have never had any problems bottling them this way but now prefer the water bath method in terms of ease and having a higher success rate with jars sealing. To water bath these pickles, I leave ½ inch headspace at the top of the jar before placing the lid on and processing in a water bath canner for 5 minutes. Laura
In my experience, there is no fence sitting in the gherkin debate. You either love them or hate them. While Josh falls very firmly into the haters category I am a 'can't get enough - eat them whole out of the jar - put them with everything' - true gherkin lover! So of course when I found out I could grow them and pickle my own it had to be done.
A couple of years ago I tried. I bought 1 gherkin plant and planted it in a spot that just happened to miss the part of the garden that was watered. I ended up with a very sad looking plant and about 3 gherkins to show for my efforts. Fail.
This year I planned ahead. I planted 8 seeds, reserved a spot up a trellis smack bang in the middle of our big vege garden and ended up with a gherkin forest and kilos of gherkins from 8 epic plants!
I spent ages on the internet trying to find a recipe to pickle gherkins and in the end gave up. They had long lists of ingredients and some of them even said to brine the gherkins for 7 days. 7 DAYS!! I don't know about you but when I'm pickling stuff I don't have 7 days to wait. I also don't have the bench space to leave a tub of brining pickles sitting around for 7 days. So I made up a recipe. I still brined (is that even a word) the gherkins, but only for a few hours. Much more like it!
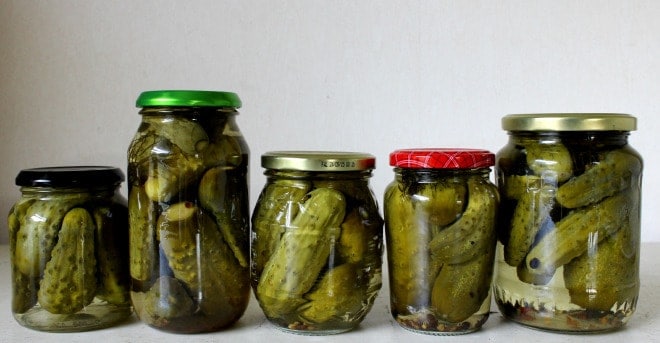
I made a couple of different batches of gherkins as I didn't know how they would turn out. In some I added pickling spice and some I left plain. I wasn't sure about the flavour of the pickling spice to begin with, but it definitely grew on me and after eating some of the plain gherkins, I decided that I prefered the ones with the spice - they are a little different than the ones you buy but I think the spice added something special.
It's a bit of a long process so if you know what you're doing feel free to skip to the recipe, otherwise here are the step-by-step instructions.
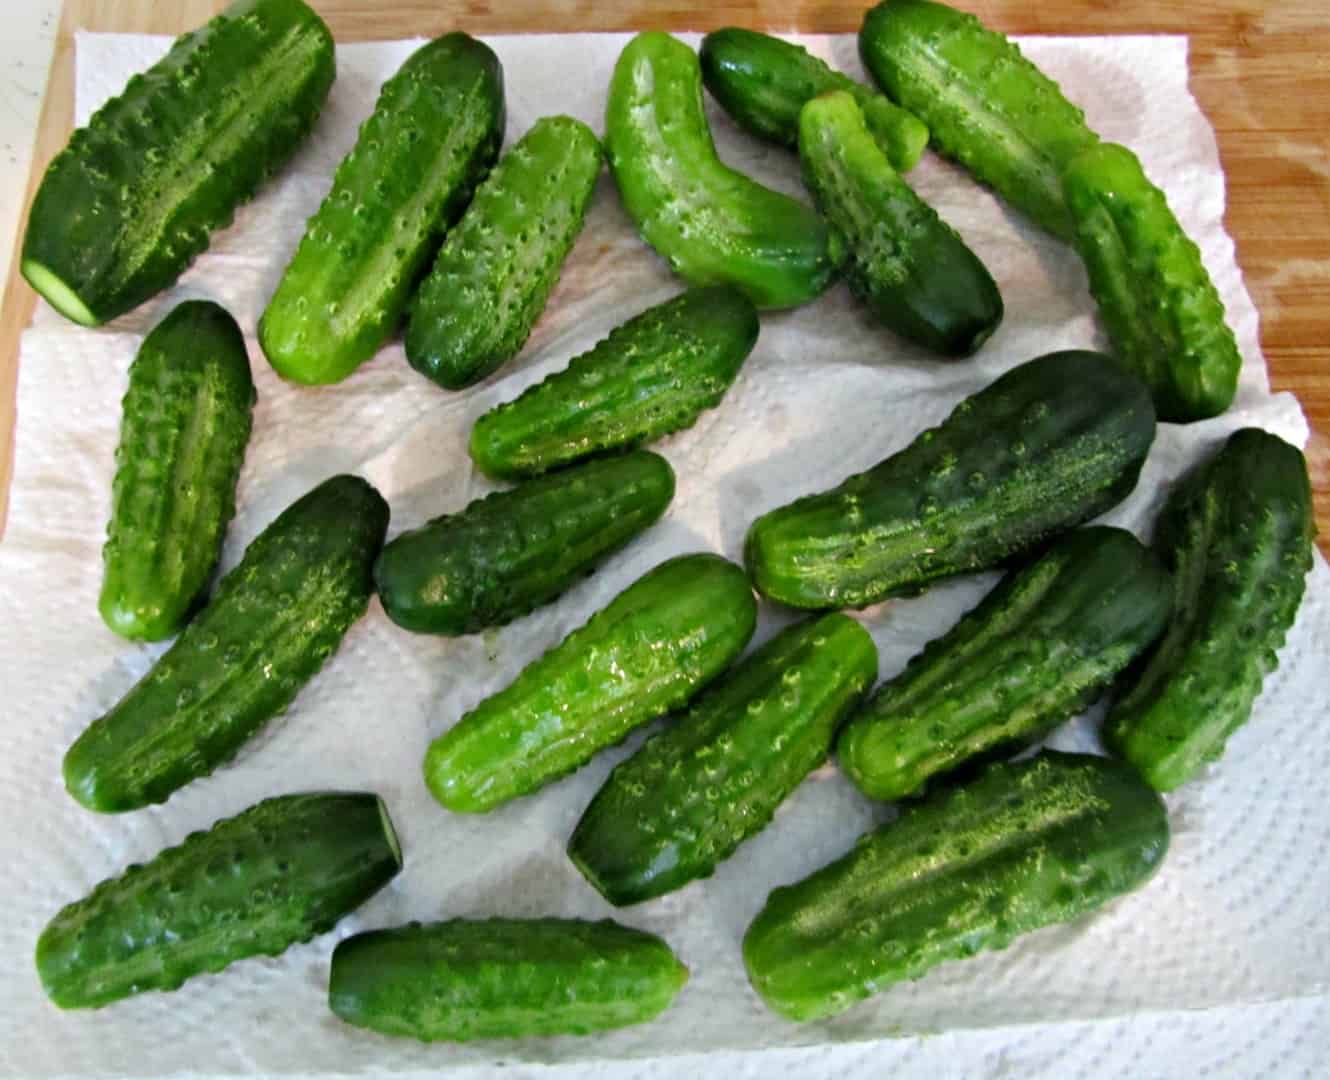
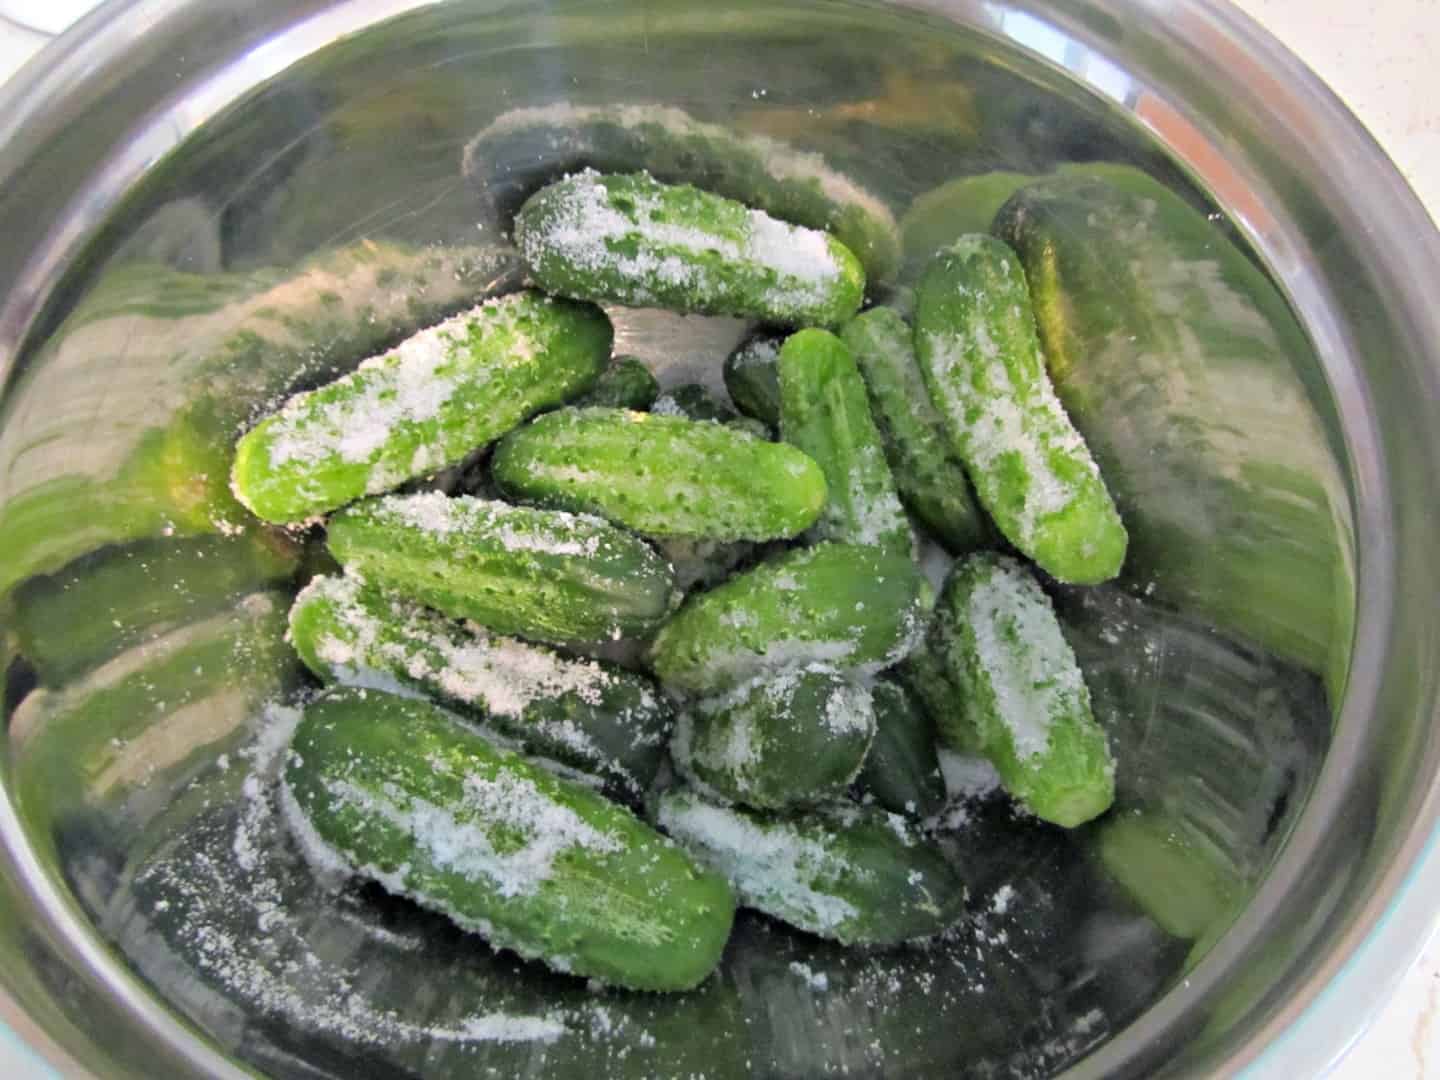
Wash the gherkins, rub off the spiky bits and pat them dry with a paper towel. Trim the gherkins at both ends, put in a clean bowl, sprinkle them with salt (not iodised) and store in a cool place until the salt has liquidized.
When you're just about ready to go, make up your bottling liquid. Just add water and vinegar to a large pot and bring it to the boil.
Rinse the gherkins with boiling water, drain and then rinse again.
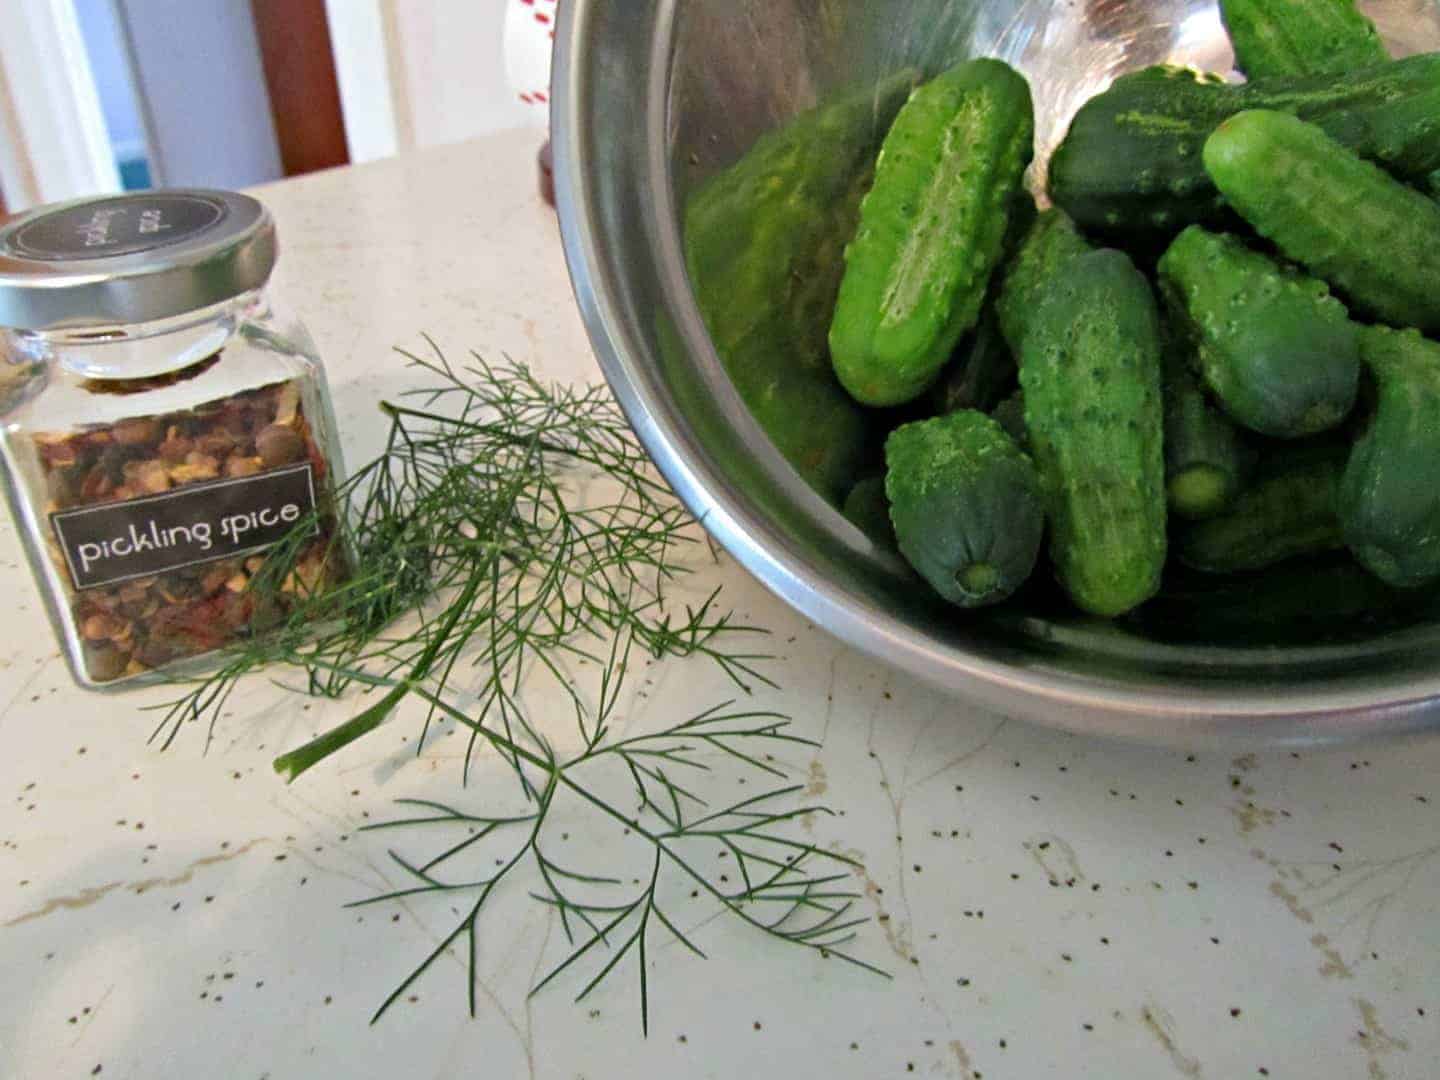
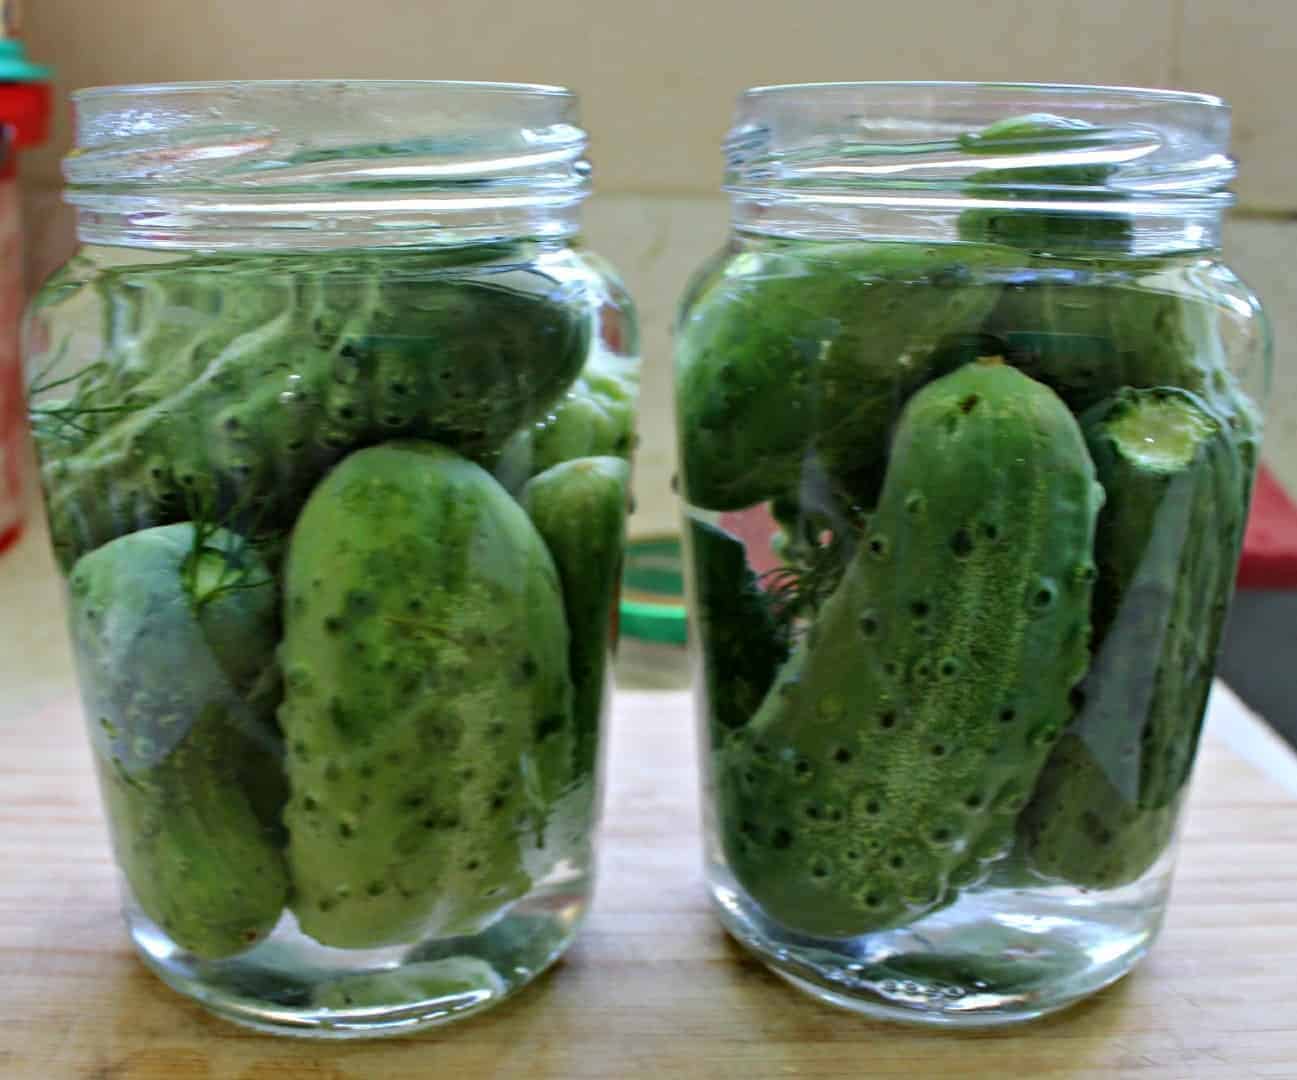
Pack the gherkins into hot jars that have been sterilized. To sterilise the jars I run them through the dishwasher. That way they are still hot when you go to use them. If you are only using a few jars though, wash them thoroughly and keep them filled with hot water until you are ready to use them. At this point I also added the pickling spice and fresh dill.
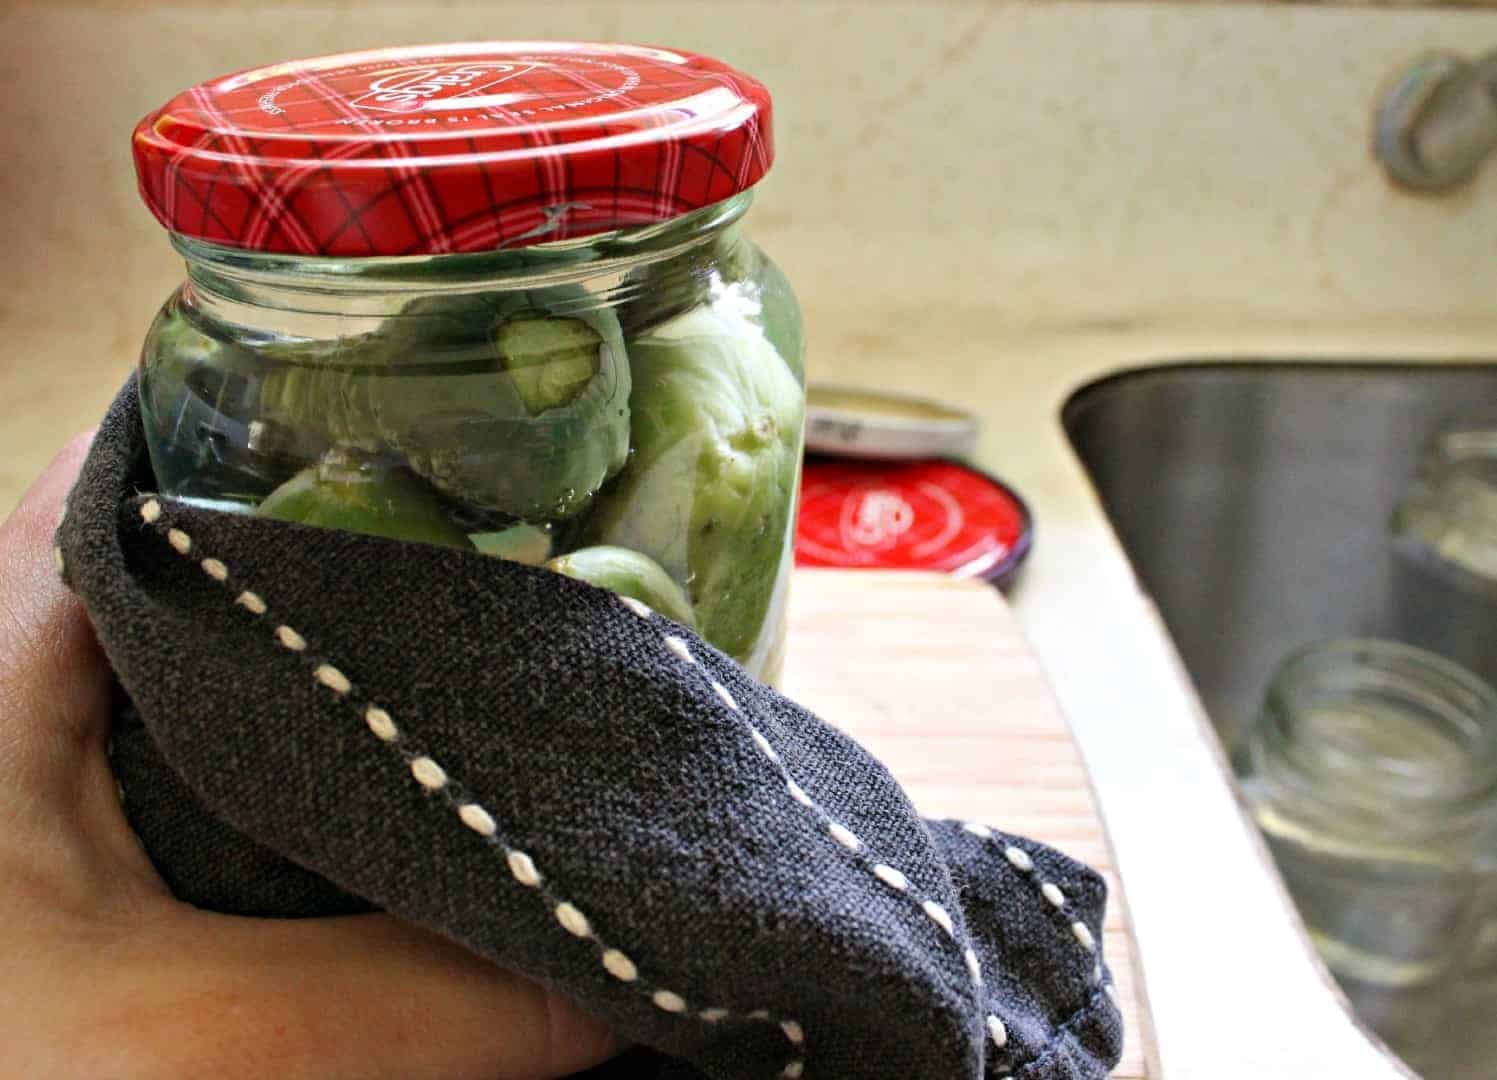
Fill the jars almost to the top with the water/vinegar liquid and run a knife around inside the jar to get rid of any air bubbles. Top up the jar with liquid until it is just overflowing and using a cloth (as the jars will be very hot) tightly screw on the lids.
If using the water bath method, fill the jar leaving ½ inch headspace at the top of the jar before placing on the lid. Process in a water bath for 5 minutes.
Wipe down the jars and leave to cool on the bench.
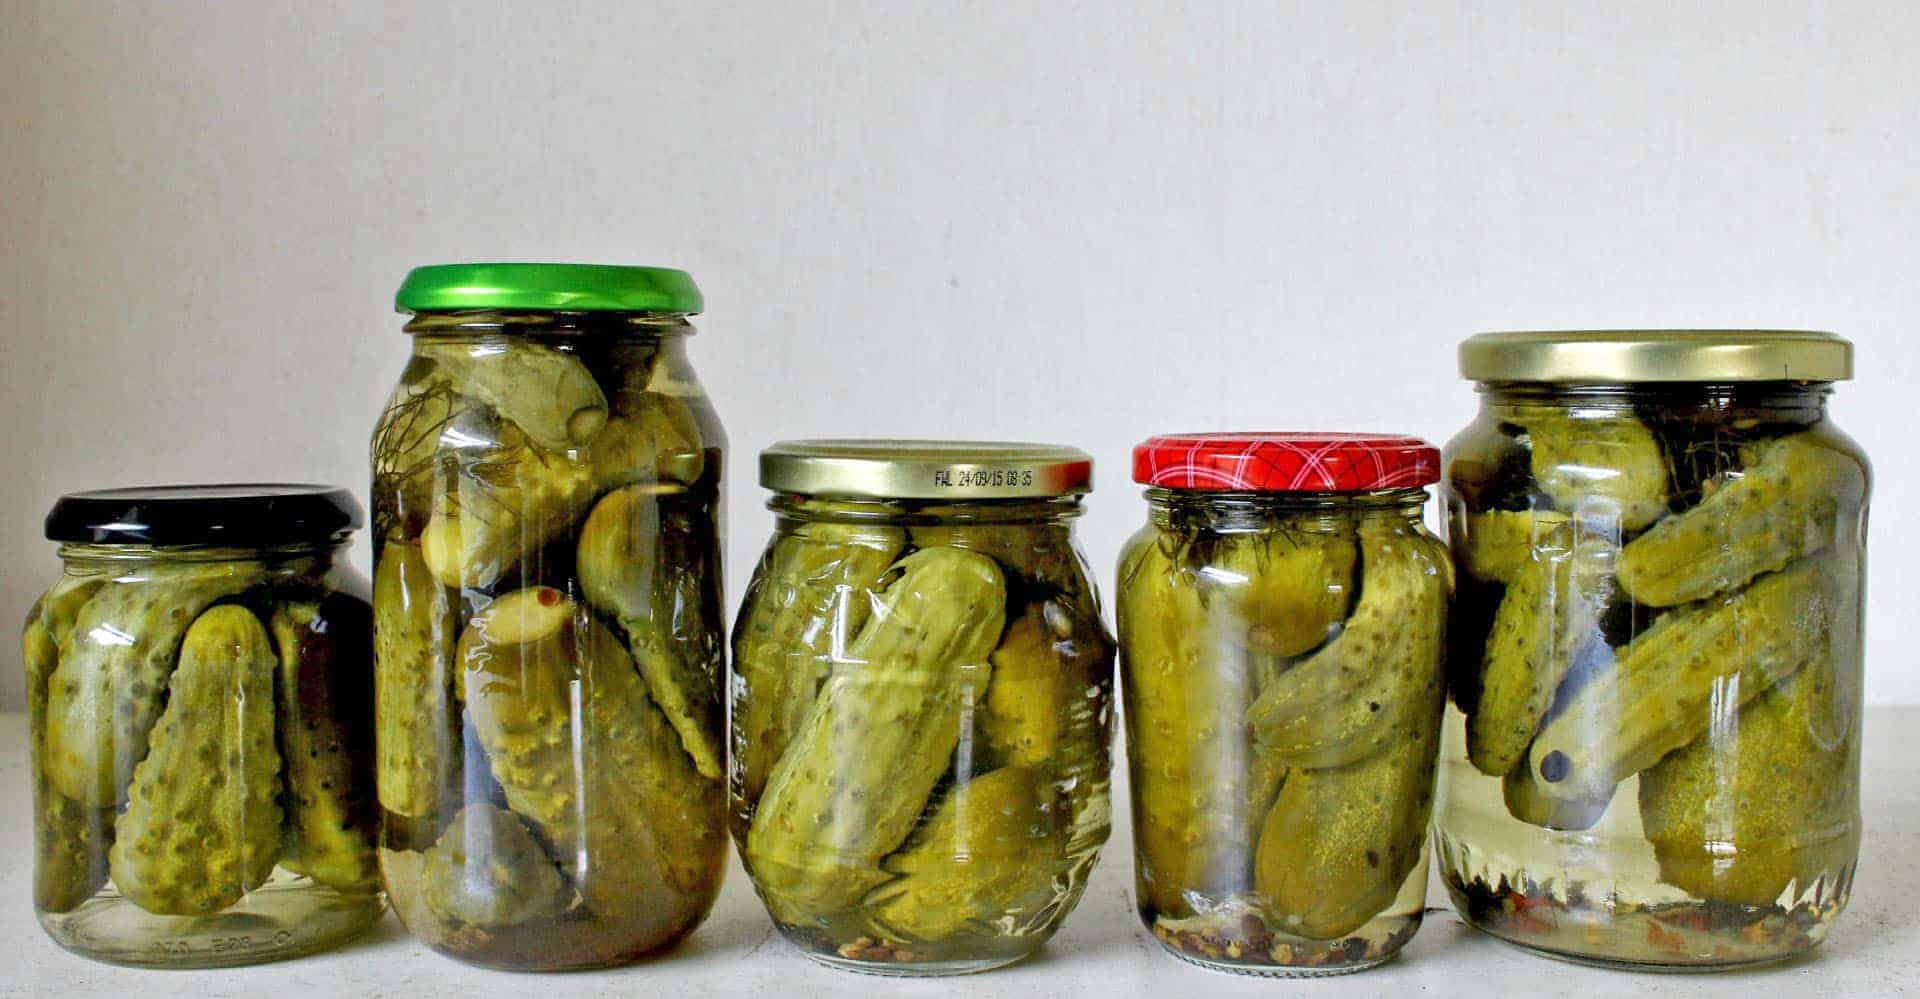
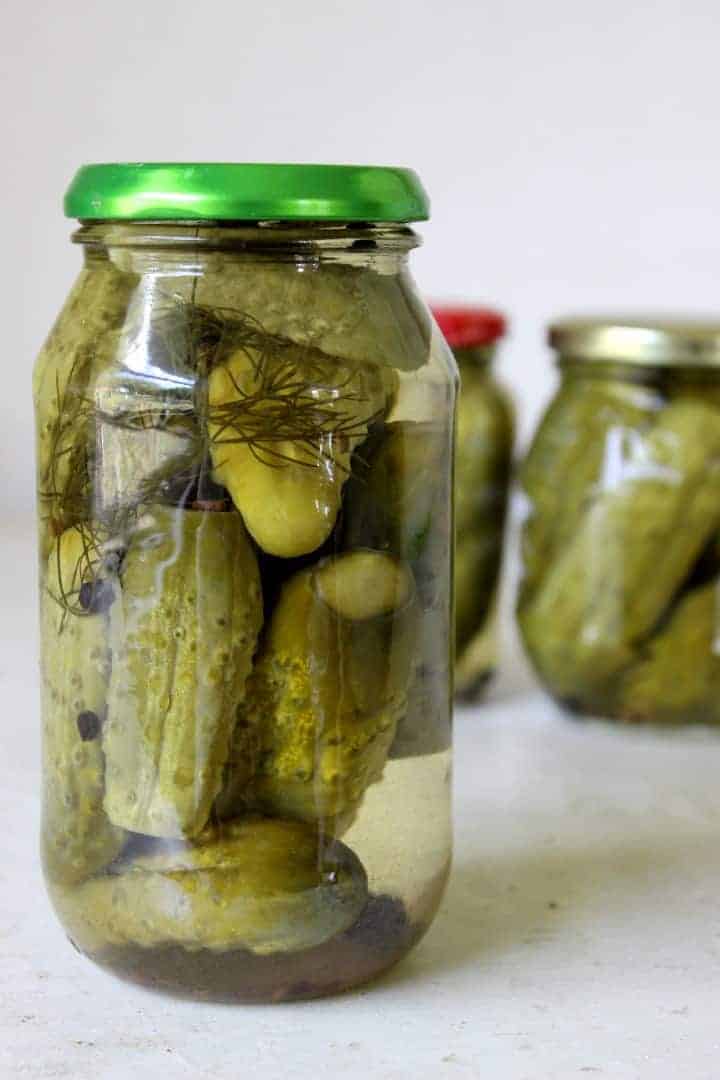
Leave the jars for a couple of weeks to pickle away and put them in the fridge to cool down before opening. These are best eaten on a burger, on crackers, in a sandwich or just straight out of the jar. YUM!

[mc4wp_form]
Bottled Gherkins
Ingredients
- 1 kg gherkins
- ¼ cup plain salt not iodised
- 2 cups white vinegar
- 2 cups water
- Pickling spice (about 1 teaspoon per jar)
- Fresh dill (a couple of sprigs per jar)
Instructions
- Wash, pat dry and trim the gherkins at both ends, then place them in a large clean bowl, sprinkle on the salt and store in a cool place until the salt has liquidized (a few hours)
- When you are ready to go, bring to the boil the water and vinegar.
- Rinse the gherkins with boiling water, drain and then rinse again. Put the gherkins into hot jars that have been sterilized and add pickling spice and fresh dill.
- Fill the jars almost to the top with the water/vinegar liquid and run a knife around inside the jar to get rid of any air bubbles. Top up the jar with liquid until it is just overflowing and using a cloth (as the jars will be very hot) tightly screw on the lids.
- Wipe down the jars and leave to cool on the bench.
- Gherkins will be ready in around three weeks. Put the jar in the fridge for a few hours to cool before eating.
Notes
- Prepare gherkins as recipe states.
- Prepare a boiling water bath (see post on water bath preserving for more details)
- Instead of filling the jars to overflowing with the pickling liquid, leave ½ inch headspace before placing on the lid.
- Process in the water bath for 5 minutes, remove and allow to cool on the bench.
- Check seals after 24 hours.

Rey Roos says
Very good 👍 👏 👌
Theo says
Very good & tasty with a crunch