Making and decorating a gingerbread house can seem like a daunting project but it's really very simple! Let me walk you through how to bake your own houses and my best tips for decorating them with kids and I've included a free printable template!
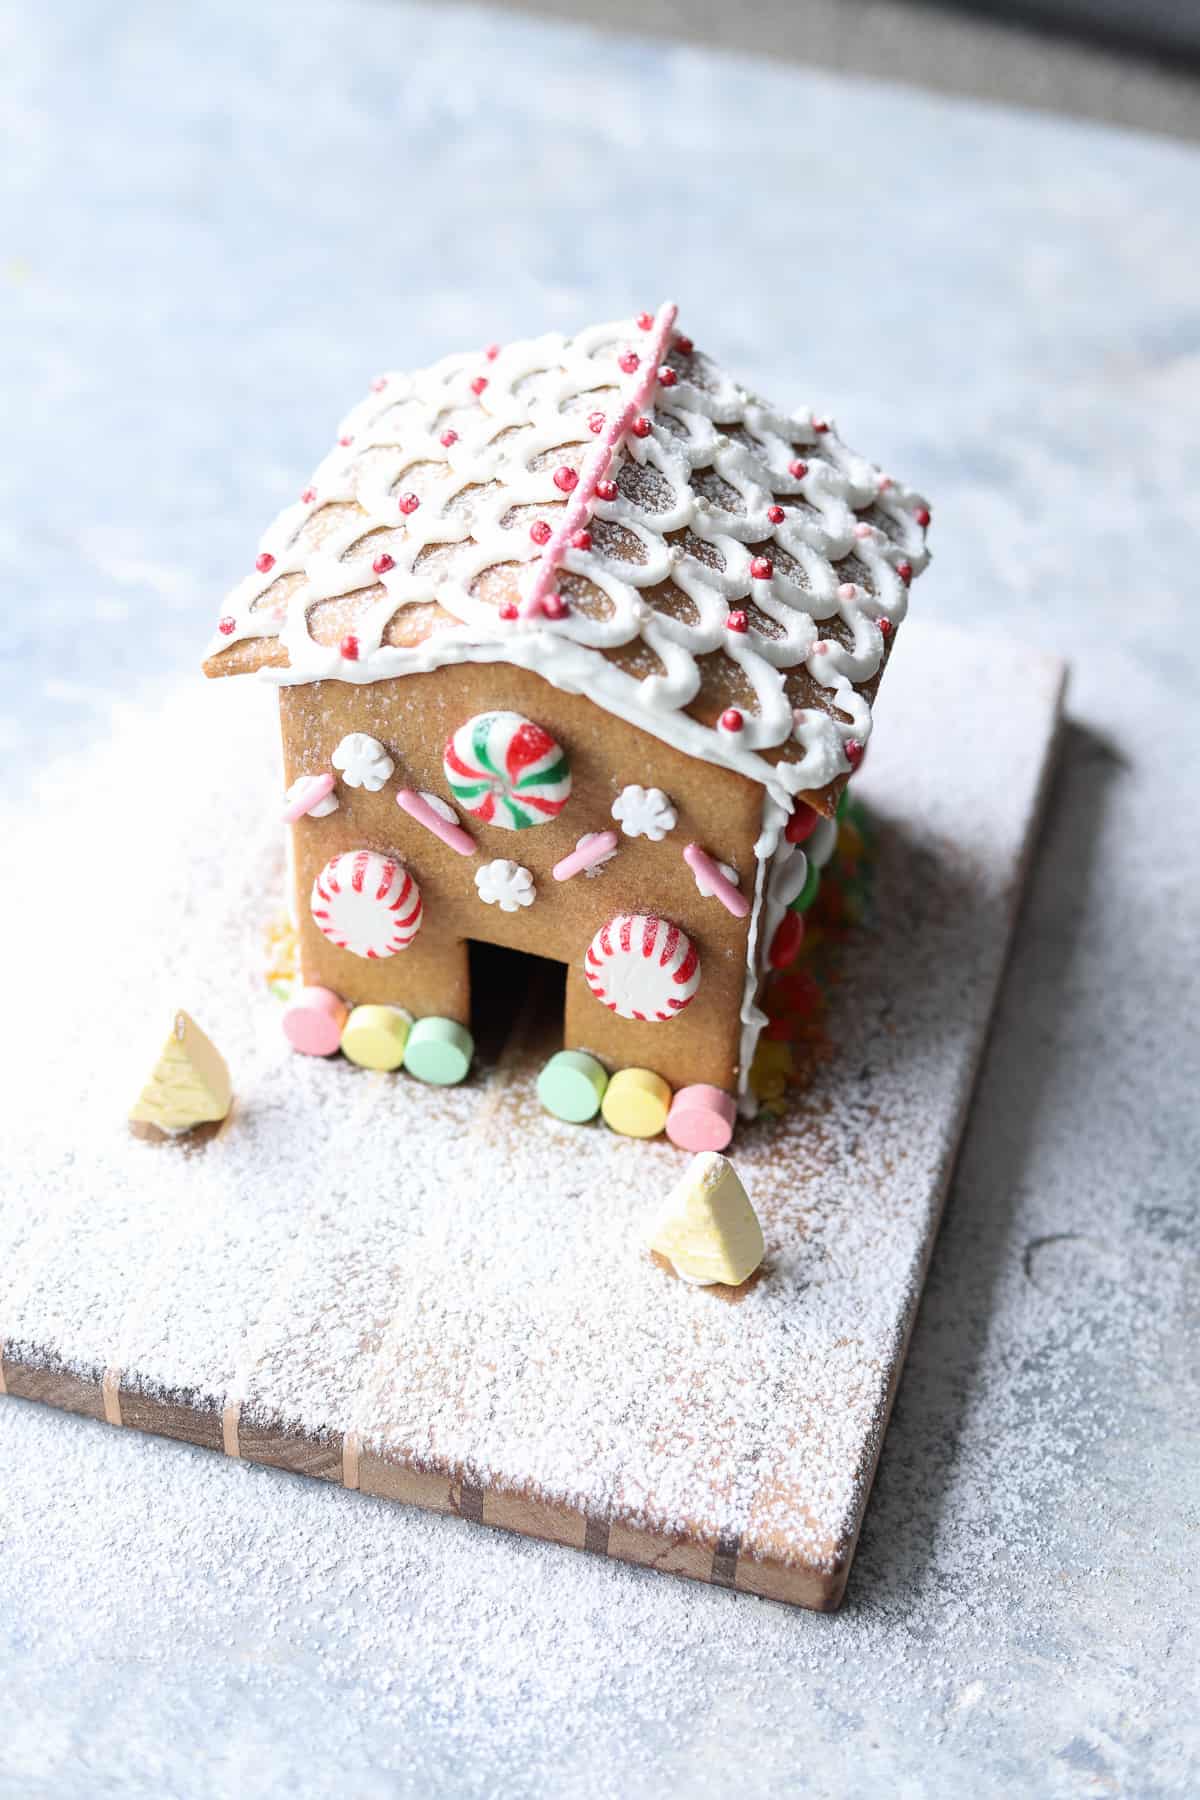
One of my kids absolute favourite Christmas traditions is making and decorating gingerbread houses. I had made a couple over the years but never with kids (we stuck to standard gingerbread cookies) and it wasn't until a friend of mine suggested we do it together as a December activity that we decided to give it a try.
Of course the first year we decided to go for it we both had new babies (making a grand total of 7 kids between us aged 7 and under!!) But would you believe that we pulled it off and now all of the older kids start asking about when we are doing it again by about July!
So if we can do it, so can you! And I'm going to break down the whole process so that you can have as much success and fun with it as we do.
I've also included a free printable template for you to use to cut out the houses - simply print it, cut out each piece and use those to create your shapes for the houses.
Jump to:
Components of the gingerbread house
There are 3 main componenets to a gingerbread house
- Gingerbread cookie walls - I use my regular gingerbread cookie recipe for the walls - they hold up really well structurally and taste amazing
- Royal icing - this is the glue that holds the houses together and is used for decorating. You don't want to use any other kind of icing here - royal icing dries hard and fast and is what makes these successful
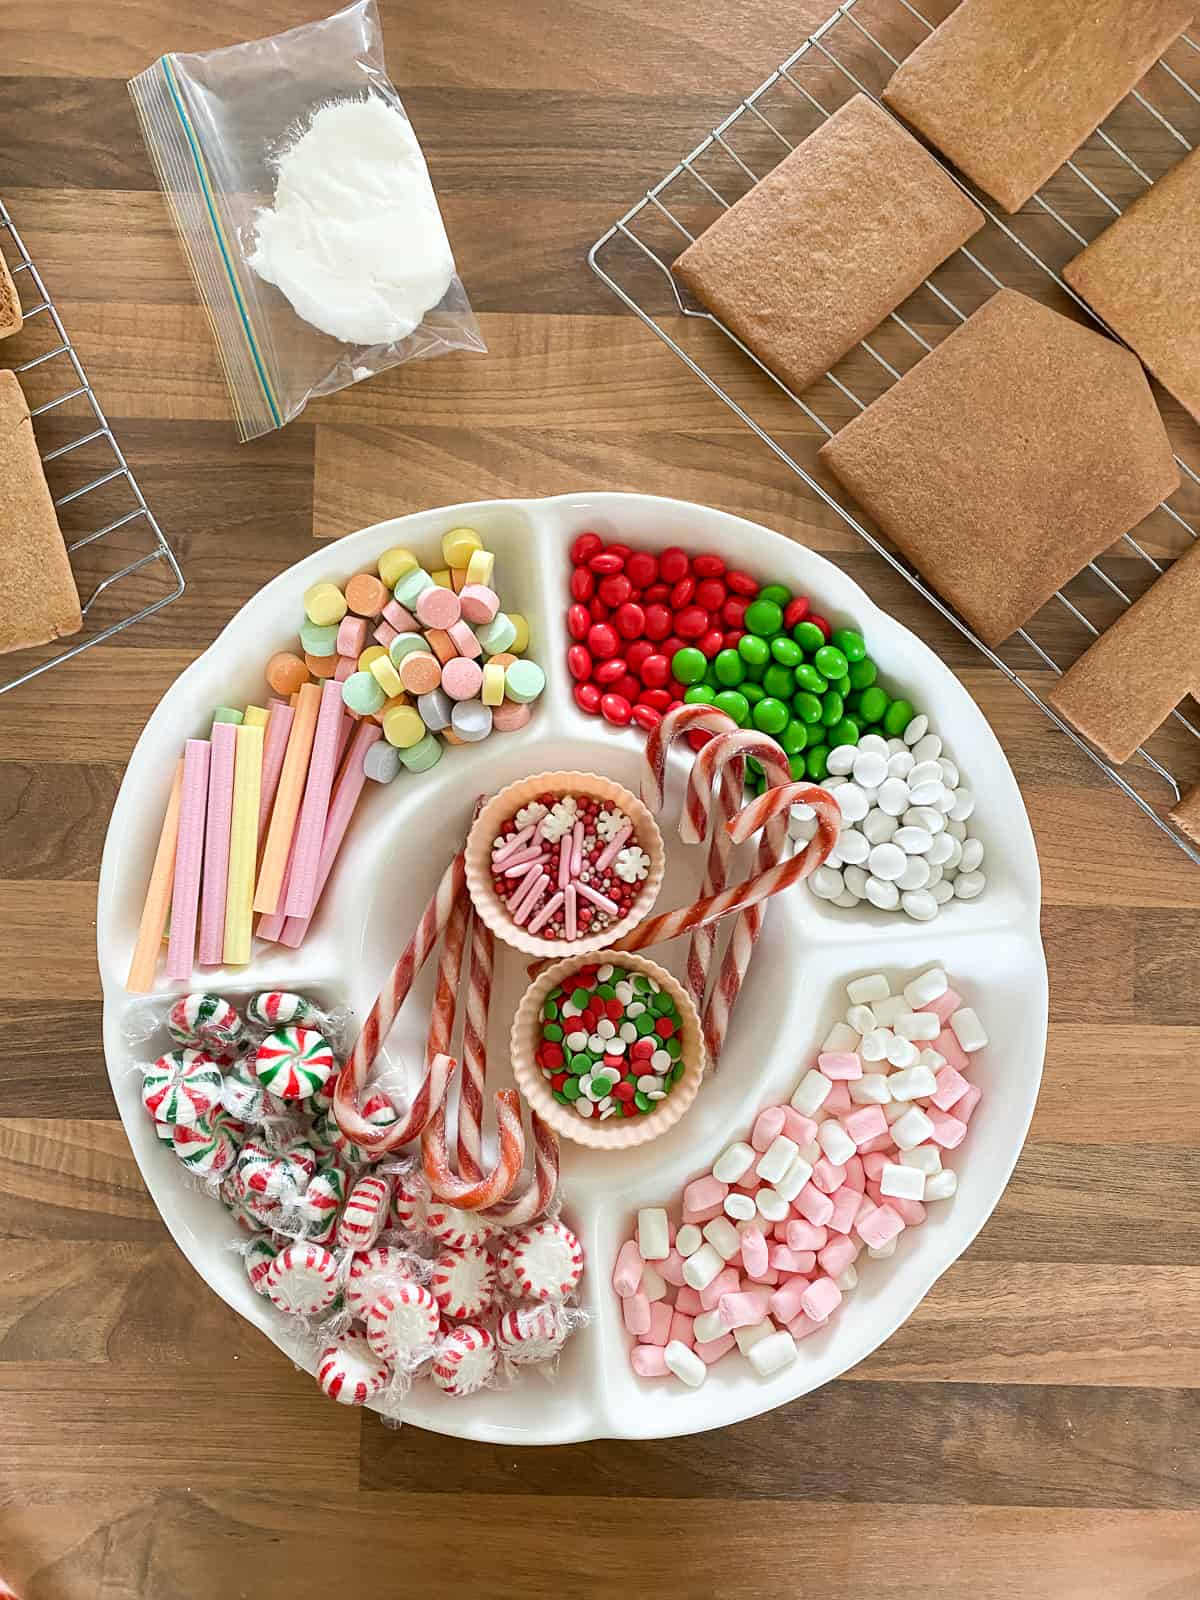
- Lollies for decorating - it is entirely up to you what you use to decorate the houses - you can choose traditional looking lollies or just go for the ones your kids love! Below I have included a list of where I purchased our lollies from.
Gingerbread house template
You can buy gingerbread house cutters but I've found that they are all quite big and for our little people, a smaller house is much easier to manage. I've put together a printable template - all you need to do is print both pages, cut out each piece of the house, place the cut out pieces on the rolled out dough and cut around them with a sharp knife or a pizza cutter.
The pieces required are:
- Side walls x 2
- Front and back walls (with optional door on the front)
- Roof pieces x2
You can also make a chimney or cut out windows if you want - there is no limit to your imagination!
Instructions
Let's break down the whole process into short, manageable steps.
Step 1: make the gingerbread dough - the dough comes together easily but needs to be chilled before rolling out and baking, otherwise it will be too sticky to handle. I like to make the dough and squish it into flattish discs before putting in the fridge so that it's easier to roll out once chilled.
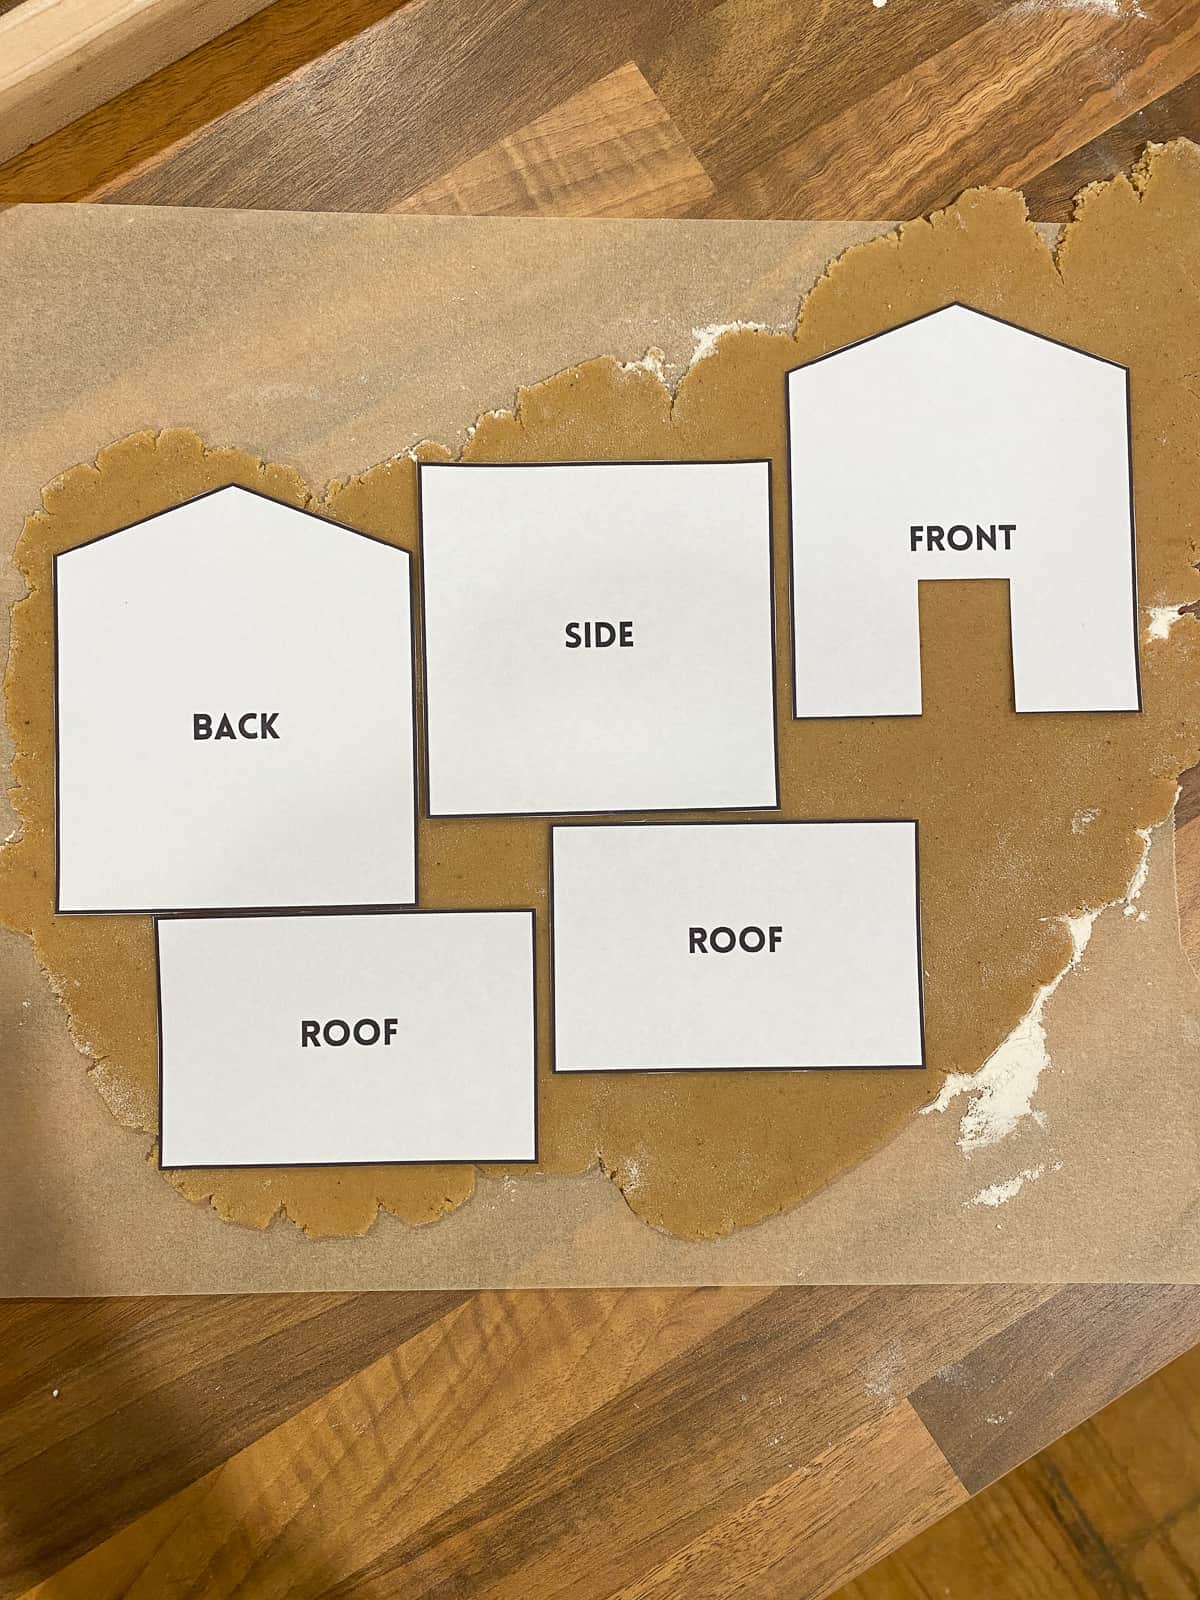
Step 2: Print and cut out the template pieces and then roll out the chilled dough and cut out the house pieces. Make sure you roll the dough out on a well floured surface or between 2 pieces of baking paper as it can stick to the bench.
Re roll any scraps until you have all the pieces you need.
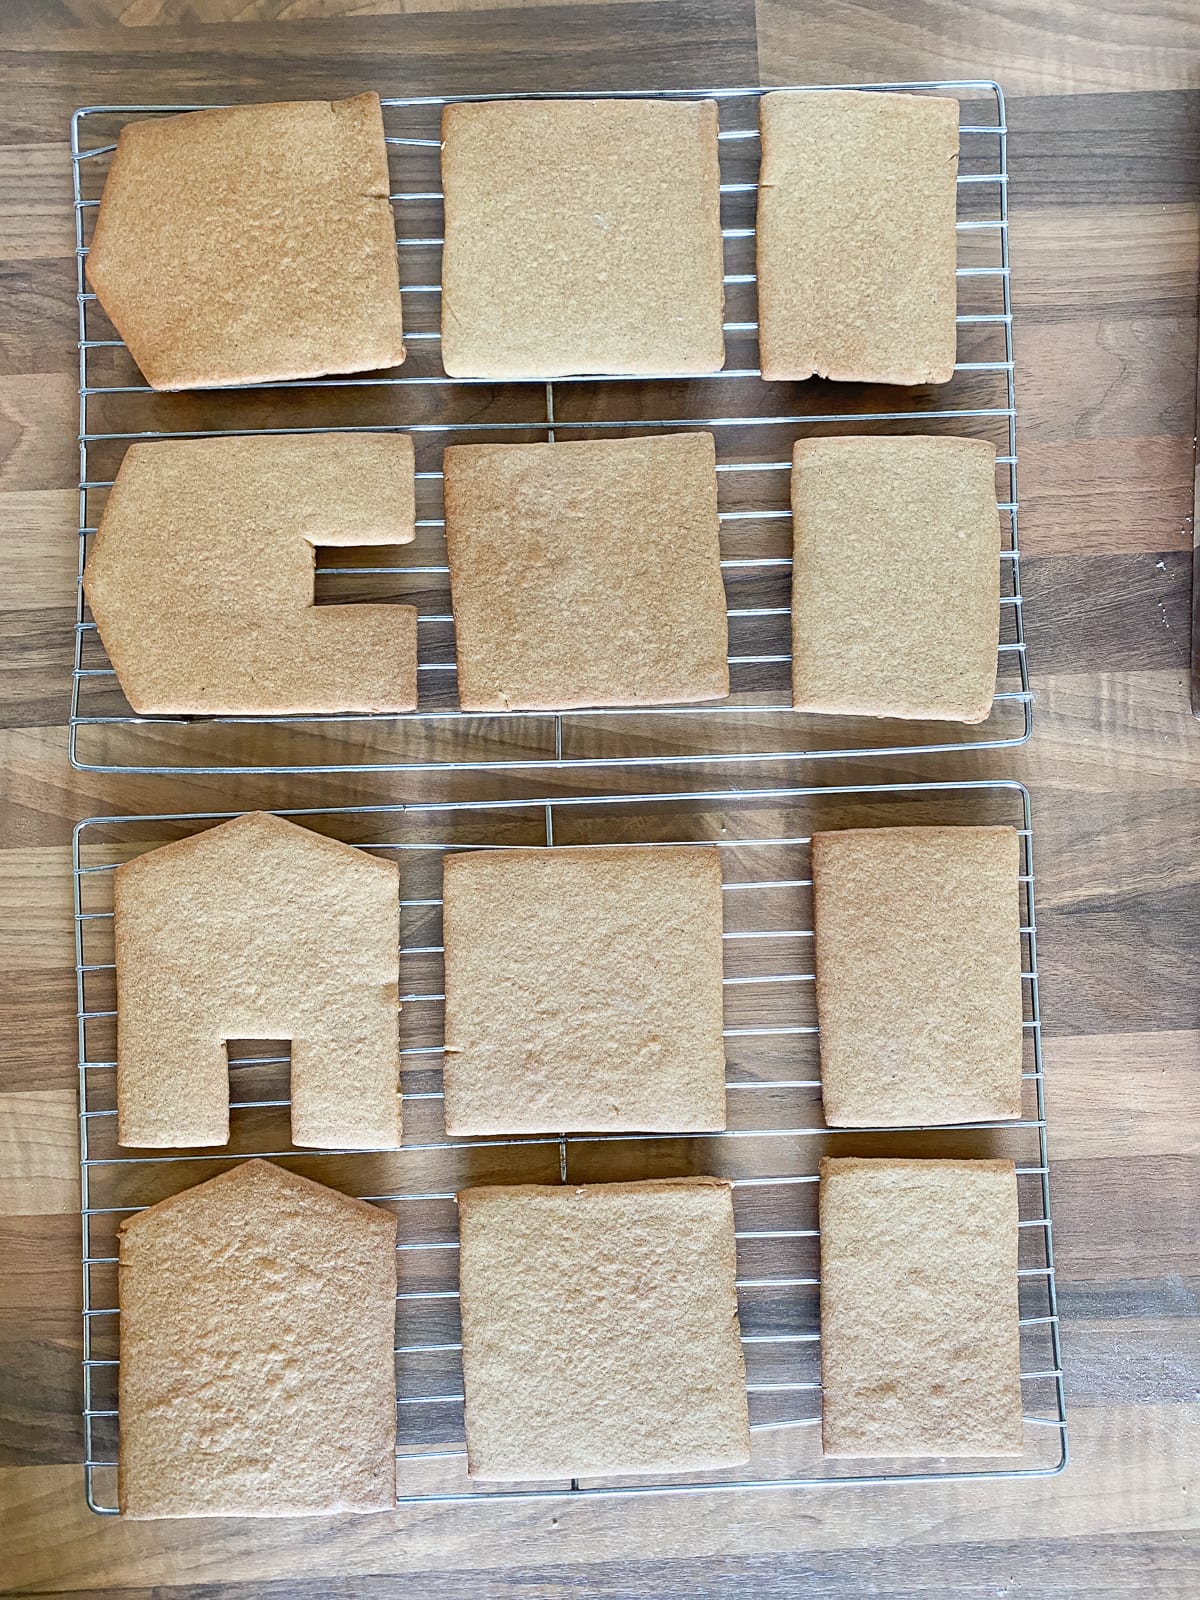
Step 3: Bake the walls and allow to them to cool. If you have made them ahead of time, store them in an airtight container at room temperature until you are ready to decorate them.
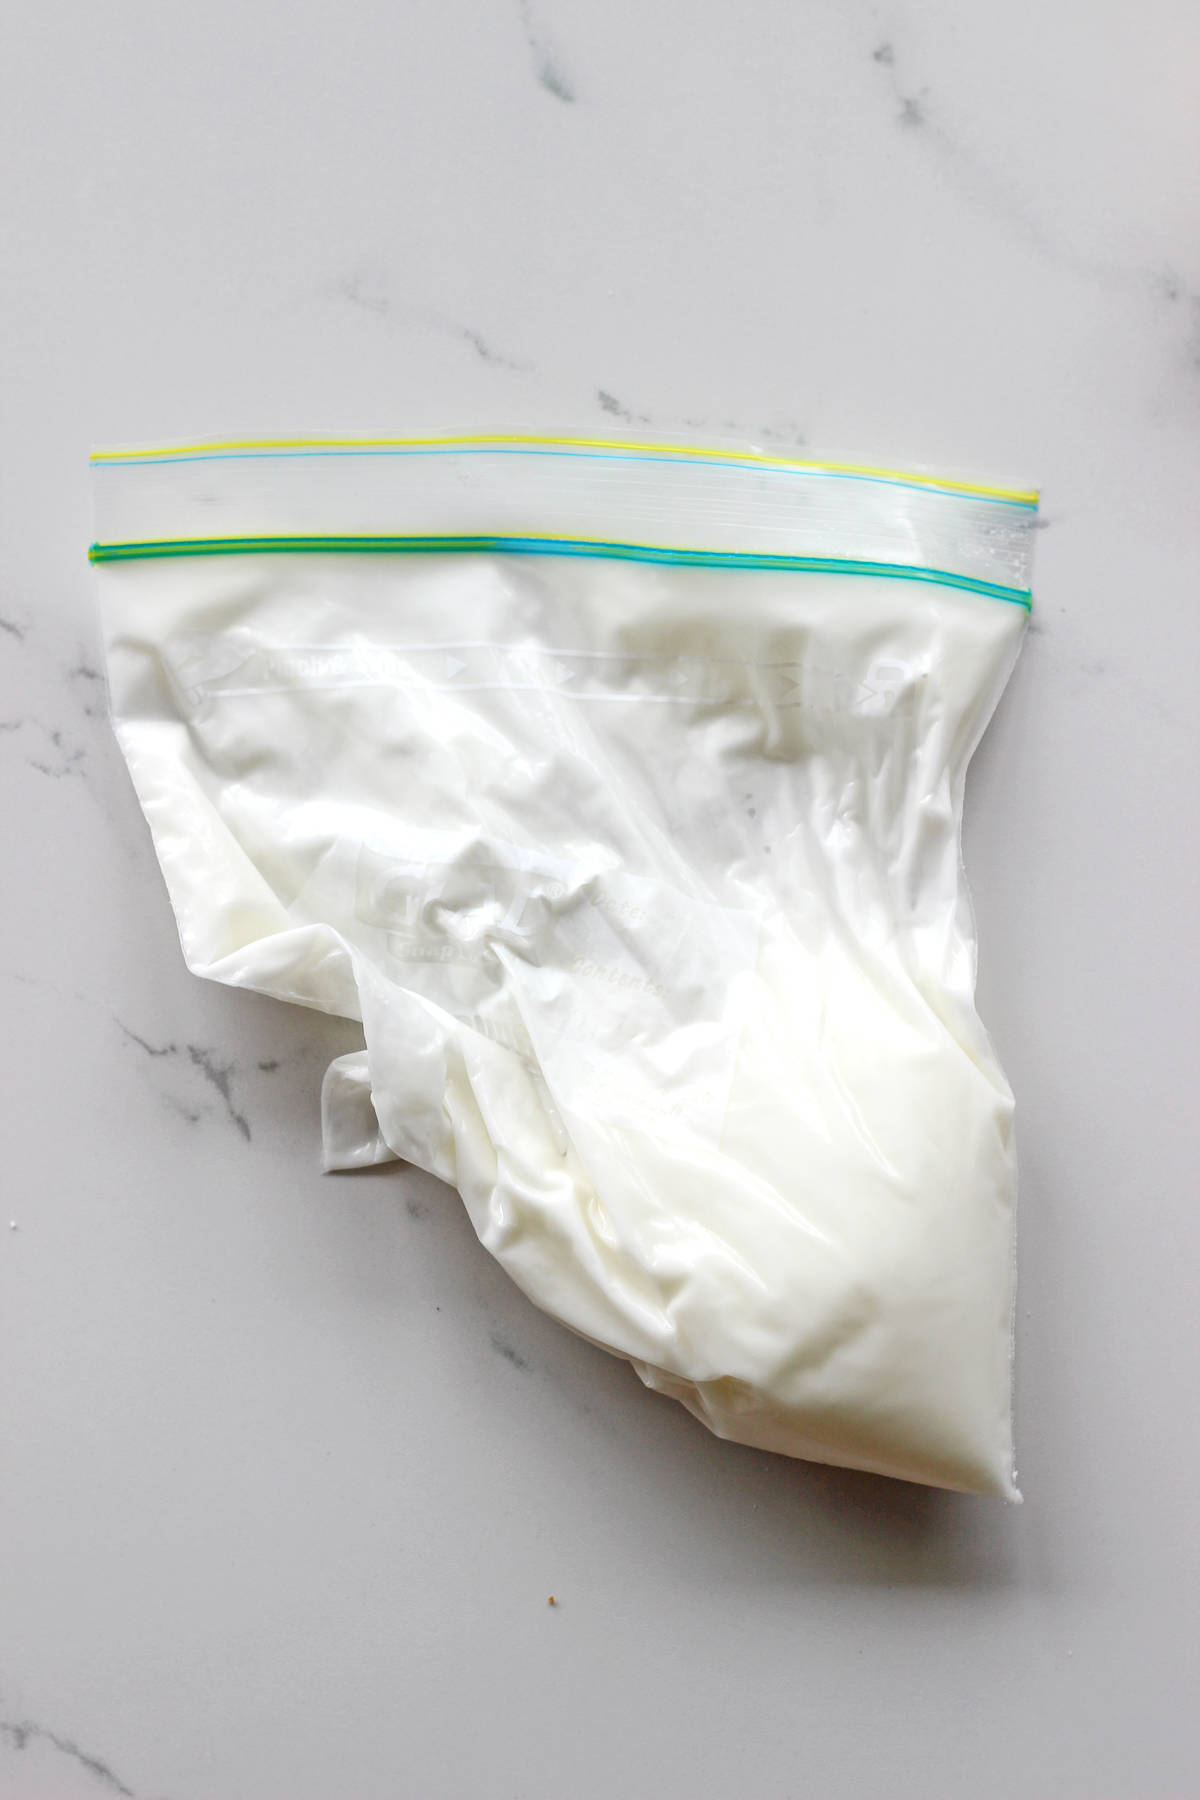
Step 4: Make the royal icing and split it between as many snaplock bags as you need (we do once per person decorating) Cut a small hole in the corner of the bag to pipe the icing out of.
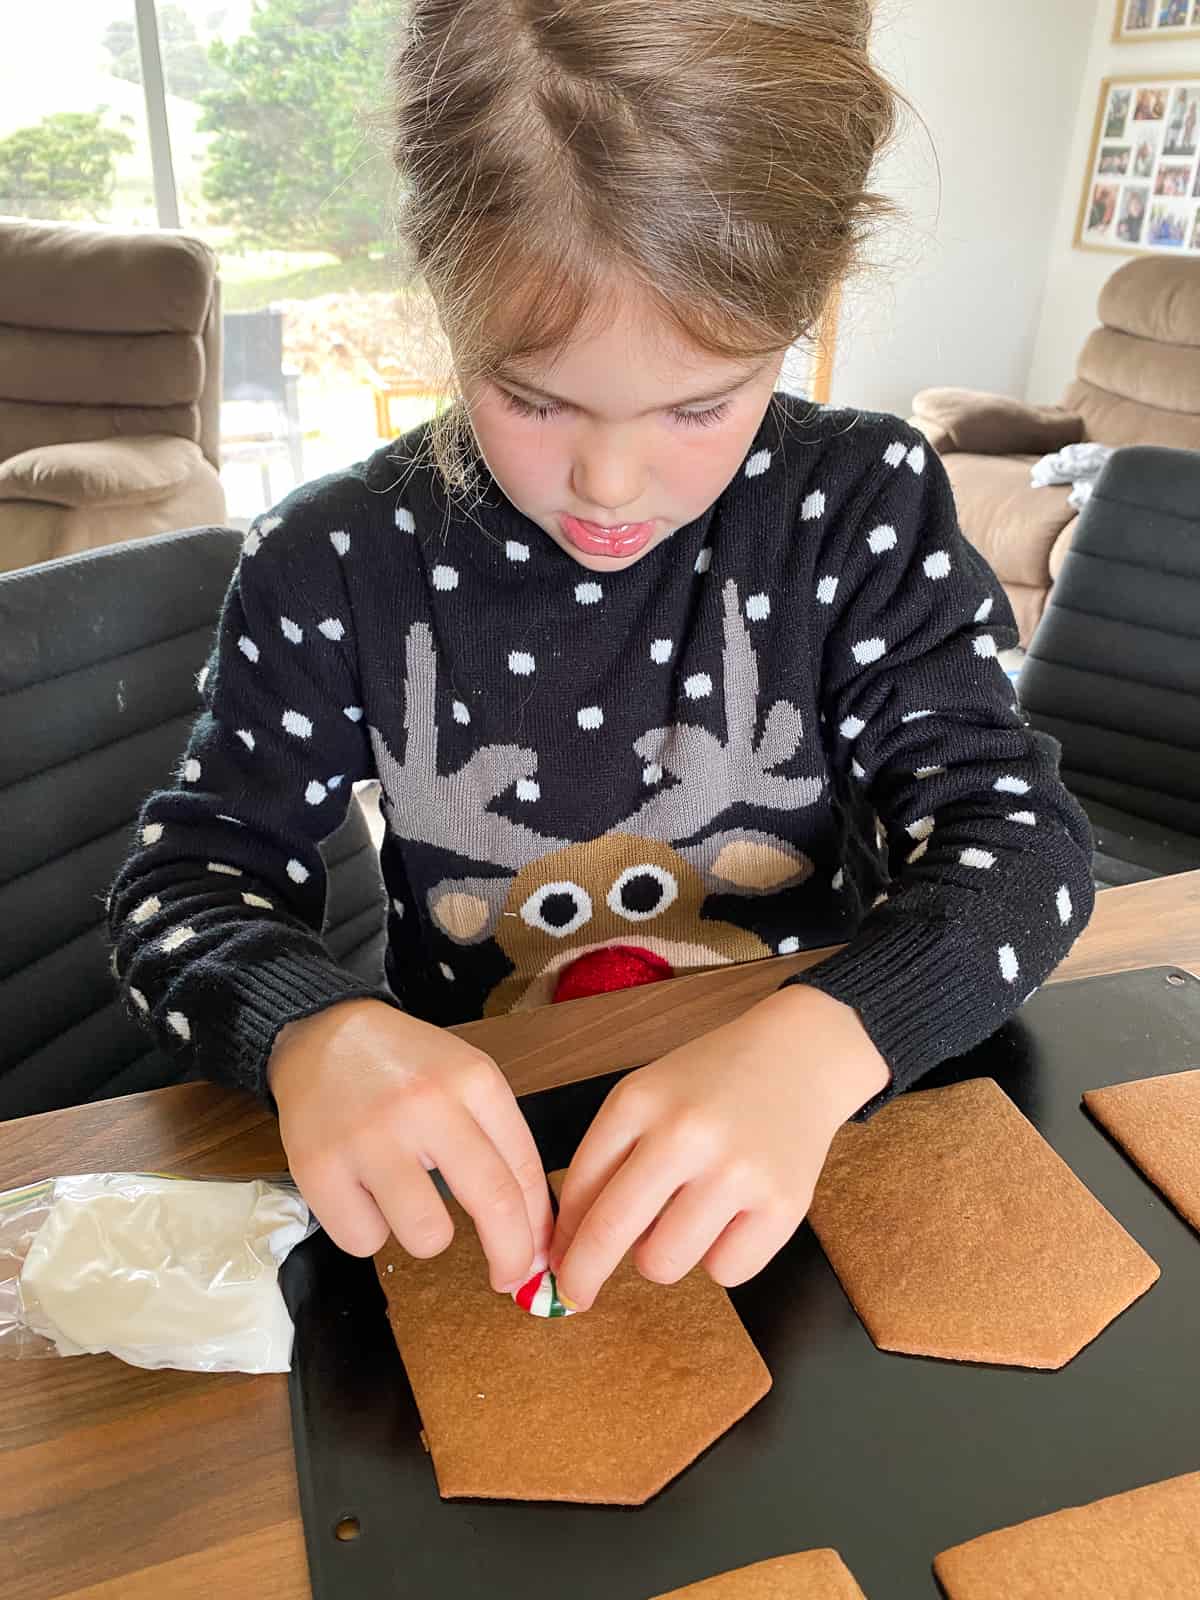
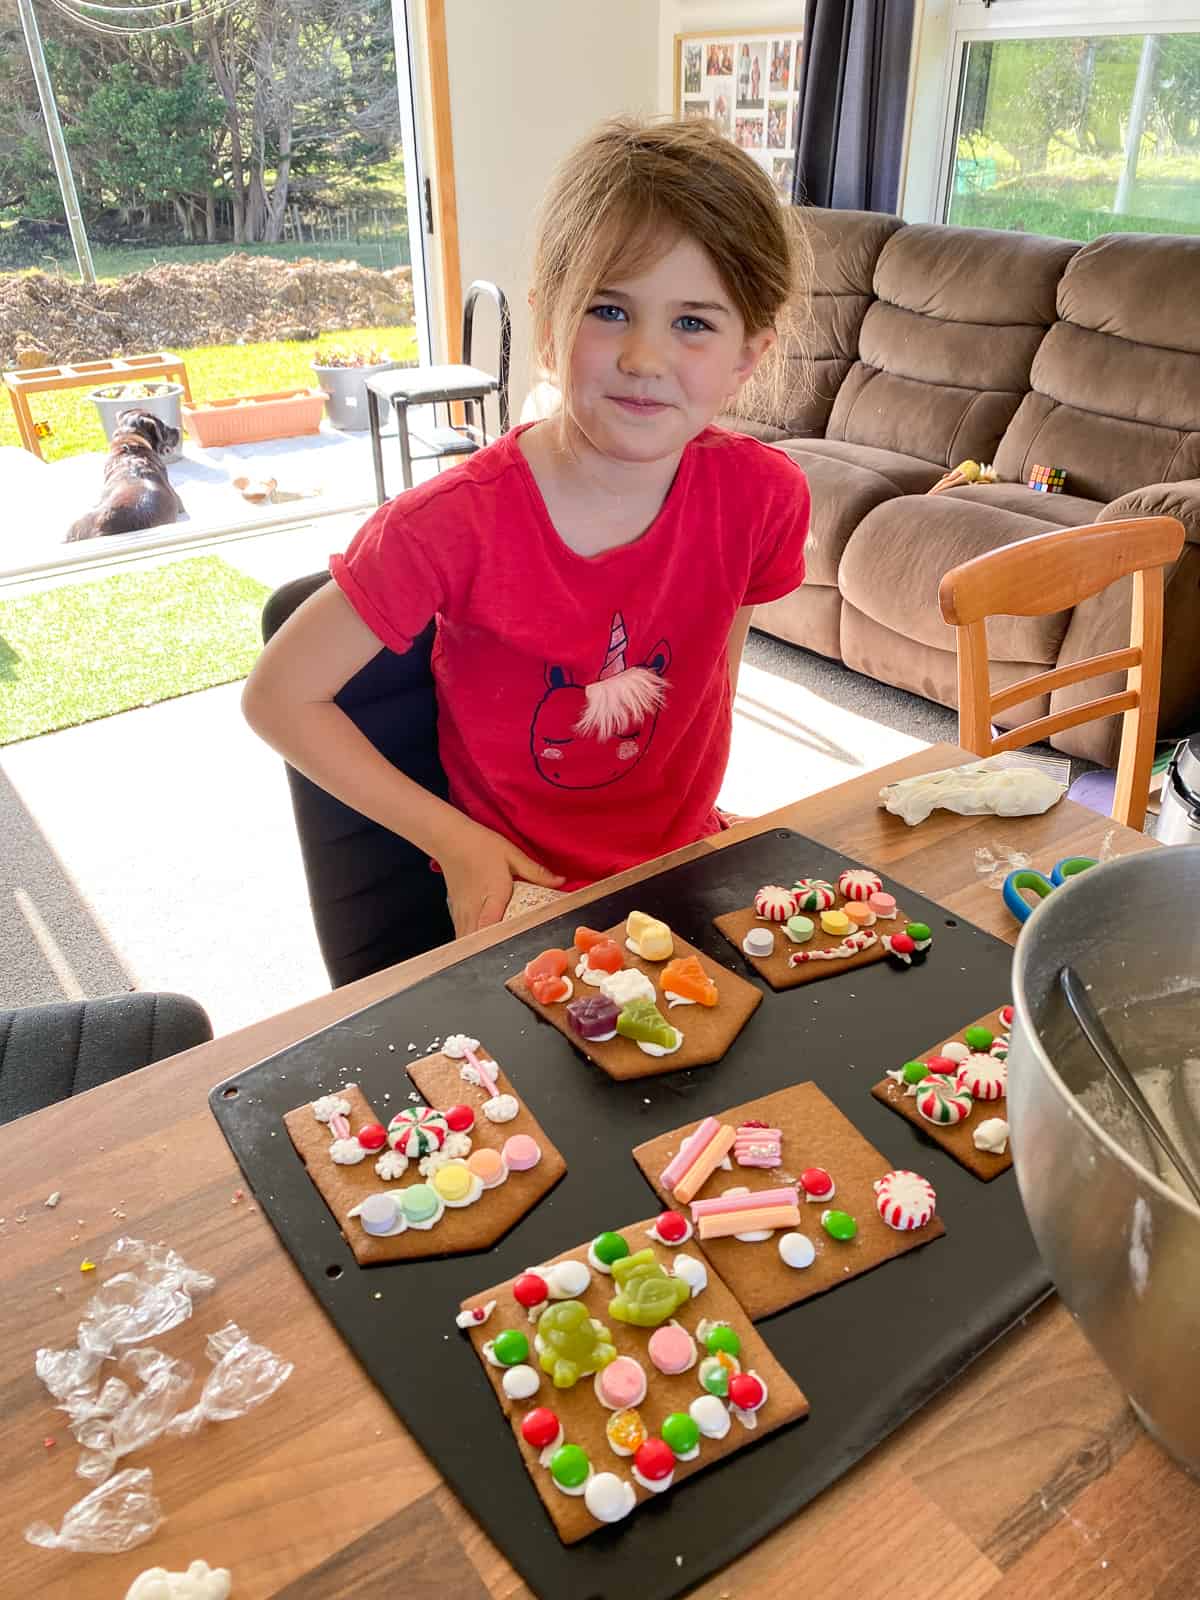
Step 5: Decorate the wall and roof pieces using royal icing and lollies/candy.
Hint: We have found that when doing this with kids, it is easiest to let them decorate the walls and roof pieces before assembling the house. This way they are able to lie them flat and stick lollies on easily rather than trying to do it on a constructed house.
The one I did, I assembled the house first and then decorated it and that worked really well for me, so both methods are fine, just choose which will work best for you!
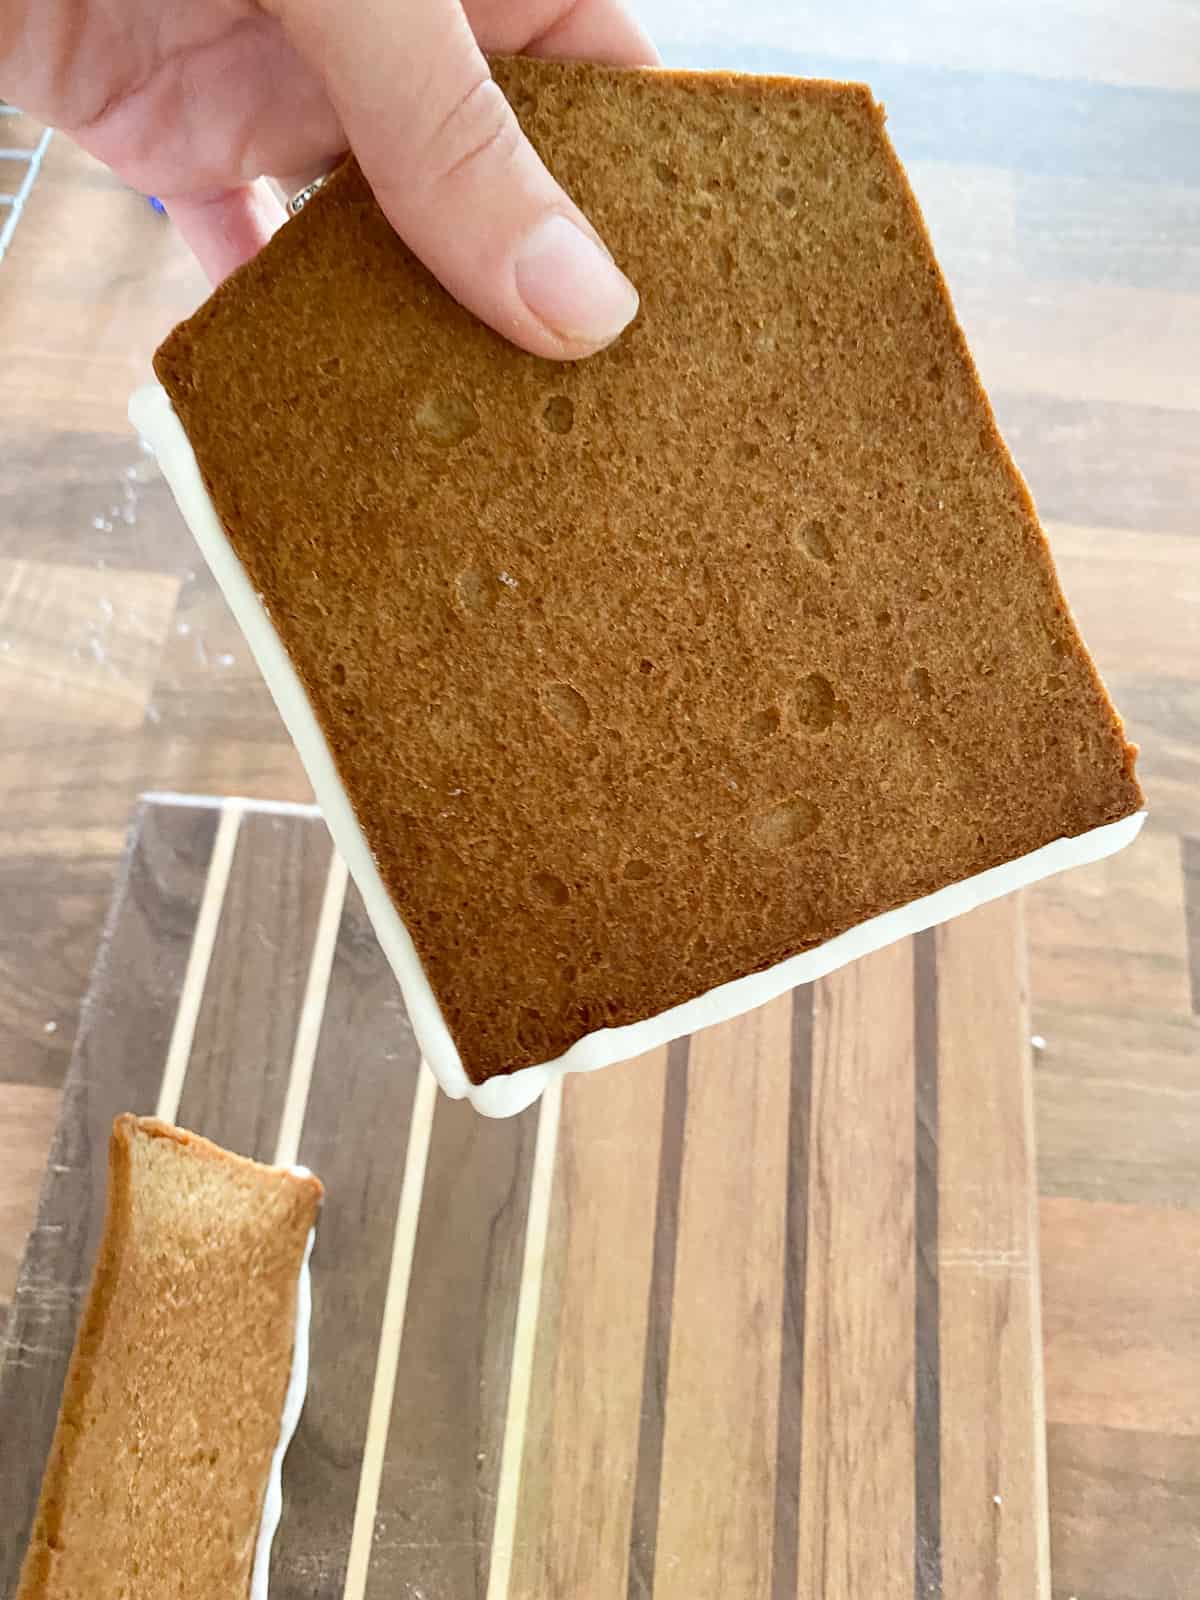
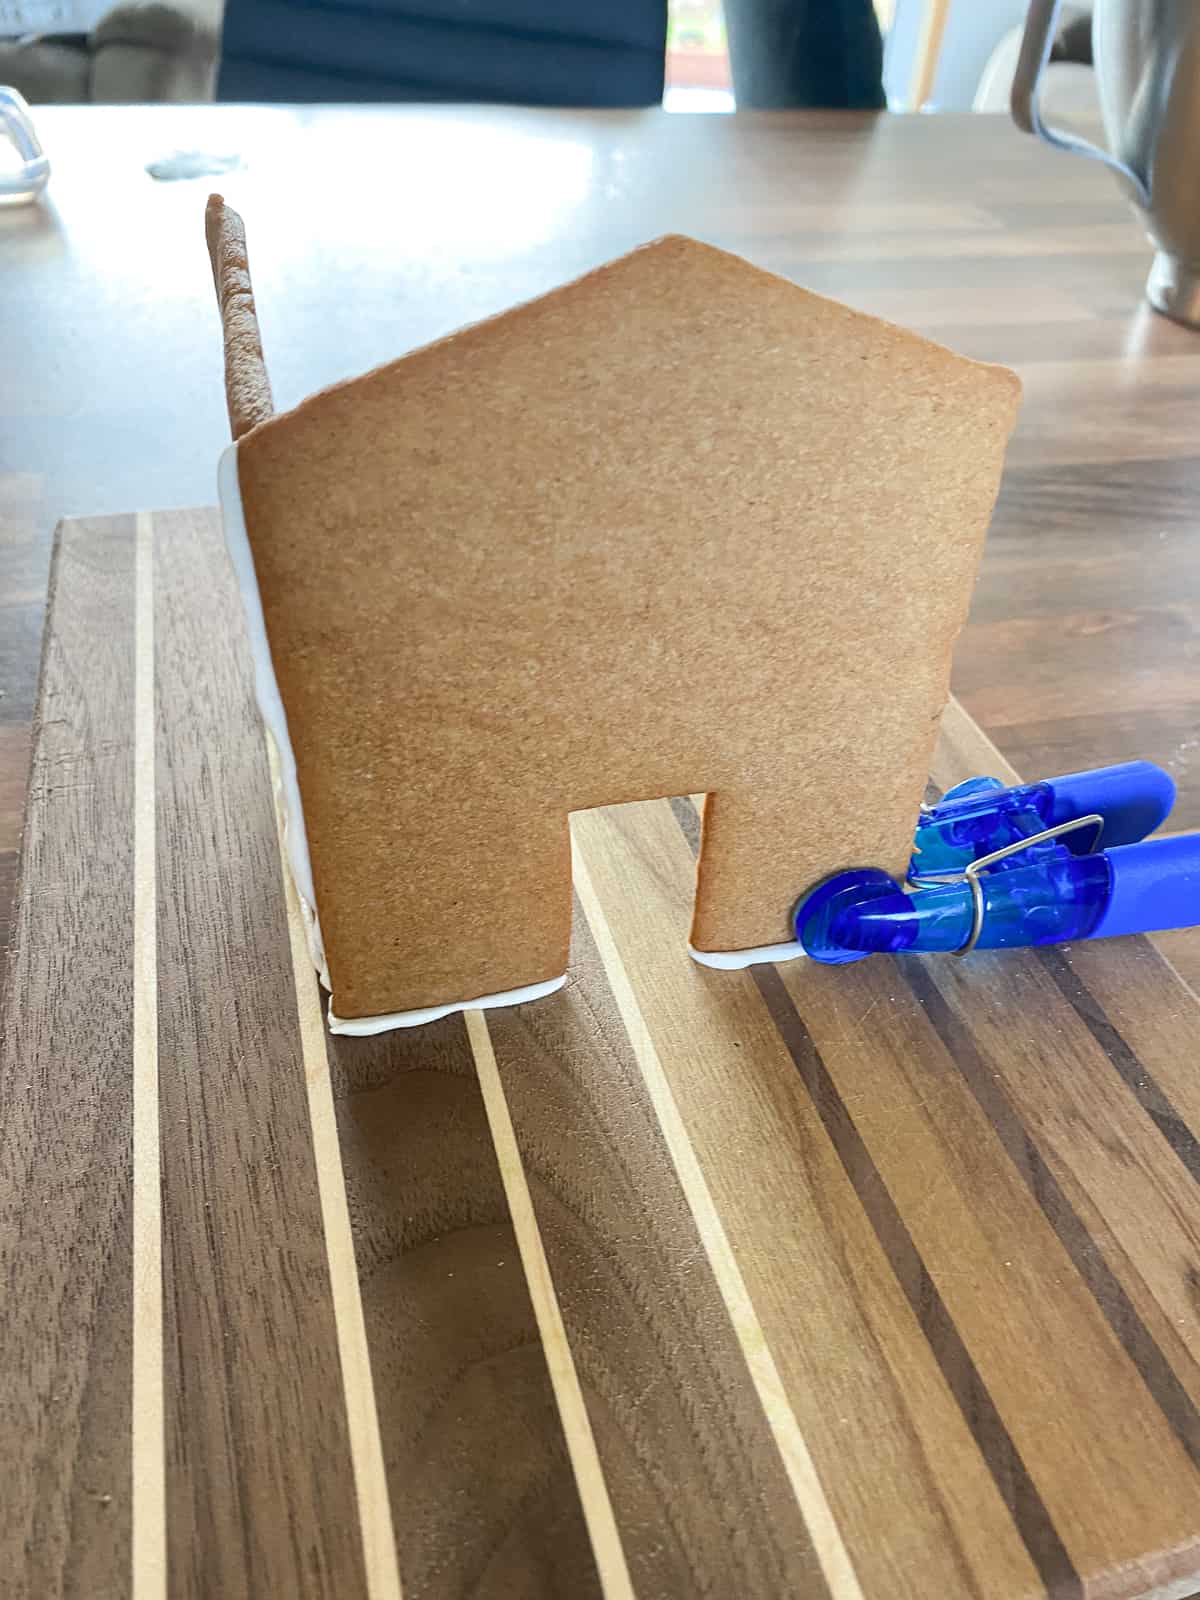

Step 6: Use the royal icing to assemble the house - use as much as you need, you can always cover it up with decorations and the royal icing is what will hold your house together, so more is often better in this case!
I like to use royal icing to stick the base of the house onto the board or plate for extra stablility. You might also find it helpful to use a large peg to help hold up the first wall as you are constructing the house.
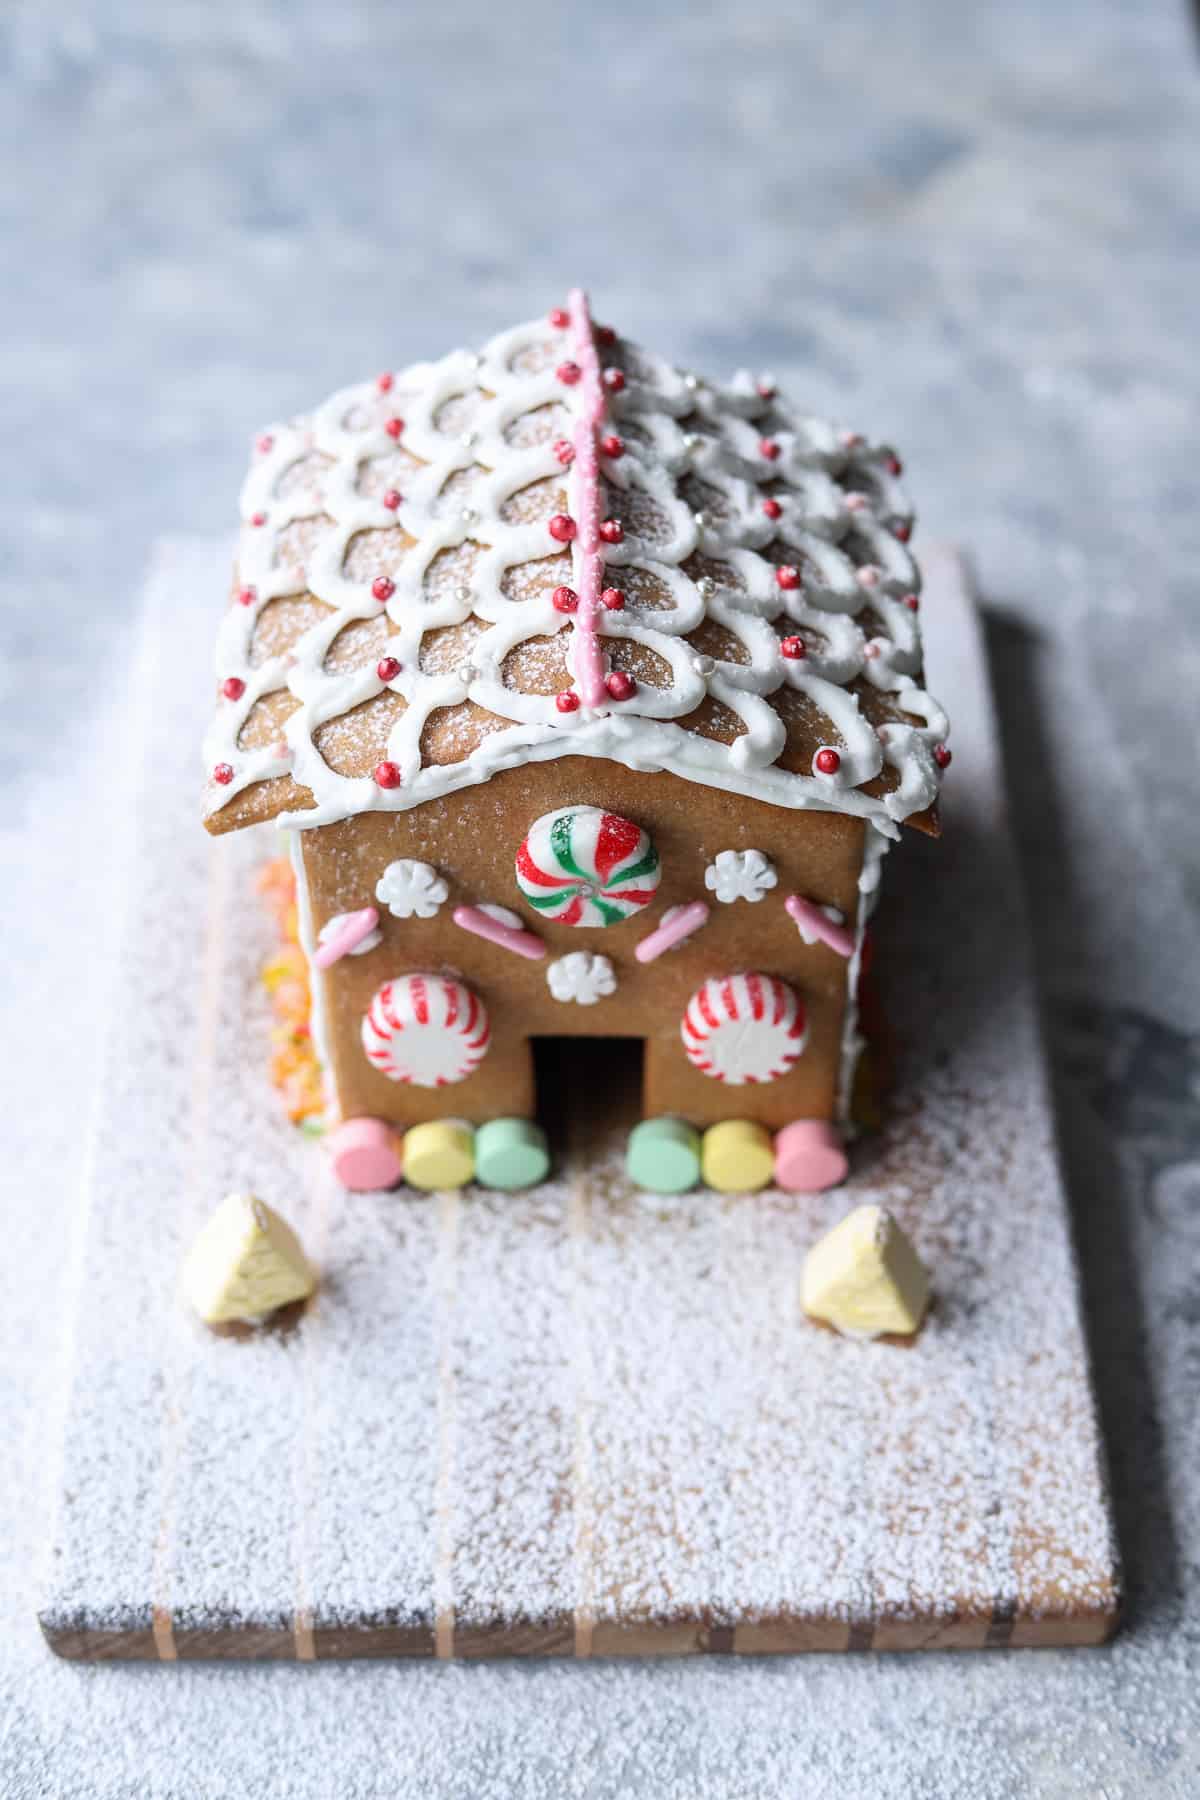
Step 7: Make any touch ups to the decorations, then stand back and admire your masterpiece!! Snap a quick picture as proof that you did it and of course if you have kids involved, this is about the time that they will start to deconstruct it!
The best candy/lollies to use
There are no hard and fast rules about what lollies are best on a gingerbread house - over the years we have used almost anything - we usually go for whatever we think the kids will like and things that are not too heavy.
Here are a few of my favourites for a more traditional looking gingerbread house
- Mint pinwheels
- Red, white and green m&m's/pebbles
- Mini marshmallows
- Mini sherbert fizz lollies
- Fruit sticks
- Raspberry drops
- Pink smokers
- Christmas sprinkles
- Candy canes
Tips for decorating with kids
If you are looking through this post and thinking it seems like a lot of work, mess and just a bit chaotic for you, let me break down how we make it more manageable:
- Bake the houses a day or 2 in advance. This is not part of our day with the kids at this stage. They might want to take part when they are older but for now, just the decorating is enough for them and is plenty for one day. I bake them ahead of time and store them in sealed containers at room temperature until we are ready to decorate.
- Give each child a snaplock bag with royal icing in. They are responsible for their bag and it actually does keep the mess fairly contained. Then when it's time to clean up, you can just throw the bags away - it might not be the most eco friendly approach but in this situation it's what works best for us. You can definitely use reusable piping bags if you prefer.
- Put down a tablecloth and give each child a tray or a plate with their house pieces on it. Put the lollies in the middle of the table - you could also allocate each child their own lollies if you would rather. Each child then has their own station which they like.
- Let the kids decorate the pieces before constructing the house. It is much easier to pipe the icing and stick lollies onto a wall that is lying flat on the table rather than one that is upright as part of a house.
- For younger kids (I would say 2 and under) make a few extra wall pieces or cut out some gingerbread men or other shaped cookies - this is enough for them to feel included but without having the pressure of making a whole extra house!
And let's address probably one of the biggest things about giving kids free rein on a boatload of candy and a bag of icing - at what point do you say enough is enough?
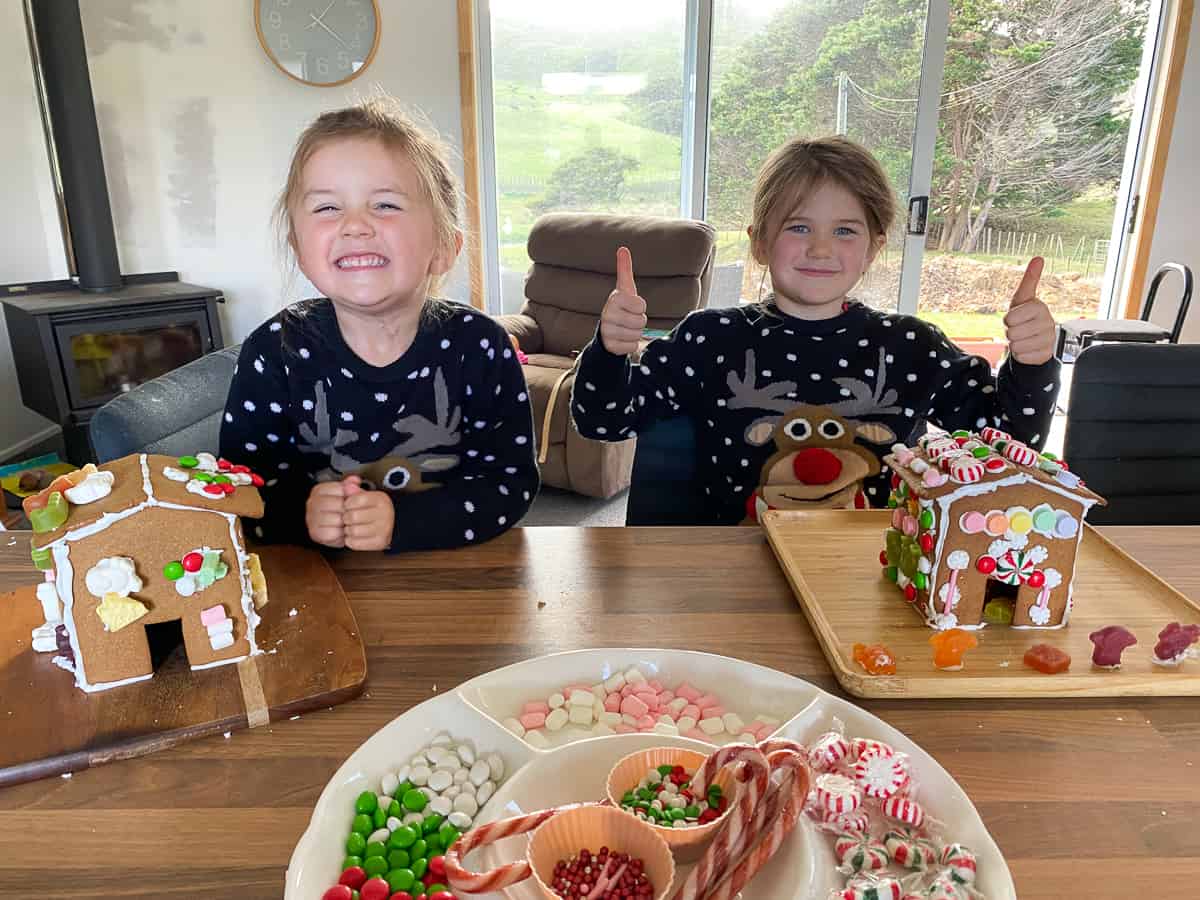
We have found that generally the kids are very excited to dig into the lollies at the start when we lay them out but then once they get into the decorating they are so focused on the project that they cool down on the eating front!
That's not to say they stop completely, but over the years of doing this we have found that the best approach is to go in with a VERY relaxed approach and know that they are going to go a little crazy on the sugar, but that it's all part of the fun!
Once they've finished their houses, they run around outside and burn all the energy off!
Storage
Once the kids have finished their houses, it is up to them how they eat them/break them apart! We have some kids who love to leave the house intact and pull the lollies off first and some kids who will just rip off a roof and get into it! Again, this is their house and we let them eat it how they want!
What is important when storing it is making sure that it is covered - I left one of mine on top of the fridge once and it got nibbled by a couple of pesky mice, so transferring it to a covered container might be a good option!
FAQ
You can bake the houses a few days ahead of time and store the pieces in an airtight container at room temperature once they are cool.
I buy mine from the supermarket or online lolly retailers
You really do. Royal icing sets quickly which is essential when assembling houses and it sets hard like concrete meaning the houses will stay intact - even when covered in candy!
Yes! This recipe is the same quantity that I use for making my gingerbread cookies and it makes 2 houses with some leftover. I double the recipe to make 5 houses and it's perfect.
Related
Looking for other recipes like this? Try these:
How to make and decorate a gingerbread house
Ingredients
Gingerbread house
- 115 grams butter (room temperature)
- 1 cup (200 grams) brown sugar
- 1 egg
- 2 Tablespoons golden syrup
- 2 cups (280 grams) plain flour
- 1 Tablespoon ground ginger
- 1 teaspoon cinnamon
- ½ teaspoon allspice
- ½ teaspoon ground cloves
- 1 teaspoon baking soda
- ¼ teaspoon salt
Royal icing
- 1 ½ cups icing sugar (sifted)
- 1 egg white
- milk (if needed to thin the icing)
Candy/lollies to decorate
- Mini marshmallows, candy canes, peppermint wheels, fruit jubes, jellybeans, M&M's or smarties, Christmas sprinkles or any other Christmas themed candy
Instructions
Gingerbread house
- Cream the butter and sugar together in a large bowl or in the bowl of a stand mixer until light and fluffy. Add the egg and golden syrup and combine. Add all other ingredients and mix together on low speed until well combined.
- Split dough in half and shape each half into a disc. Wrap in plastic wrap and chill in the freezer for 1 hour, or fridge for 2 hours. At this point, you can also put the dough in the freezer to use at a later date.
- Once you are ready to bake the houses, preheat the oven to 180°C/350°F and prepare 2 baking trays with silicone liners or baking paper. Remove the cookie dough discs from the fridge or freezer and unwrap. If using frozen dough, allow to thaw on the bench for an hour or so.
- Roll the dough out until it is about 3-4mm thick on a well floured surface or between 2 pieces of baking paper. If the dough is too hard to roll out, leave it sitting for 10 minutes or so and then try again.
- Using the gingerbread house template pieces, cut out the dough and lay the pieces on a lined baking tray. Re-roll any scraps of dough until you have all the pieces you need. Bake for 12-14 minutes, checking them at 12 minutes, until they are looking golden brown. They will harden slightly as they cool.
- Allow to cool completely on the tray so that they hold their shape.
Royal Icing
- Whisk the egg white in a medium sized bowl (or using a stand mixer) until soft peaks form. Slowly add the sifted icing sugar until the icing reaches a smooth, pipeable consistency. Add milk 1 teaspoon at a time if it is too thick, or add more icing sugar if it is too thin.
- Spoon the icing into a piping bag with a thin nozzle or into a sandwich size snaplock bag and snip the end off.
To decorate the houses - either assemble first and allow to set for an hour before decorating or decorate the pieces first and then assemble.
- Assemble the house: Choose a sturdy wooden board or flat plate to construct your house on. Start with the back piece and a side piece. Run a thick line of royal icing along the bottom and up the side of the back piece and place it on the board. You may want to use a peg to hold it in place (see post for image) or hold it up with a tin of food, jar or something else. Take the side piece and run a line of royal icing along the bottom and then join it to the back piece, holding them together for a couple of minutes until set. Repeat with the other side piece and the front piece. Once the house is assembled, go through and fill in any gaps with royal icing - more is better as this will help the house stay strong!
- Add the roof: Run a thick line of royal icing along the inside edges of one of the roof pieces and stick it onto the house. Repeat with the second roof piece and then secure the roof pieces together by running a thick line of royal icing along the top where they meet at the top of the house. Hold in place for a couple of minutes while it sets.
- To decorate the houses: Use royal icing to pipe designs or to stick lollies/candy onto the house. Be as creative as you like!







Leave a Reply