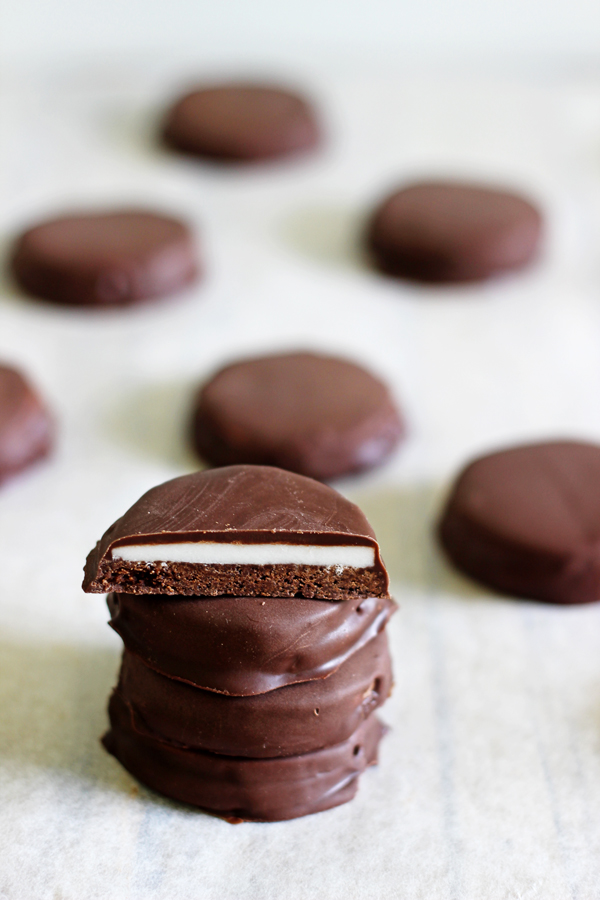
Homemade Mint Slices - New Zealand's favourite biscuit made at home! Crispy chocolate biscuits topped with peppermint fondant and coated in chocolate.
Some of the links in this post are affiliate links, which pay me a small commission for my referral at no extra cost to you! Thank you for supporting The Kiwi Country Girl.
I have the best November treat for you today...Homemade Mint Slices! After how much you all loved my Homemade 100's & 1000's biscuits I thought I would make it a bit of a thing to try all of our favourite homemade biscuits and cookies at home! After all, you know I'm 100% obsessed with trying to make anything you can buy. So if you have a favourite that you want me to try, let me know!
Homemade Mint Slices have actually worked out to be pretty timely - mint slices have just been voted New Zealand's favourite biscuit! Yes, I live in a country where this is news. Plus all that chocolate & peppermint-y goodness is the perfect "sort of Christmas but I'm trying to pull back until December" treat!
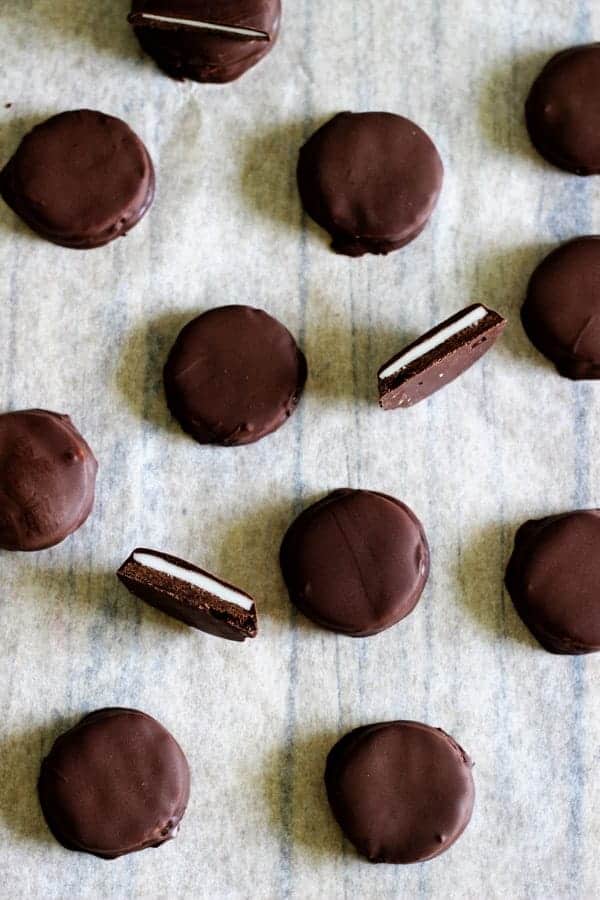
For all my non-Kiwi readers, mint slices are kind of a combination of Thin Mints & Peppermint Patties - they have the crispy chocolate base, the peppermint fondant layer and they're covered in chocolate. The best of both worlds!
At first glance, these cookies probably look pretty complicated to make. There are a few steps, but let me break it down for you. Plus - here's the video!
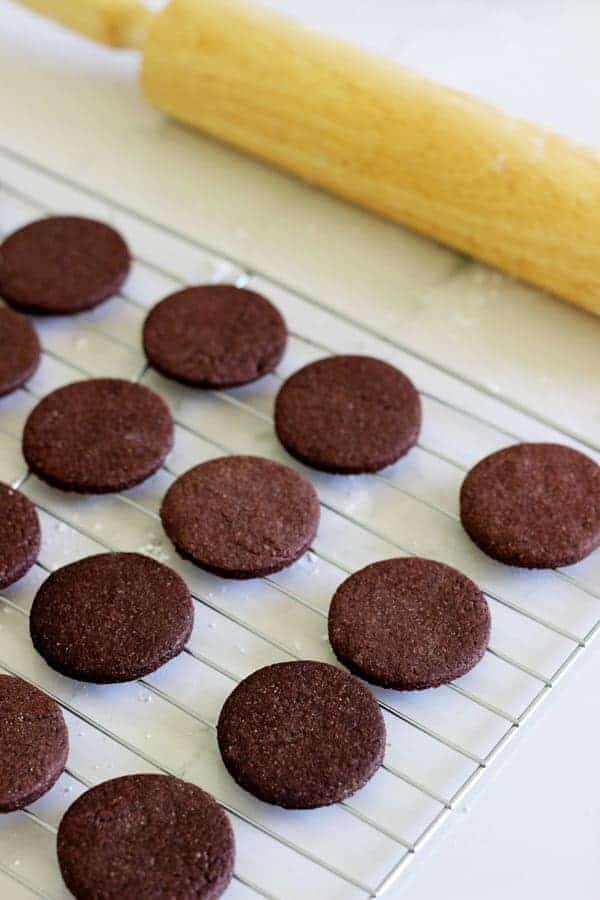
1. The chocolate biscuit base
This is my favourite classic chocolate biscuit recipe - it's the same one we use to make Homemade Oreos! (have you made them yet?) It's a simple recipe - make the dough, roll it out, cut the circles and bake. Easy!
2. The peppermint fondant filling
This is pretty much just a really thick icing. Icing sugar, a small amount of milk and peppermint extract for flavour. Mix it all together until you can form it into a ball that can be rolled out. It will be quite sticky so use plenty of extra icing sugar for rolling! Then use the same sized cookie cutter as you used for the biscuits to cut out circles. Place these on top of the cooled biscuits. Easy again!

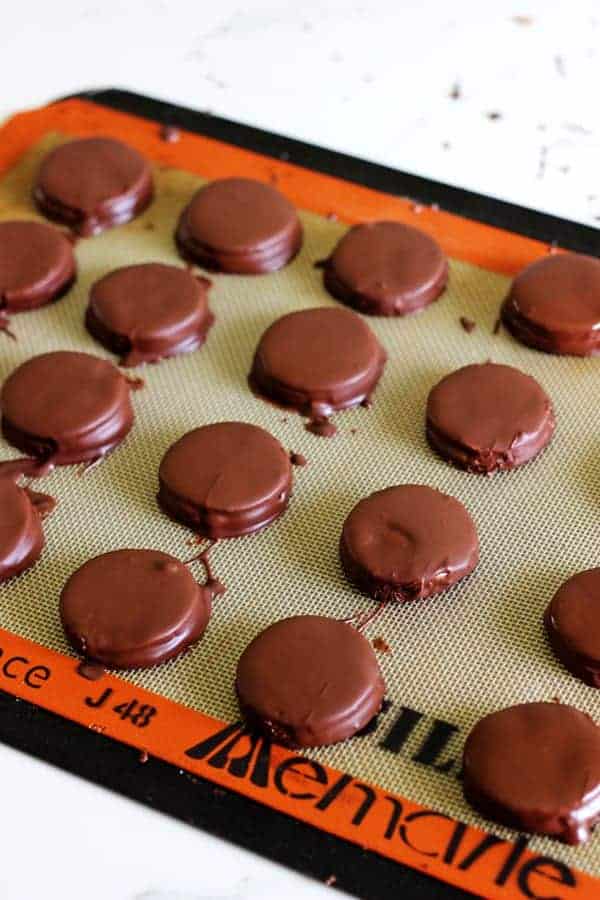
3. The chocolate shell.
This is the messiest part. Take chocolate chips and coconut oil (this helps the chocolate go hard on the biscuits) and melt together. Then, take the peppermint fondant topped biscuits and dip into the chocolate. These don't have to be perfect - in fact, I like them with bumpy/weird bits. Makes them look more homemade which we love! Put them on a tray to set.
That's it! It is slightly time consuming but they are such a fun treat to make at home. I made these for my sister who happens to love mint slices more than anyone I know and she said they were as good as the bought ones. If that's not validation that they're a winner, I don't know what is!
They would even make the perfect homemade Christmas gift - stack a few up, wrap in cellophane and tie up using a Christmas ribbon.
Store them at room temperature if you like, but they're even better kept in the fridge!

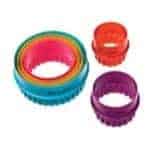
Here are the cookie cutters I used:
Double Sided Round Cookie Cutter - Set of 6

Ingredients
Biscuits
- 125 g butter softened
- ¾ cup sugar
- 1 egg
- 1 teaspoon vanilla extract
- 1 ½ cups (210g) flour
- ½ cup cocoa powder sifted
- ½ teaspoon baking powder
- ½ teaspoon salt
Peppermint Fondant
- 1 ½ cups icing sugar sifted
- 3 ½-4 teaspoon milk
- ½ teaspoon peppermint essence
Chocolate Shell
- 1 cup chocolate chips
- 1 tablespoon coconut oil
Instructions
Biscuits
- Pre-heat the oven to 180°C/350°F
- Cream butter & sugar in the bowl of a stand mixer or using a hand mixer on high speed until light & fluffy.
- Add the egg and vanilla and beat until well combined.
- Add flour, cocoa powder, baking powder & salt and mix in well.
- Using your hands, form the dough into a ball and place on a lightly floured surface. Using a floured rolling pin roll out the dough until it is approximately 5mm thick. Using a 48mm (1 & ⅞ inch) round cookie cutter, cut out the biscuits and lay out on a lined baking tray.
- Bake for 12-14 minutes until the biscuits are starting to crisp up around the edges. Remove from the oven and allow to cool on the tray.
Peppermint fondant
- Add the icing sugar, milk & peppermint essence to a medium sized mixing bowl and combine using a spoon until the fondant comes together. If you need to, add slightly more milk and if it becomes too soft, add more icing sugar until you can form it into a ball with your hands.
- Take the fondant ball and place on a surface sprinkled with icing sugar. Sprinkle more icing sugar on the top and using a rolling pin, roll out until it is 4-5mm thick. If the fondant sticks to the rolling pin, sprinkle with more icing sugar.
- Using the same 48mm (1 & ⅞ inch) round cookie cutter, cut out fondant circles and place them on the cooled biscuits.
Chocolate Shell
- Melt the chocolate chips & coconut oil in a medium sized microwave bowl for about 1 minute, stirring every 30 seconds, until melted and smooth.
- Have a baking tray lined with baking paper or a silpat liner ready to place the chocolate covered biscuits on.
- Take the fondant topped biscuits and dip into the chocolate - make sure you get a good coating of chocolate on each one. Place on the prepared baking tray to set.
- Allow the chocolate to harden - if you are in a warmer climate, place them in the fridge for 15 minutes.
- Store biscuits in an airtight container at room temperature for 5 days or in the fridge if you prefer.

Ivy says
This is an amazing recipe but I made about 40 biscuits instead of the 24 it says you make. These biscuits taste just like the ones you buy and I love them!
Peter says
These are delicious, way nicer than store bought. Made them twice so far and 5mm chocolate dough gave me over 40 biscuits both times. Had to make more fondant. Froze some. Great straight from the freezer. Added 50 percent more peppermint essence just for my taste. The main benefit I'm the only one who likes peppermint in my house!
Alysha Stephens says
Is there something else you could use instead of coconut oil?
Laura says
You need a fat that will be solid at room temperature to help the coating go smoothly onto the biscuit but also set hard, so you could try butter or shortening
Jet says
These were a little labor-intensive but worth it! They taste exactly like the Girl Scout thin mint cookies of my childhood with the cream filling. Thank you so much for the recipe - they are just perfectly delicious!
Ange says
Great recipe,took me a while to make them. It was worth it,and hard to stop at just eating one.
Someone says
Would I be able to make a choc mint slice with this recipe a?
Laura says
Hi there, yes absolutely!
Victoria Buist says
What type of flour please?
Plain or self raising?
Laura says
Plain flour 🙂
Jo says
Would it be possible to sub out the eggs in the biscuit base?
Laura says
Hi Jo, I've never tried but you could try substituting it with 1/4 cup of condensed milk or even trying a flaxseed egg. Laura
Steph says
I made these today and they were an absolutely treat! Such an easy recipe to follow and such a delicious result!
Lisa Badrick says
Great idea and individual flavours were great, but we personally found the ratio of peppermint filling to biscuit was much too sweet. I think if I made these again, I'd make a thick icing with hot water, rather than a fondant, for a thinner centre. The peppermint would probably disperse more evenly too or I'd make the fondant disc about half the cookie size. Overall, we'll eat the batch but I wouldn't make them exactly as per instructions again as they are too fiddly not to be 100% happy with them. My 24 cookies were done in 10 mins.
Gabby says
I made these yesterday and they were a success!!!! I didn't have icing sugar so I just blended up caster sugar to make it into a powder (pro tip).
These were my first experience baking with mint! So Yum!
Laura says
Brilliant idea!! So glad you enjoyed them, they are so delicious! Laura