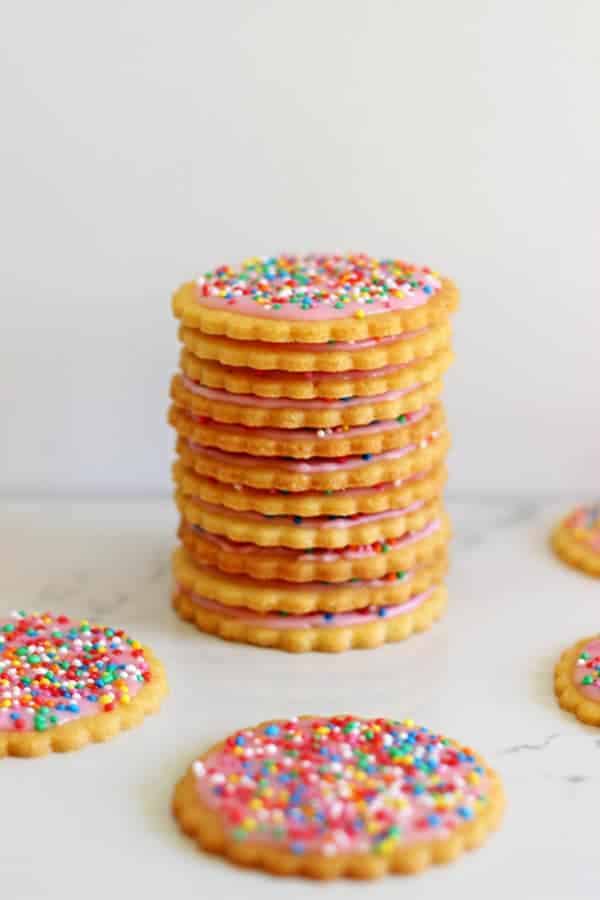
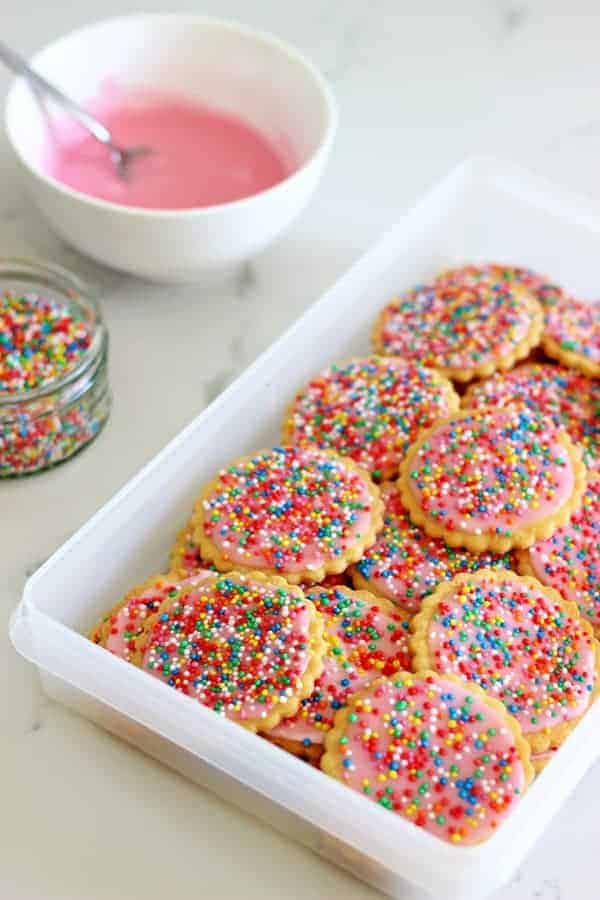
Homemade 100's & 1000's biscuits!! Remember these beauties from when you were a kid? They always seemed to make an appearance at birthday parties...as they should! Nothing screams kids birthday parties like pink iced cookies covered in sprinkles!
Some of the links in this post are affiliate links, which pay me a small commission for my referral at no extra cost to you! Thank you for supporting The Kiwi Country Girl.
Well guess what...today, we make them at home!! I've finally cracked the recipe and these homemade 100's & 1000's biscuits are the real deal. They are so delicious that Josh & I demolished the entire batch in less than 1 week. Not even kidding. No big deal? Um...did I mention that the recipe makes 60. Yep. 6. 0. That's embarrassing.
Whatever, they're small.
I've used my all time favourite cut out sugar cookie recipe for these. It's a really easy recipe and makes enough for a lot of sugar cookies. What you can do if you don't need the temptation of 60 cookies in your face is make the whole batch, but then freeze half of the dough for another time. Like Christmas...anyone else already getting excited about Christmas or just me?
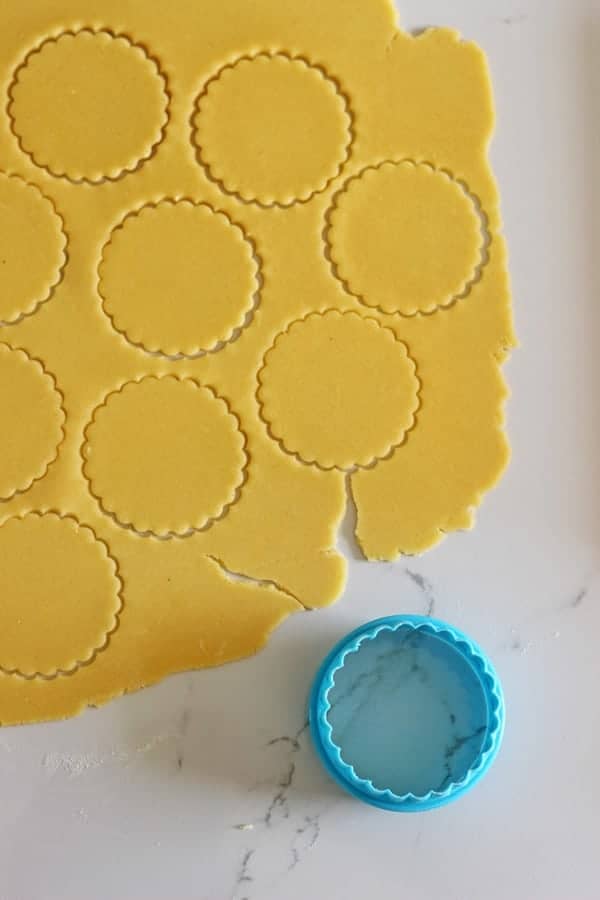
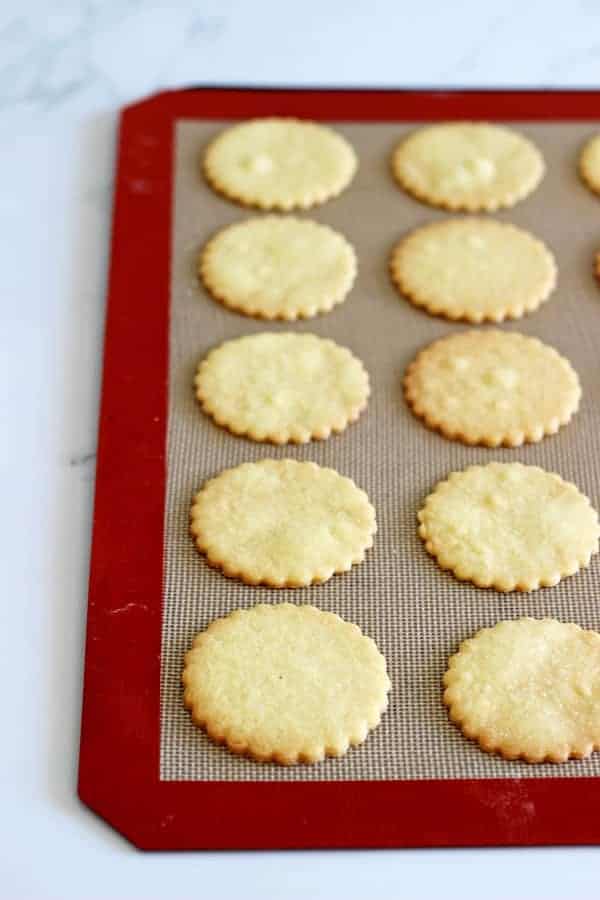
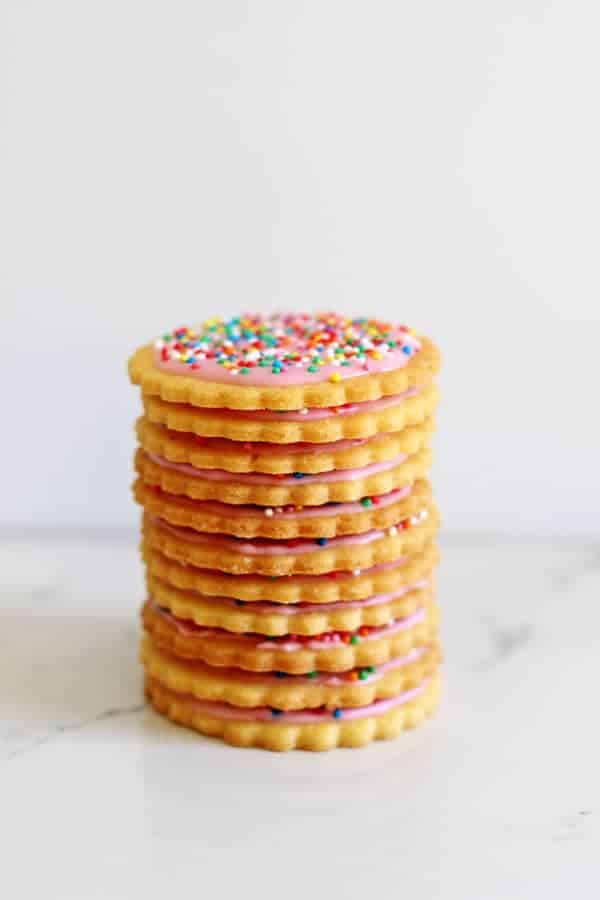
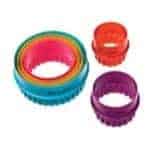
For homemade 100's & 1000's biscuits I didn't do anything differently to the recipe, just rolled the cookies a little thinner so that they have the crunch factor. Cut them out using a round cookie cutter - these are the ones I have and used. The crinkly edges make them just like the real thing!
Bake them for about 9-12 minutes depending on if you are baking 1 or 2 trays at once. Keep a close eye on them though, they can go from golden brown to very dark pretty quickly. Not that it matters because they still taste just as good and the pink icing covers the brown up anyway!
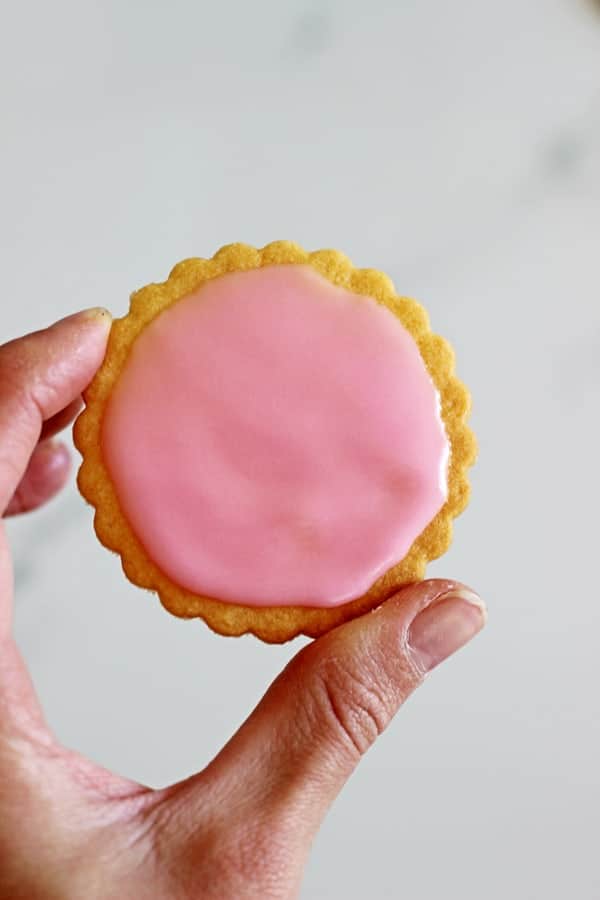
The icing is a quick icing sugar, milk and sugar syrup mix up. The sugar syrup is what gives the icing a nice shine. Use a knife to spread the icing right to the edges and then sprinkle with 100's & 1000's. I would recommend sprinking over top of a bowl to catch the excess...makes for much easier clean up, even without tiny helpers!
But the real trick when it comes to making these cookies super authentic? Store them in the freezer! YES! I froze a few just so I could tell you if they actually froze well or not and I was amazed to find that not only do they freeze exceptionally well, the freezer is what stops the cookies from getting soft due to the icing! They stay crunchy for weeks! The bonus is that the cookies are thin enough that they can be eaten straight out of the freezer too, no need to let them thaw. Which makes them an even better option for making and keeping in the freezer for birthday parties or unexpected visitors.
Or you know, continual snacking all week!
Here are the cookie cutters I used:
Double Sided Round Cookie Cutter - Set of 6
Homemade 100's & 1000's Biscuits
Ingredients
Biscuits
- 125 g butter softened
- ¾ cup (165g) white sugar
- 1 teaspoon vanilla
- 1 egg
- 2 cups (280g) plain flour
- ½ teaspoon baking powder
- ¼ teaspoon salt
Icing – this is enough icing for the full batch of cookies, if only making half, halve the icing recipe
- 2 cups icing sugar
- 2 tablespoon milk
- 2 tablespoon sugar syrup (see recipe note 1)
- 2 drops of pink food colouring
- 100 ’s & 1000’s sprinkles
Instructions
To make the biscuits
- Cream butter & sugar in the bowl of a stand mixer on high speed until light in colour & fluffy.
- Add the egg and vanilla and beat until well combined. Add flour, baking powder & salt and mix in well.
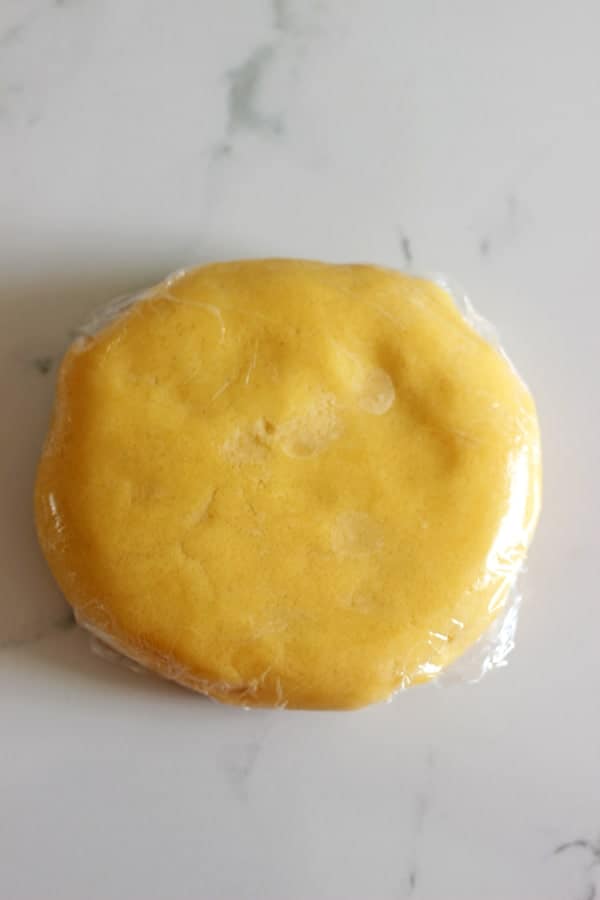
- Split dough in half and flatten into discs. Wrap in plastic wrap and chill in the fridge for at least 30 minutes. At this point, you can also put half the dough in the freezer for another time.
- Pre-heat the oven to 180°C.
- Remove the cookie dough from the fridge and let it sit on the bench for about 15 minutes to soften up slightly. Roll it out so that it is about 3-4mm thick.
- Using a 68mm/ 2 & ⅝ inch (or similar) round cookie cutter (with crinkled edges if you have one) cut out as many cookies as you can and lay out on a lined baking tray. Re-roll the leftover dough to make more cookies.
- Bake for 8-10 minutes if baking 1 tray of cookies, or 10-12 minutes if baking 2 trays at once, until the cookies are just starting to go golden on top. You may need to swap the trays over halfway through baking if using 2 trays.
- Remove from the oven and allow to cool for 10 minutes before transferring to a cooling rack.
To make the icing
- *If you have only made half the batch of cookies, make sure to halve the icing recipe too.
- Mix together icing ingredients until smooth. Add a little more milk or sugar syrup if the icing is too thick. You want it to be easy to spread but not too runny that it will drip off the sides of the cookies.
- Using a knife, spread about ½ – 1 teaspoon of icing on each cookie and sprinkle with 100’s and 1000’s.
- Allow cookies to set before stacking on top of each other.
- For the most authentic 100’s & 1000’s biscuits, store in the freezer in a container or snaplock bag for several weeks. No need to thaw before eating, they will just be extra crispy!
- You may also store in an airtight container at room temperature for 1 week but the icing will cause the cookies to soften slightly. Still delicious though!
Notes
Nutrition





This was such a nice and simple recipe, looks amazing. I'm sure my husband and children will devour these cookies !! Will be making these cookies again soon ! Thanks for the recipe xo
This recipe does the trick! It is great to make as 100 and 1000s biscuits and the kids always love helping with the icing too. But we also use it for any other cookies now. It works great with animal cutters that have faces because the dough keeps it's shape when baking. It's now our go to recipe. Super easy and we can save half the batch in the freezer for another day. Thanks Laura!
I can confirm that half a batch of the icing recipe does a good job of decorating a packet of wine biscuits if you're trying to throw birthday party food together in a level 4 lockdown 🙂
My son and I made these and all the family loved them. I put half the mixture in the freezer so hopefully that will also come out great when we come to make that batch. thanks for sharing 🙂
I do this often, they will come out perfectly! Such a time saver 🙂