How to make a simple baby change mat - if you can sew a straight line, you can make this portable baby change mat - perfect for in the nappy/diaper bag or as a baby shower gift!
Hey guys! Ready to sew today? This simple baby change mat is the perfect sewing project for beginners - honestly, if you can sew in a straight line you will have no problems whipping up one of these babies!
It's amazing what you find out you need after you have a baby. When we were preparing for Sadie's arrival, the amount of stuff I realised we would need was quite overwhelming. So I went for a simple approach - I got the absolute essentials and if I was slightly unsure about if I really needed something, I left it and figured I would get it once Sadie was here if necessary. And for the most part this strategy worked really well. There were still things we had that we never used and I definitely made a couple of panicked phone calls to friends to come to the rescue (yes, you will need newborn sized clothing even if they only wear it for a few weeks!) but mostly, we did well.
One thing that I would have never thought of was a soft cover for the change mat. We had a foldaway change mat that came in the nappy bag and of course we had the changing table at home with the standard plastic change pad but it wasn't until Josh's mum bought us a couple of fleecy covers that I realised how important they were! Sadie was a winter baby so it was really nice to have a soft and warm surface to lie her bare baby butt on for change time. And to soak up the inevitable messes that were made while the babe was sans nappy!
They are so useful that when I was thinking about what to get a friend as a baby shower gift they were one of the first things to come to mind. But I took a look at it and decided that it was just as easy to make one and that way I could choose the fabric!
I worked out that it cost $13.80 to make 2 changemats. I bought 80cm of the cover fabric which came in 112cm (44") wide rolls which gave me the perfect amount to make 2 changemats out of. I used this flannelette that was on special for $6 per metre. The backing fabric came in the same width roll ($9 per metre full price, but it's often on special!) but I bought 1m of that so that I had plenty to make the straps out of. I used black thread to match the backing fabric.
Here's how to do it!
Materials needed:
- 1x 80cm (31") x 55cm (21") piece of top material (polar fleece, flannelette, cotton - I used this flannelette from Spotlight)
- 1x 80cm x 55cm (31" x 21") piece of backing material (waterproof nylon fabric - I used Black Parker Nylon from Spotlight)
- 2x 40cm (15") x 7cm (2 & ¾") pieces of the backing material to use as the straps
- Sewing machine
- Pins
- Thread (I matched it to the backing fabric)
- Scissors
- Chopstick/knitting needle/pencil
Instructions:
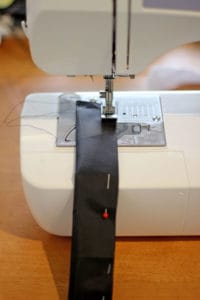
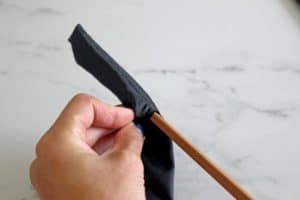
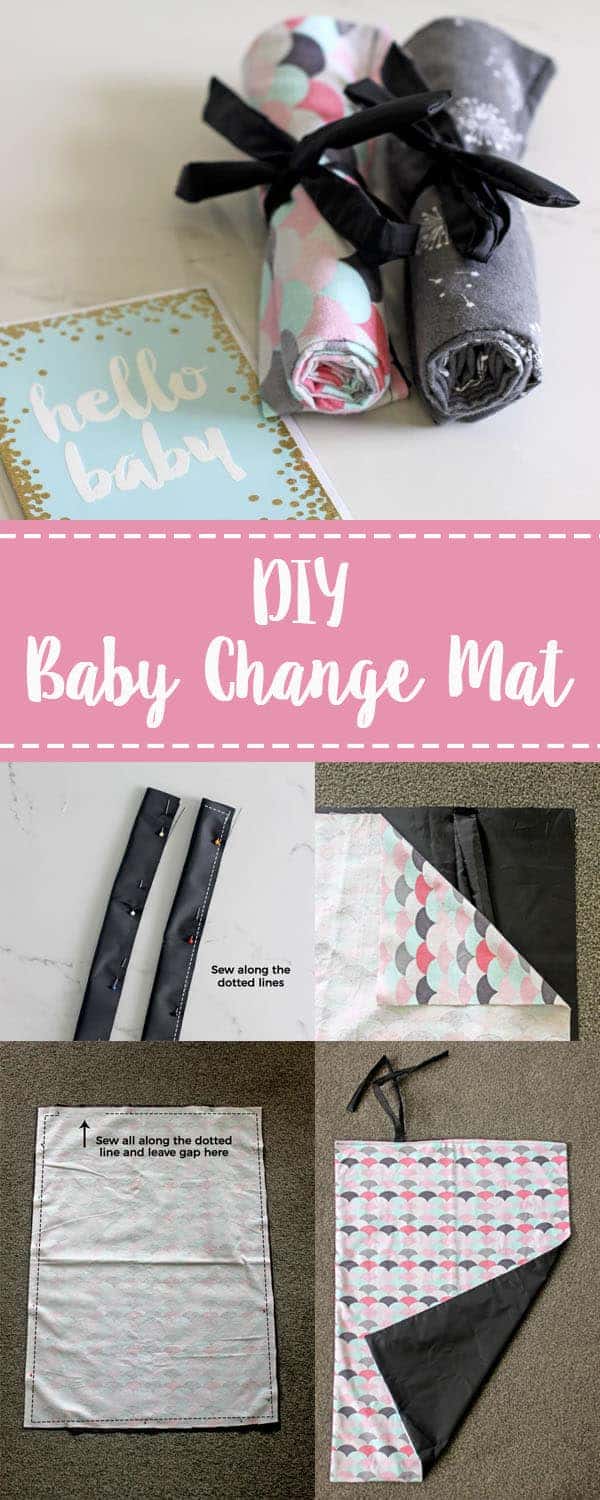
First up, make the straps. Fold each strip in half length ways and pin together. Using a 6mm (¼") seam allowance (the gap between the edge of the material and the stitching) sew along one of the short edges and the pinned long edge. Leave one short end open and turn the strap inside out so that the seam is on the inside. I use a chopstick or a knitting needle, or even a pencil to help push it through. Repeat with the other strap and set aside.
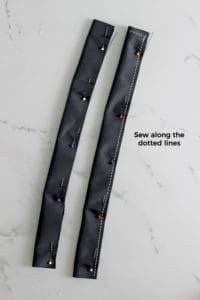
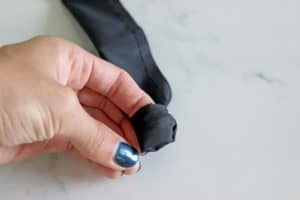
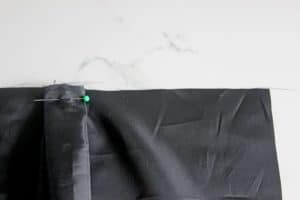
Now take the piece of backing fabric and measure 14cm (5.5") in from the edge along one of the short edges. Make a mark with chalk and pin the 2 straps together, one on top of the other, on the mark, lining the open ends of the straps up with the raw edge of the backing fabric. Sew the straps onto the backing fabric leaving a 6mm (¼") seam allowance. Remove the pin.
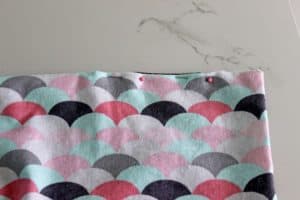
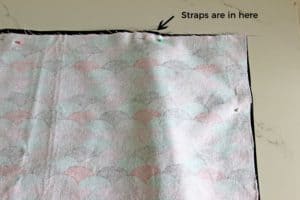
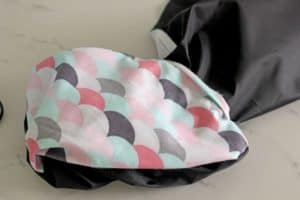
Lie your backing fabric on the floor with the straps on top. Take your cover fabric and lay it on top of the backing fabric pattern side down. Line up the edges and pin together. If your cover material has a top and a bottom (eg a picture, make sure the top of the picture is up the same end as the straps, as this will be the top of the changemat) At this point the straps will be inside the 2 pieces of material...this is what you want! It seems wrong but it's not...trust me!
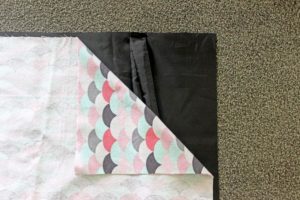
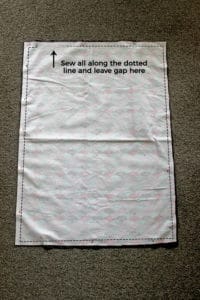
Starting on the top of the changemat (the same edge that the straps are on) sew around the edge of the changemat with a 6mm (¼") seam allowance. You will need to leave a gap around 10cm (4") in the middle of the top edge of the change mat so that you can turn it inside out.
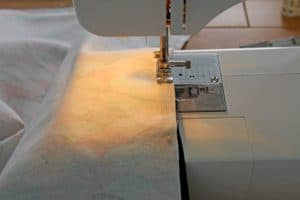
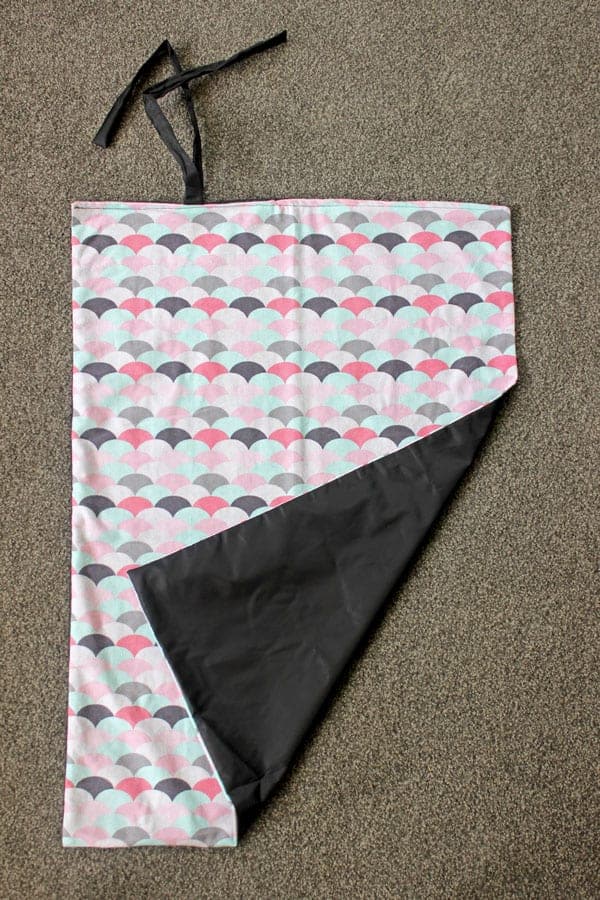
Once you have sewn around the whole mat (except for the gap) turn the changemat the right way out, use a chopstick or knitting needle (or something similar, even a pencil) to push the corners all the way out and ta da...there are the straps! Before you turn it inside out you can snip the corners if you like...this just helps the corners fold all the way out - it's entirely optional though.
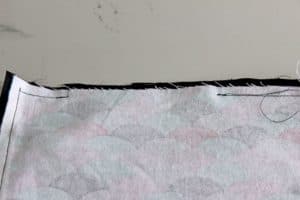
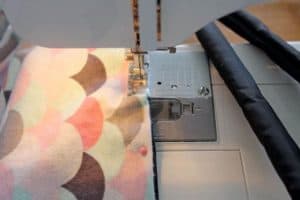
Now you just need to close up the gap that you left. Fold the edges under and pin it together and then sew along the whole top edge of the change mat using the same 6mm (¼") seam allowance. You don't need to, but I like that the seam is then along the whole edge rather than just the gap and it adds an extra level of reinforcement on the straps.
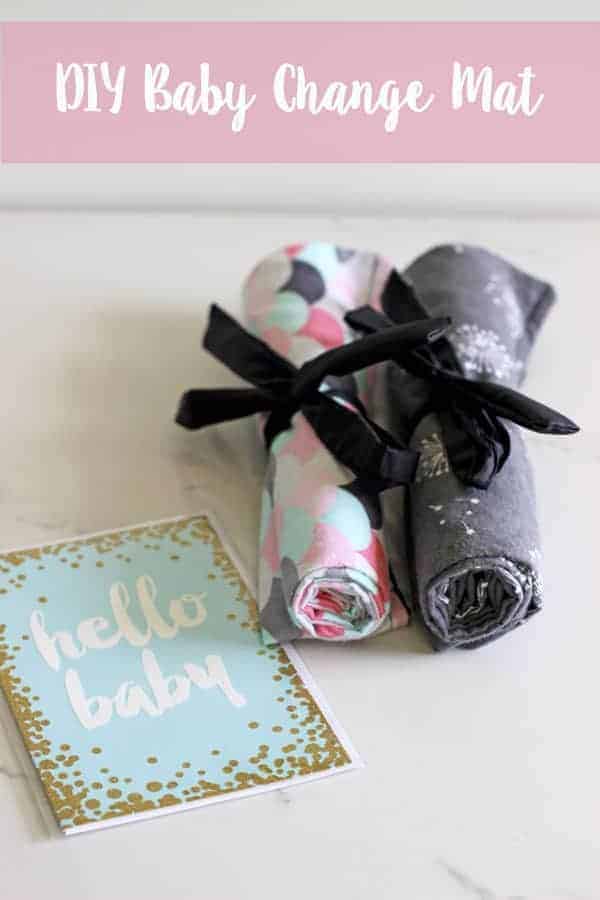
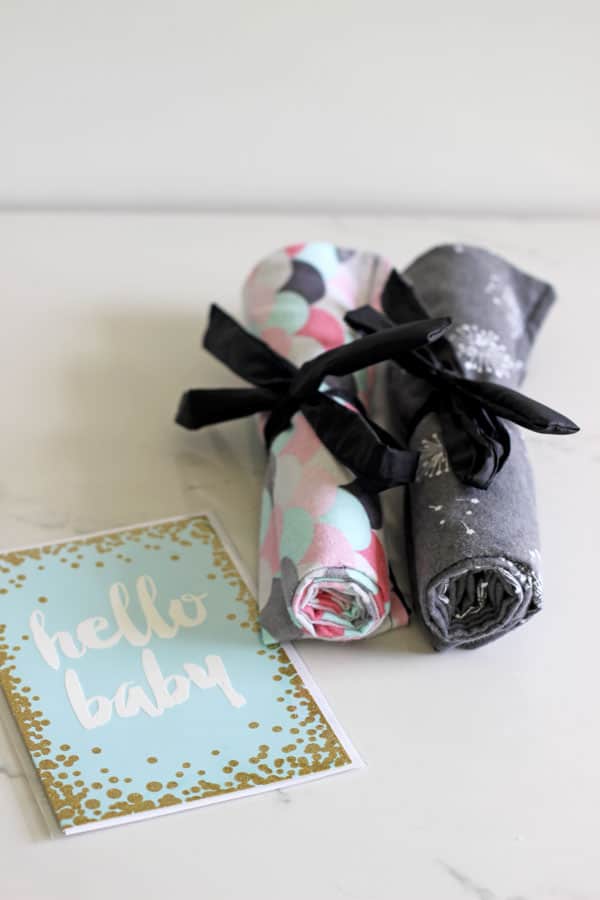
To fold up the changemat, fold it in half lengthways, then roll it up and use the handy straps to tie it together.
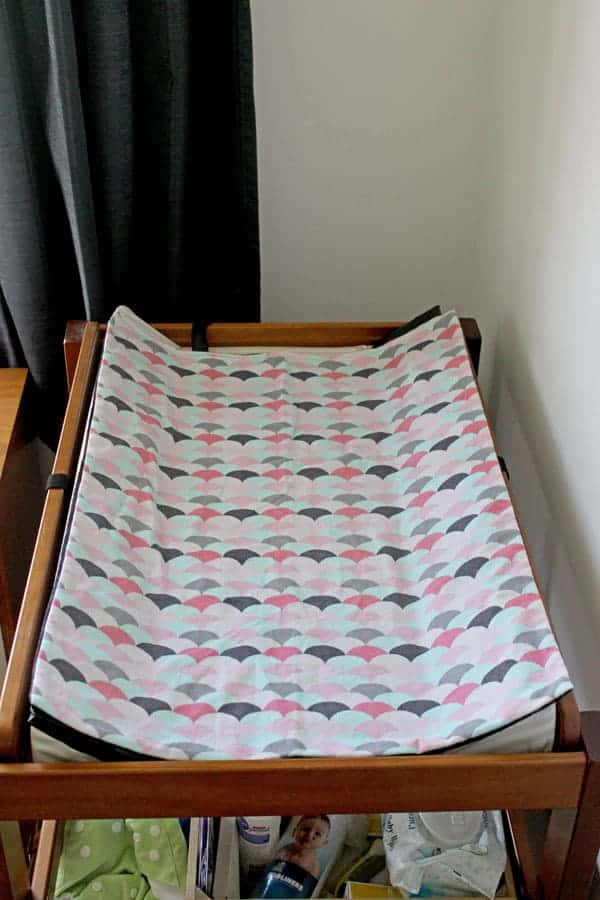
You're all done! Your changemat is ready to gift to a friend or to be used for your baby! And you know what - if your sewing isn't perfect don't worry...it is literally going to be peed and pooped on so it's a great practice project!
The best part is that they then go straight in the washing machine when they're dirty - hence the need for more than one! Plus they roll up really nicely and just tuck into the side of your nappy bag to take with you out and about.
Have you made this? Send me your pictures!



Tui Sanders says
What a versatile young lady you are. Thank you Laura, I have really enjoyed scrolling and investigating your pages.
Am definitely going to be using your cooking pages whenever I can. (Roll on up adult grand kids - Granny can cook lasange too!)
Keep it up
Thanks for the joy
Cheers
Tui