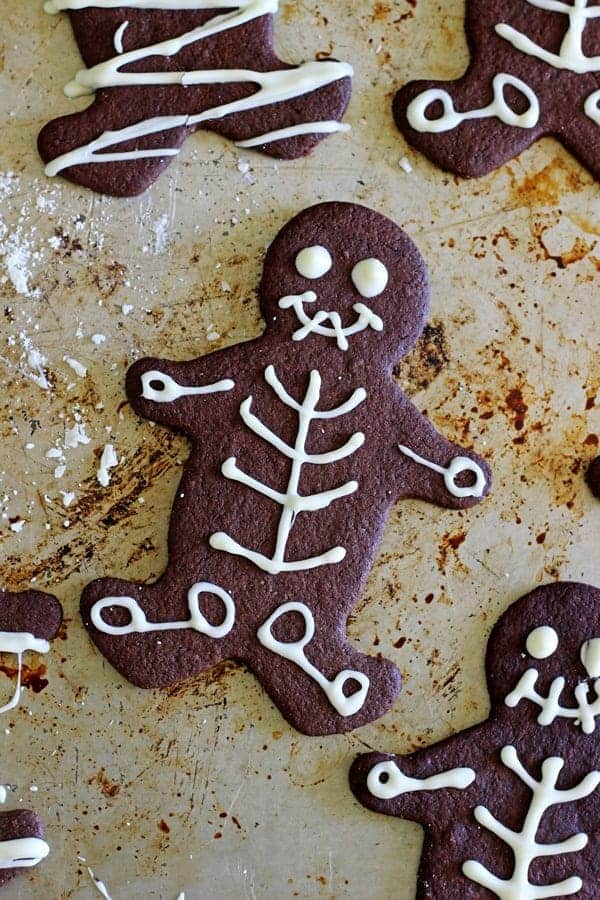
Chocolate Halloween Mummy & Skeleton Cookies - perfect for Halloween parties, trick or treaters and for making with kids!
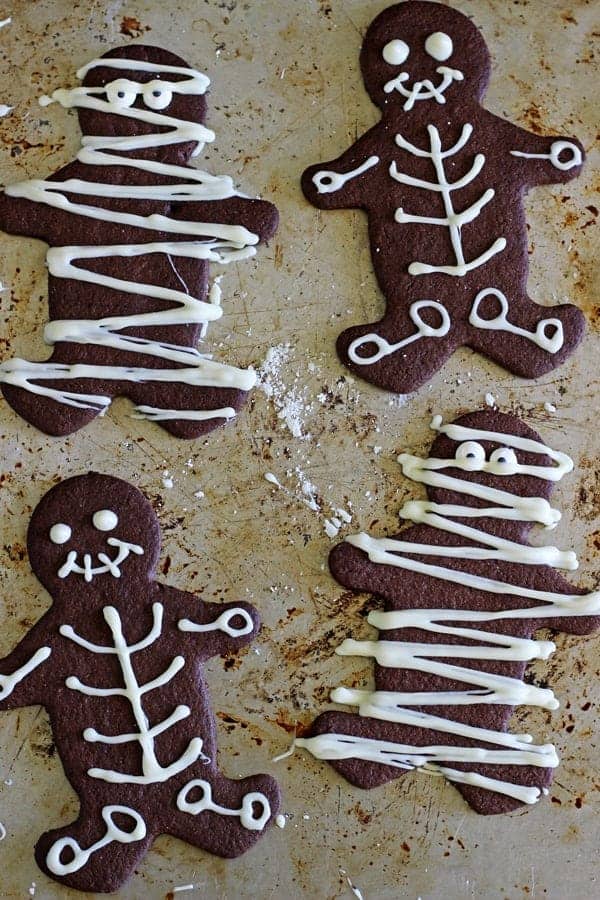
I'm back with another fun Halloween recipe...are you ready? Chocolate Halloween Mummy & Skeleton Cookies! What a mouthful. But these cookies - they're perfect for Halloween, spooky but fun, delicious and great to decorate with kids. Well, maybe...I did mine with a sleeping baby and that was pretty easy, it might be harder with actual grown up kids!
They would also be the perfect thing to have in your trick or treat basket at home - no one else is going to have Mummy & Skeleton Cookies!
By the way I still haven't decided what I'm going to dress Sadie up as for Halloween. Or what we are going to do. I'm actually kind of thinking that I'll probably just stay home, dress her up and take a few pictures, like it's actually a big deal. Is that weird? And we'll save the actual Halloweening for when she is bigger and actually knows what's going on!
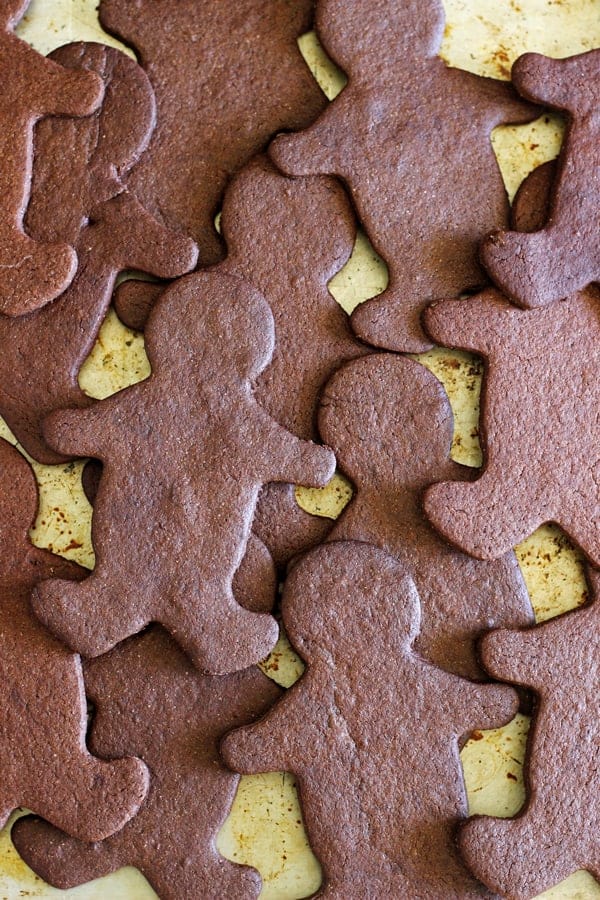
These cookies are my favourite sugar cookie recipe only with chocolate. You do have to plan a couple of hours ahead though as the dough does need time to chill before baking. Only so that the cookies hold their shape and don't spread. Once they're baked, allow them to cool completely and then it's time to decorate!
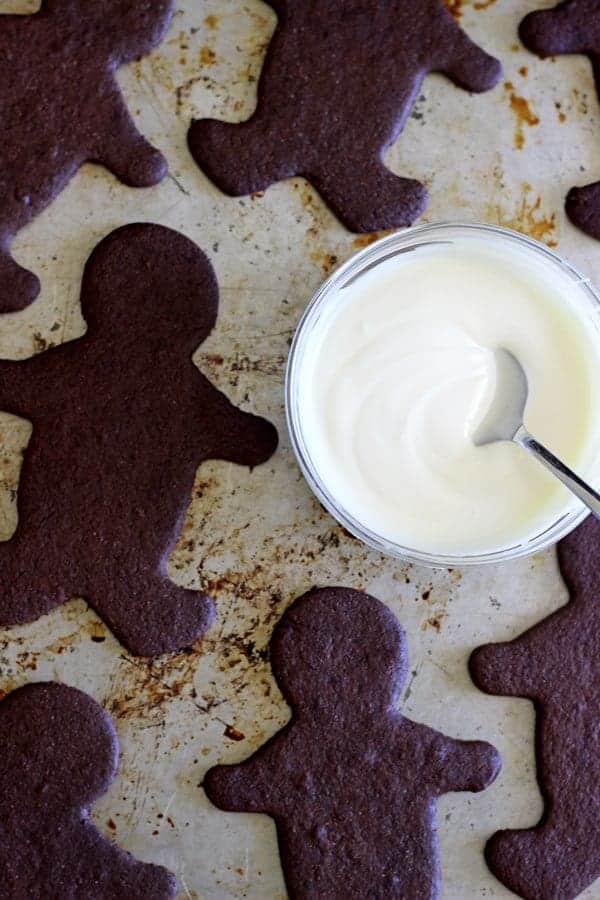
A note about the white chocolate buttons for decorating. I would have thought that all buttons would be fine, but I tried 2 different brands - Pam's and the Countdown Essentials brand and the Pam's ones actually didn't melt well at all. The Countdown ones say on the packet "great for melting" and they really are, so I would definitely use those ones. Once the chocolate is melted, pour it straight into a snaplock bag and snip the end off to pipe the decorations. I tried using a piping bag with a thin tip and it was way too much mess and fuss. If you use a snaplock bag you can then just throw it out once you're done - no cleaning, no fuss. Perfect!
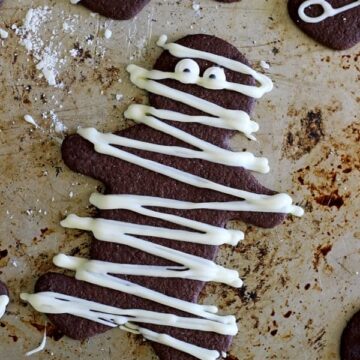
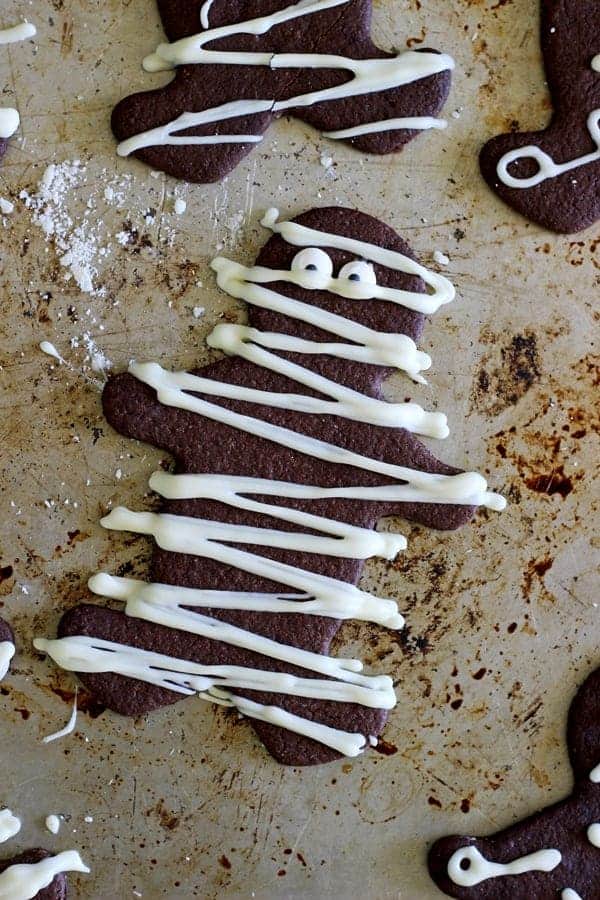
Decorating the mummies was easy - just squiggle the chocolate all over! The skeletons were a bit harder and required a slightly more steady hand - I found it easier to do these once the chocolate had cooled slightly in the bag - it's less runny that way! But practice makes perfect - my first few were terrible!
The candy eyeballs I got from a local party supply store and just used a little white chocolate to stick them to the cookies.
Once they're decorated, let the chocolate harden - it only takes a few minutes - then they're ready to eat!
Happy Halloween!
Other great Halloween ideas
Oreo Chocolate Mousse Graveyard Cups
Ingredients
Cookies
- 125 g butter softened
- ¾ cup sugar
- 1 egg
- 1 teaspoon vanilla extract
- 1 ½ cups (210g) flour
- ½ cup cocoa powder
- ½ teaspoon baking powder
- ½ teaspoon salt
Decorations
- 1 cup white chocolate buttons I used Countdown Essentials brand
- Candy eyeballs
Instructions
- Cream butter & sugar in the bowl of a stand mixer on high speed until light & fluffy. Add the egg and vanilla and beat until well combined.
- Add flour, cocoa powder baking powder & salt and mix in well.
- Split dough in half and shape each half into a disc. Wrap in plastic wrap and chill in the freezer for 1 hour, fridge for 2 hours. At this point, you can also put the dough in the freezer to use at a later date.
- Once you are ready to bake the cookies, pre-heat the oven to 180°C.
- Remove the cookie dough discs from the fridge or freezer and unwrap. If using frozen dough, allow to thaw in the fridge for an hour or so.
- Roll the dough out until it is about 3-4mm thick. If the dough is too hard to roll out, leave it sitting for 10 minutes or so and then try again. Using a gingerbread man cutter, cut out the cookies and lay them on a lined baking tray. Re-roll any scraps of dough to make more cookies. Bake for 12-14 minutes, checking them at 12 minutes, until they are starting to harden and are looking slightly darker around the edges.
- Allow to cool on the tray for 5 minutes, then transfer to a cooling rack.
To decorate
- Melt the white chocolate buttons* in a microwave safe bowl for 20 second bursts, stirring after each time in the microwave, until completely melted.
- Pour the white chocolate into a small snaplock bag, seal it and make a small cut in the corner of the bag to pipe out of.
- Use a small amount of white chocolate to stick the candy eyeballs onto the mummy cookies. Gently squeeze the snaplock bag to decorate the cookies. If the chocolate starts to harden, run the bag under warm water until it softens again.
- Allow the chocolate to harden before serving.
- Store cookies in an airtight container for about 1 week.



Leave a Reply