How to transplant seedlings - from preparing the garden, to how big the plants need to be and the ideal conditions to transplant in, here is all you need to know about transplanting and re-potting seedlings.
You've made your garden plan, planted your seeds inside and are in the process of hardening them off. It's almost time to plant them outside so today we learn everything you need to know about how to transplant seedlings!
First up, let's talk about re-potting seedlings. This will be necessary if you have planted a lot of seeds in a seed tray or you have planted them in small cells that they have outgrown before they are ready to go in the ground. I started most of my seeds in small 6 cell punnets and put 2 seeds in each cell as I didn't know how many would actually germinate. They all did really well so I ended up with a lot of plants growing with not a lot of room. As they were still too small and it was far too cold to plant in the ground, I needed to give them more room to grow before they were ready for the garden, so I transplanted them into bigger pots that would allow them plenty of room. This process involves preparing the new pots and watering them well both before and after re-potting.
I follow a similar process when it comes to planting seedlings into the garden - preparing the garden bed, planting at the right time of day and making sure the plants have been watered really well prior to being transplanted and after they go in the ground all help the seedlings do really well.
The process I outline below is the way I do it and is meant as a guide only, however there are a few general rules to follow when it comes to transplanting seedlings:
- Wait until the risk of the last frost has passed - I tend to wait a good couple of weeks after this also
- Wait until the first set of true leaves appear (not just the baby seed leaves, the ones that actually look like the leaves on the plant)
- Transplant either first thing in the morning or in the late afternoon/evening when it's not too hot. I don't find this to be as important when re-potting seedlings as long as they are not in direct sunlight
- Be gentle!
How to re-pot seedlings:
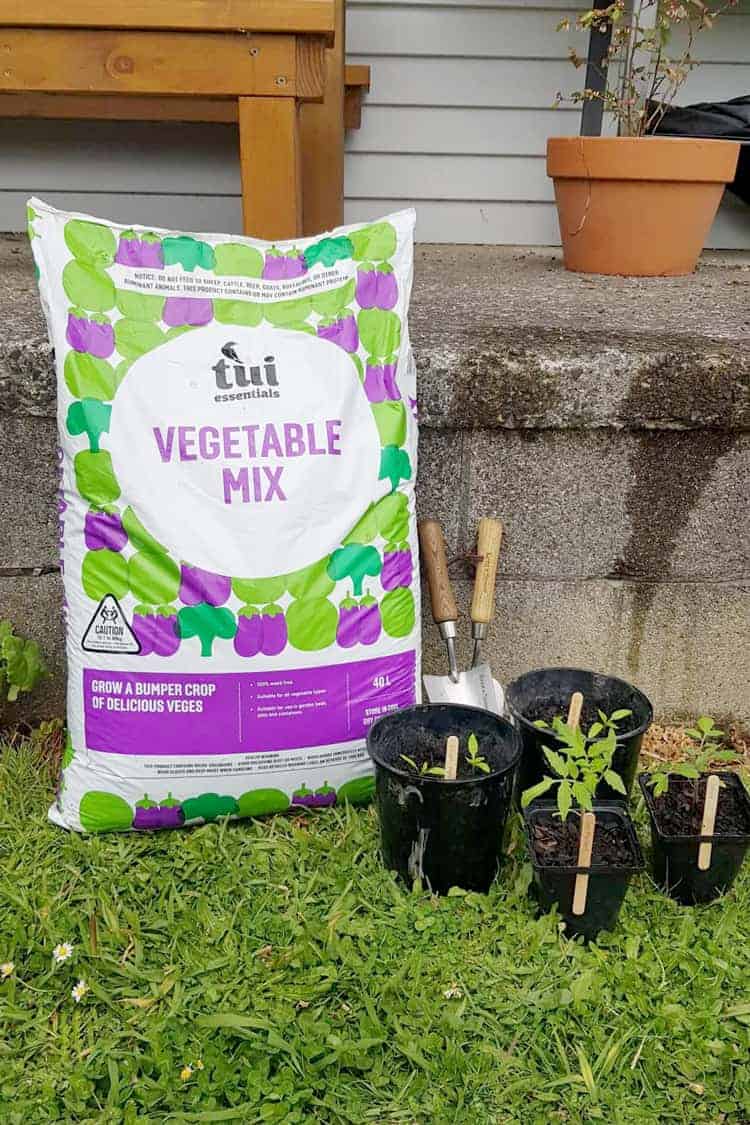
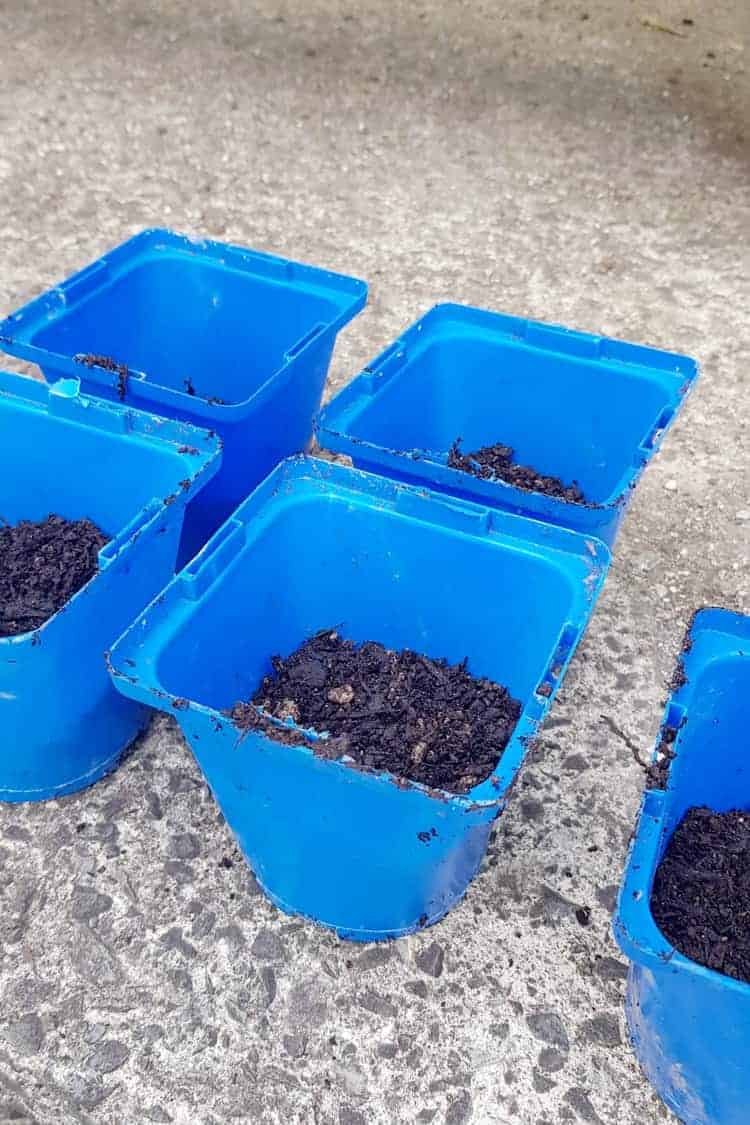
Step 1: Prepare the bigger pot that you will be moving the seedling into by half filling it with good quality potting mix or vegetable mix.
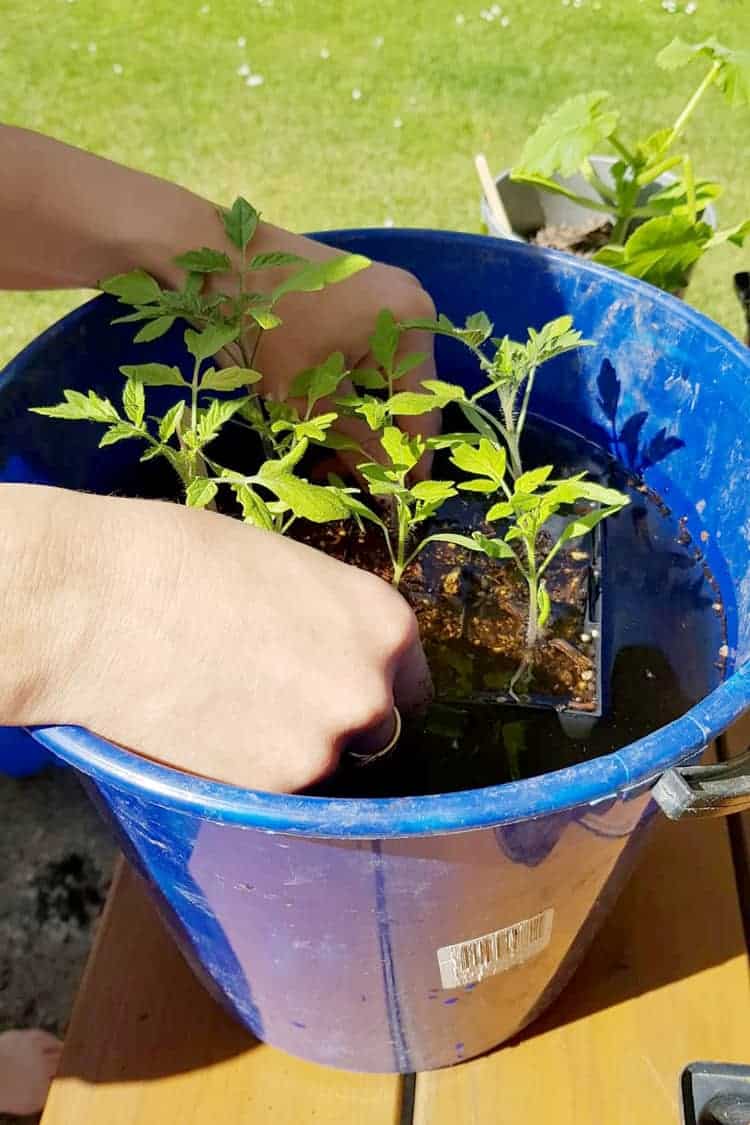
Step 2: Give the seedlings a good water. This helps to keep the soil together when moving it. I like giving mine a good dunk in a mixture of water and Tui Organic Seaweed and Plant Tonic - it helps reduce transplant shock and is great for the plants.
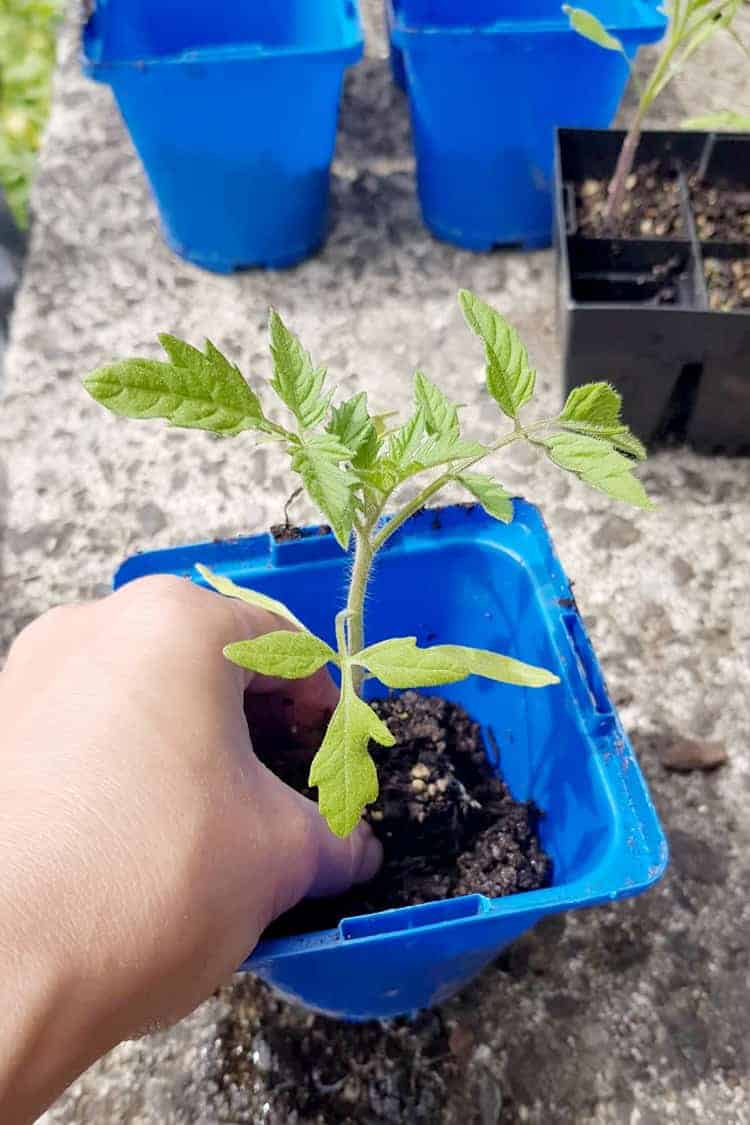
Step 3: Gently remove the plant from the seed tray or cell. I like to use the handle of a spoon as it allows me to get right under the roots of the plant without disturbing them too much. Gently prise the plant out of the cell using the spoon to lift it out. Carefully place the plant in the prepared bigger pot and fill in around it with more potting or vegetable mix. I like to fill the container right up and press down gently around the plant so that it is securely planted.
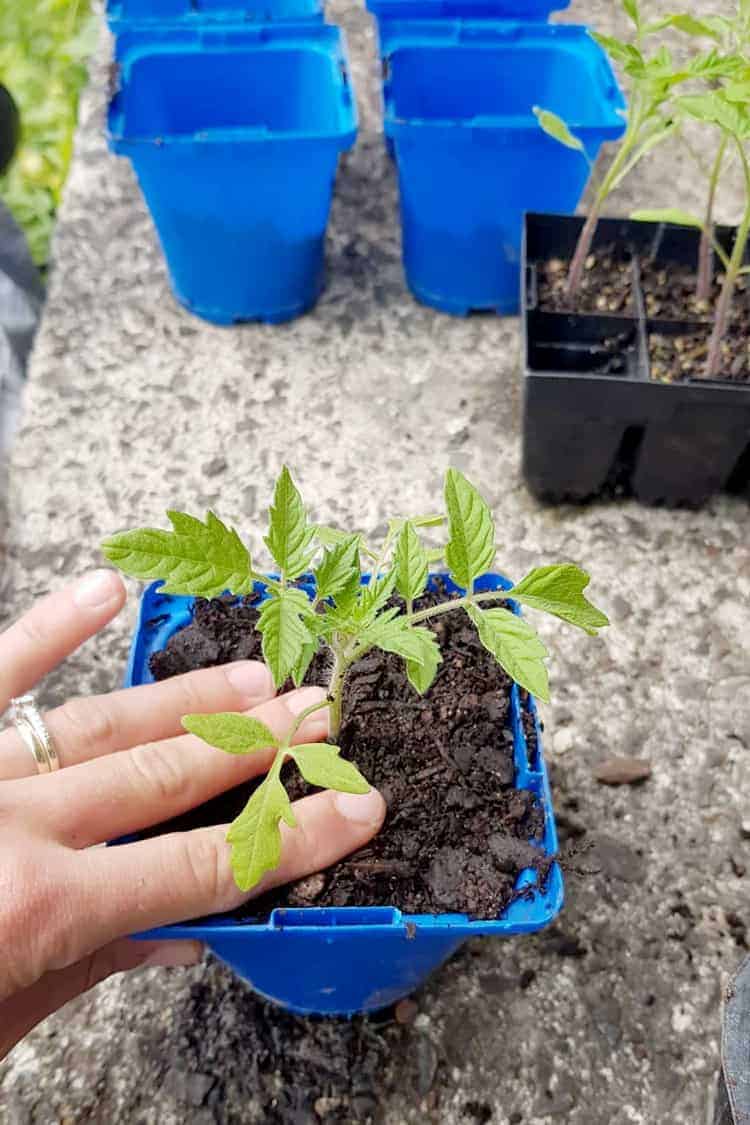
Step 4: Sit the new pots back in trays filled with water so that they can take as much water as they need. At this point, make sure you remember to make new labels for the pots if you need to! I will often only make 1 label for the 6 cell punnet, so when I separate them into bigger pots, I make a new label on a popsicle stick for each individual plant.

And then once they are big enough to go in the garden, here's what to do.
How to transplant seedlings into the garden:
Step 1: Prepare the garden by putting down a generous layer of good quality compost and digging it through or by filling your growing container with a good quality potting mix or vegetable mix. As always, I highly recommend Tui Garden products as I have found them to be really great quality and my plants love them! I also like to dig the holes where the seedlings will be going so that I can ensure the correct spacing between the plants. Make sure you dig a hole that is deep enough to fit the whole seedling in and so that it can be planted securely in the ground, but not so deep that you lose the plant in there! I usually dig the hole and then pop the whole pot in there to make sure there is enough room.
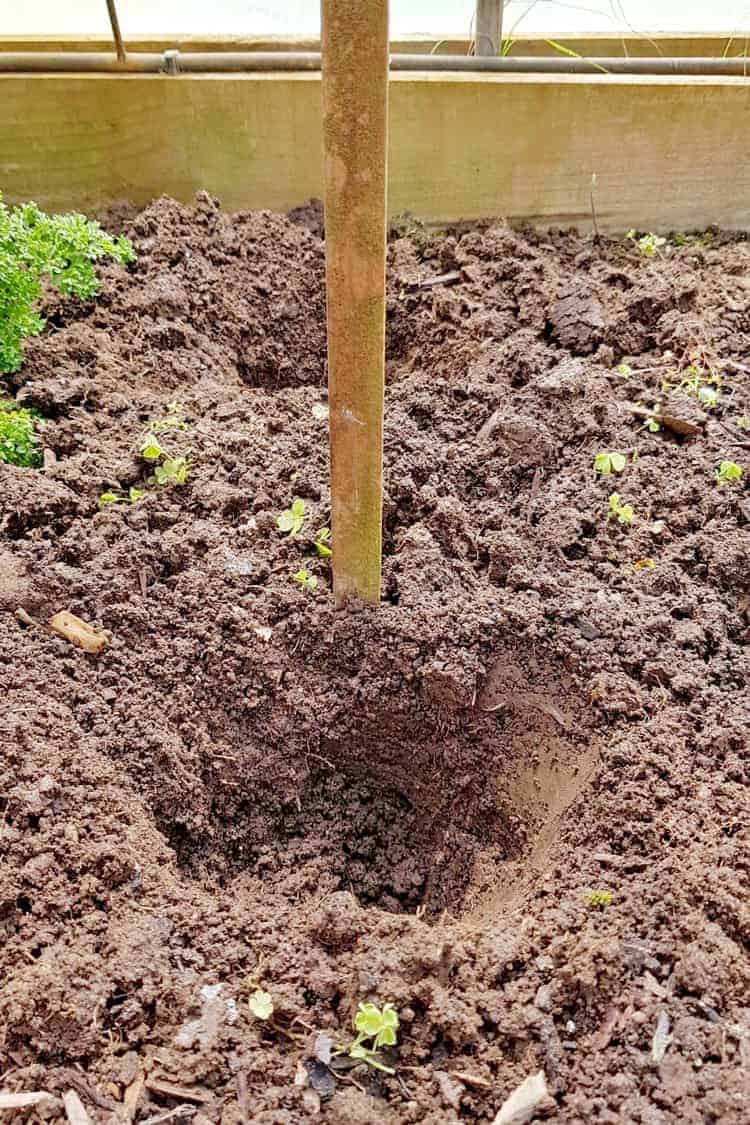
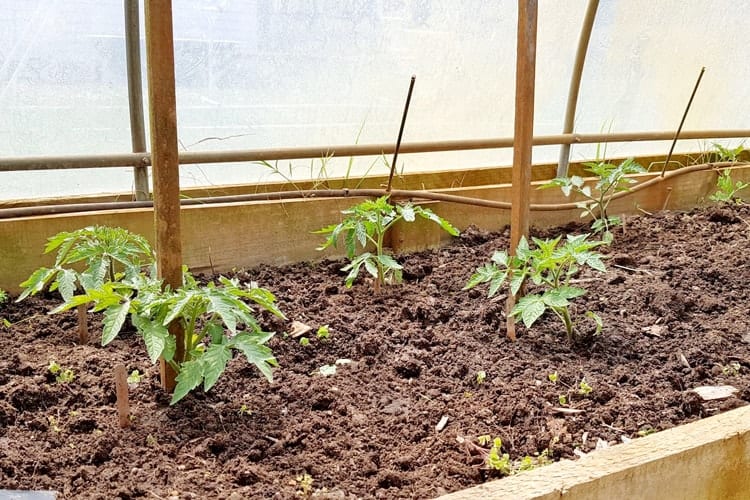
At this point, if you are planting tomatoes, peppers, beans or other plants that need to be staked, hammer in the stake behind where you are going to put the plant and make sure you put the plant in the ground nice and close to the stake. It is important to put the stake in first so that you don't disturb the roots once it is planted.
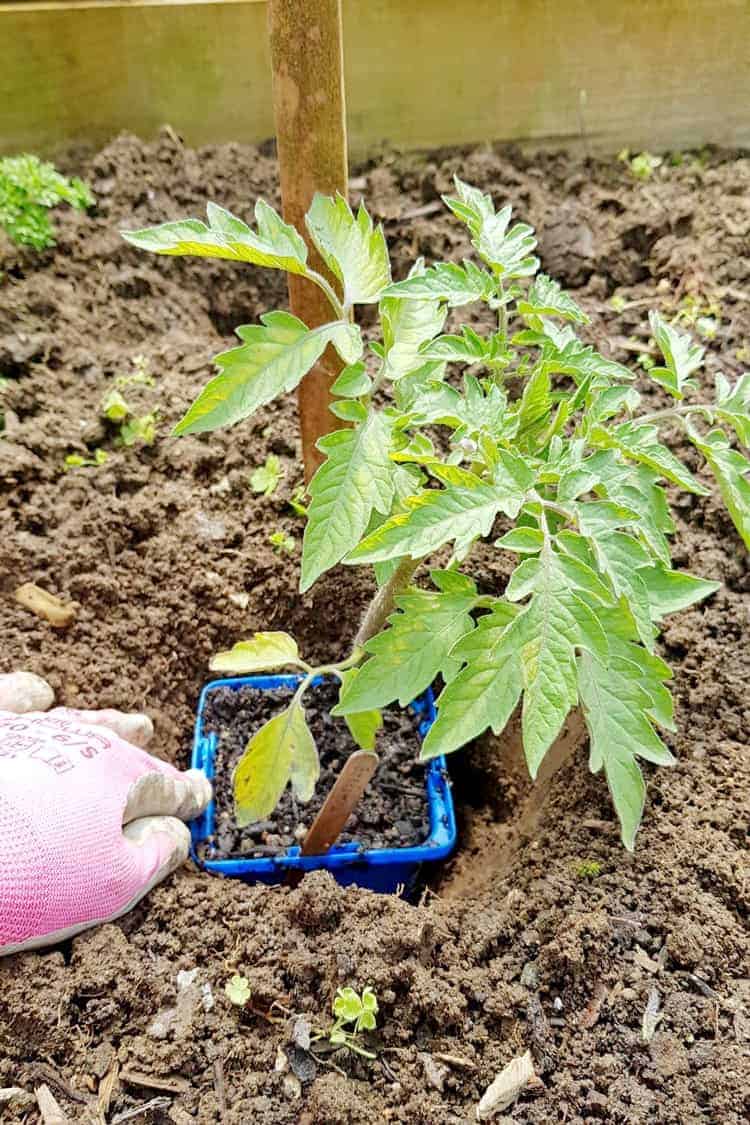
Step 2: Give the seedlings a good water. This helps to keep the soil together when moving it. I like giving mine a good dunk in a mixture of water and Tui Organic Seaweed and Plant Tonic - it helps reduce transplant shock and is great for the plants.
Step 3: Gently remove the plant from the seed tray or cell, loosen the root ball and place it in the prepared hole in the garden. Fill in around the plant with soil/potting mix. Press down gently around the plant so that it is securely planted.
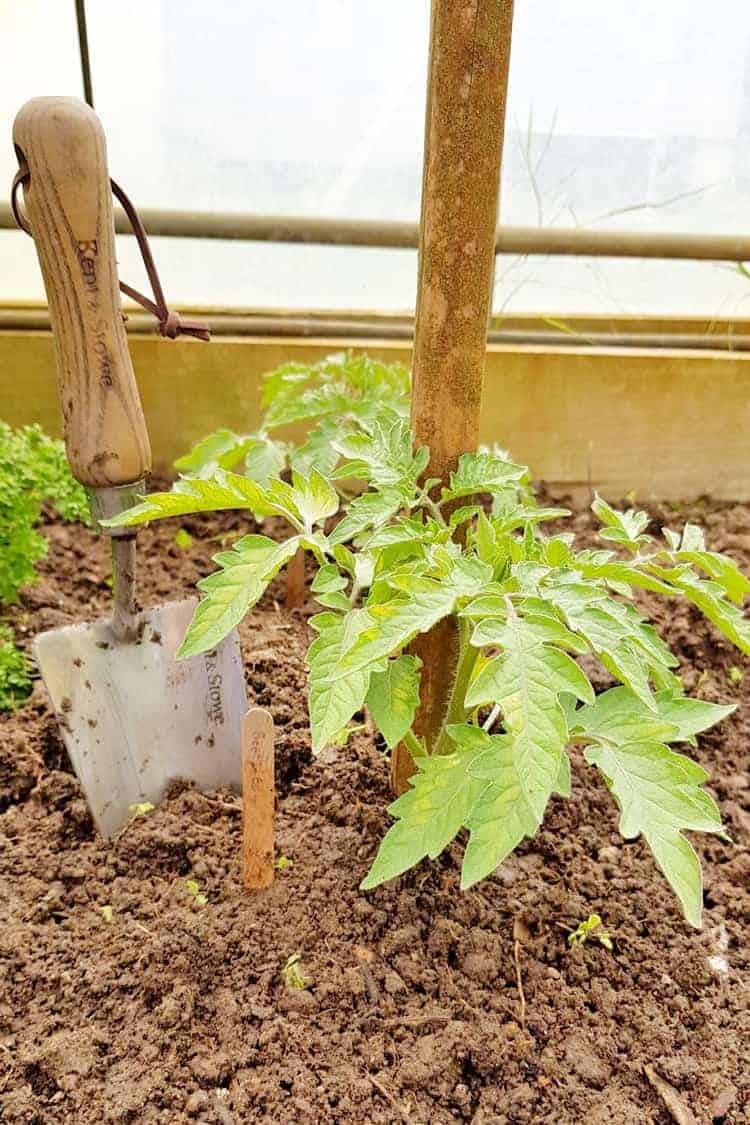
Step 4: Give the plants a really good water
Now that the plants are in the ground, the real fun begins! You need to keep them well watered and fed while they grow but the hard work is done and now you can enjoy watching them grow and start to produce fruit and vegetables for you to enjoy!
Other gardening posts you might enjoy:
How to start a herb garden (for less than $11!)
How To Grow Strawberries
How to Start Seeds Indoors
How To Harden Off Seedlings
Our 2018 Summer Garden Plan

Carol says
Hi Kate.
I am in Dunedin hoping for a long hot autumn. Late in starting my brassicas seeds. Hoping to put in the bed when they have their first real leaves or two. Do you think they could survive? I have them under grow lights now. Tks Carol
Laura says
I would think so!
Donna says
Hi Laura I'm not sure but I think I read something somewhere on your website about making your own compost, or maybe you had a link to someone else who provided info on this?? Is that right?
Laura says
Hi Donna, I follow Compostable Kate on Instagram - she is only on Instagram though (although I think she is writing a book soon!) but she has incredible information! I will have to write a post soon about what I have learnt from her!