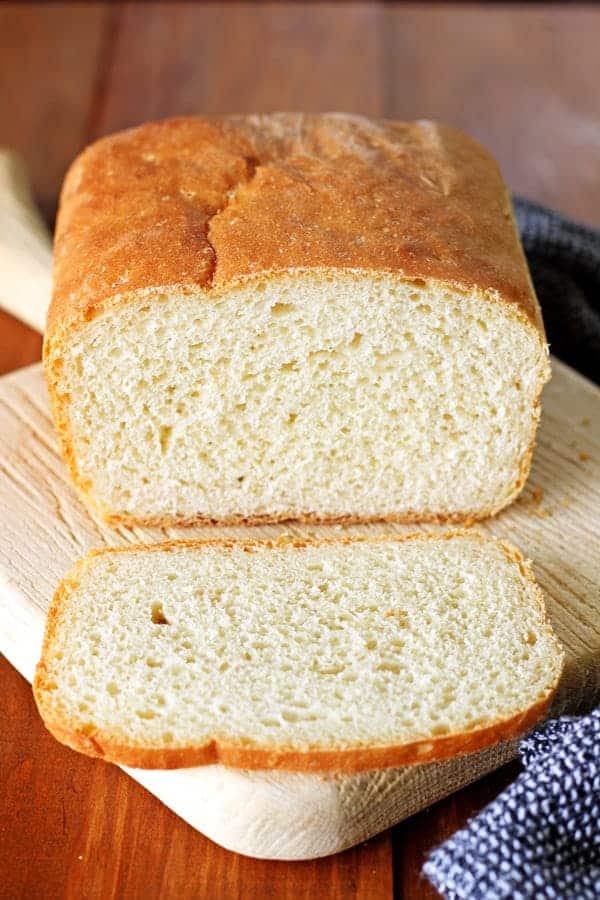
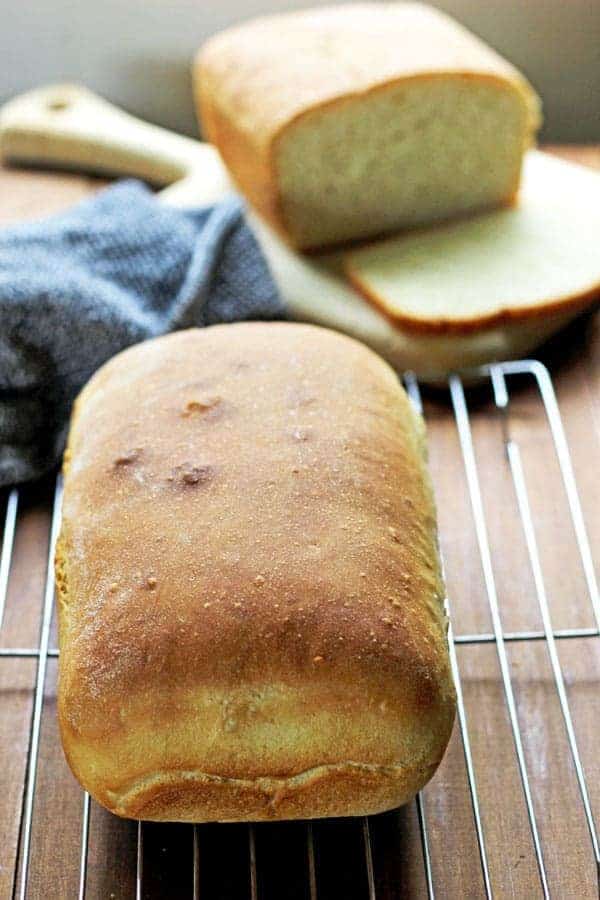
A simple recipe to help you master the basics of bread making - my favourite easy homemade white bread recipe with step by step instructions to show you how to make soft white sandwich bread without a breadmaker!
Ok, so today we are taking on something that might seem a little bit intimidating, but trust me...it's not! We'll work through it together because it's totally worth it and at the end of it you are going to be so super satisfied and doing a little dance around the kitchen, putting it all over Facebook and telling all your friends because you have mastered one of life's little joys - easy homemade white bread! YAY!!
I really, really love to bake bread. I love to bake bread so much that I bought a breadmaker that is so amazing and bakes little mini baguettes, and normal loaves of bread, makes dough and even bakes cakes (!!) aaaaaand I hardly ever use it. Why? Because for me, nothing beats making a loaf of bread by hand. It is such a labour of love, but there is something so deeply satisfying about the aroma of freshly baked bread and pulling that loaf out of the oven, tapping the bottom and hearing that hollow sound and then slicing straight into it, smothering it in butter and eating slice after slice while it's warm because it is sooooo good! If anyone ever tries telling me that I have become gluten intolerant I think my life will actually be over. Not even exaggerating.
So what I'm trying to say, other than I love bread, is that bread baking is fun, and doesn't have to be difficult or scary. So my goal now that the weather is warming up and it doesn't take 3 hours for the dough to rise, is to share with you my favourite simple (and some more fancy) homemade bread recipes so that you can become obsessed learn how to love baking bread too!
To get us started I'm going to walk you through the very short list of ingredients required to make a simple loaf of homemade white bread - yeast, flour, water, sugar, salt & milk.
Yeast:
Probably the most important ingredient in bread baking - without this, the bread won't rise. When I'm making bread I prefer to use active dry yeast. This yeast needs to be activated before using it in the dough as it is basically dormant. To activate active dry yeast, add it to a small amount of warm water, sugar and whisk it around and leave it sitting for about 15 minutes. It will start to bubble and foam a little when it is ready. If this doesn't happen your yeast may either be too old or the water may have been too hot or too cold. Throw it away and start again. When the yeast is activated using warm water it produces carbon dioxide gas, which causes the bread to rise. You can also use Surebake yeast, or instant yeast, which is a mixture of active dry yeast and bread improvers. This is typically used in breadmakers when all ingredients are added at the same time as it doesn't need to be activated first. Even if I am using Surebake yeast making bread by hand, I still like to activate it in warm water, just to be sure it is still viable. If you are using instant yeast, you will need to use approximately twice as much as active yeast.
High grade flour:
High grade flour, or bread flour is used in breadmaking as it has a higher protein (gluten) content than standard flour giving it more stability and strength and helping the loaf of bread to have better volume and texture. High grade flour costs the same as standard flour and is right next to it in the baking aisle at the supermarket.
Sugar:
Sugar isn't 100% necessary but I have always added a small amount to the yeast mixture when activating it as this sugar helps feed the yeast
Salt:
This is simply to flavour the bread so that it is not bland. Only a small amount is required and I just use regular table salt.
Water:
The temperature of the water is the key in breadmaking. Too hot and it will kill the yeast, too cold and the yeast won't activate. Around 45°C/110°F is the right temperature, but if you don't have a thermometer just dip your finger in. If it feels a little warmer than your body temperature it will be about right.
Milk:
Milk is also not an essential ingredient however I like the texture of white bread better if I substitute some of the water for milk. Low fat milk is fine. I also warm this to the same temperature as the water before using it.
Ok, now that we have our ingredients sorted, let's bake!
Step 1: Yeast
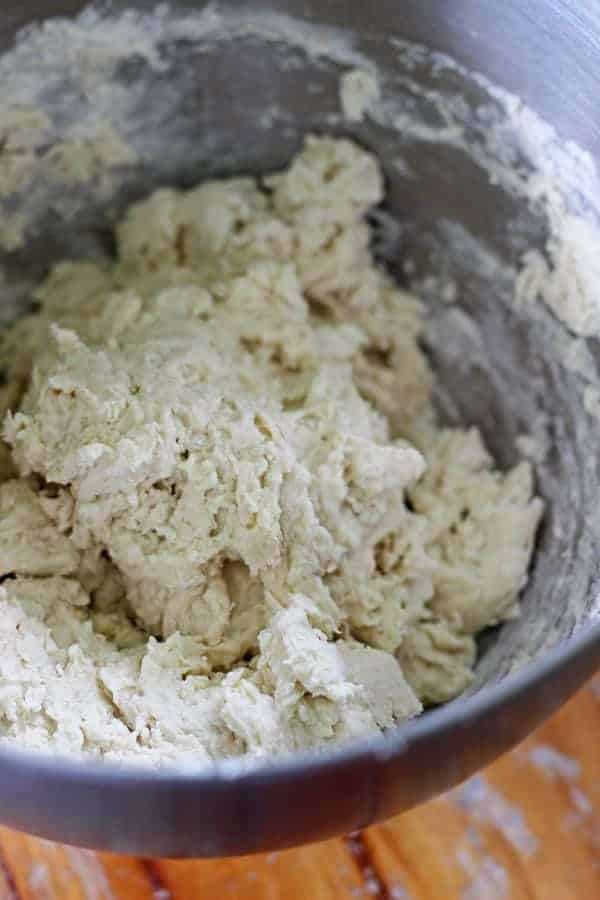
Step 2: Mix
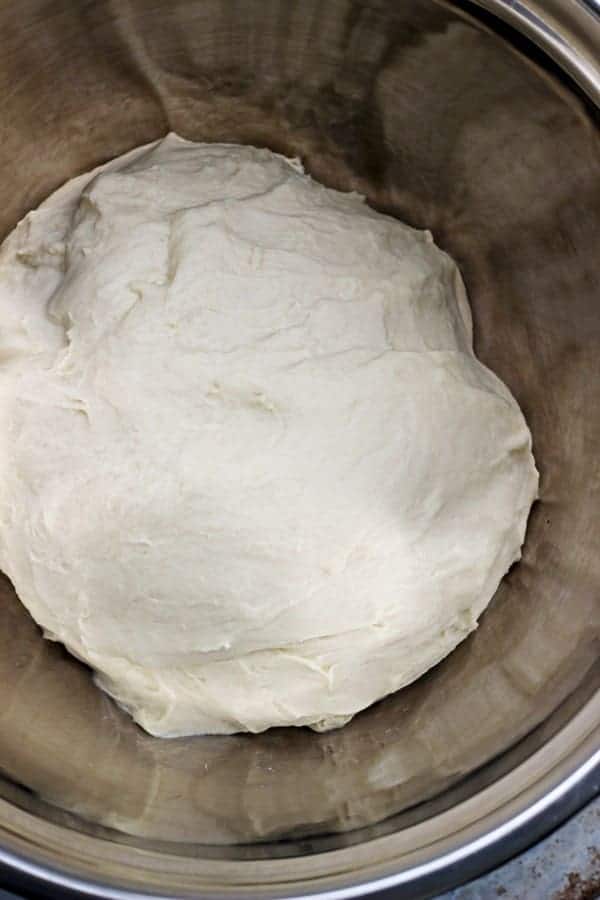
Step 3: Knead
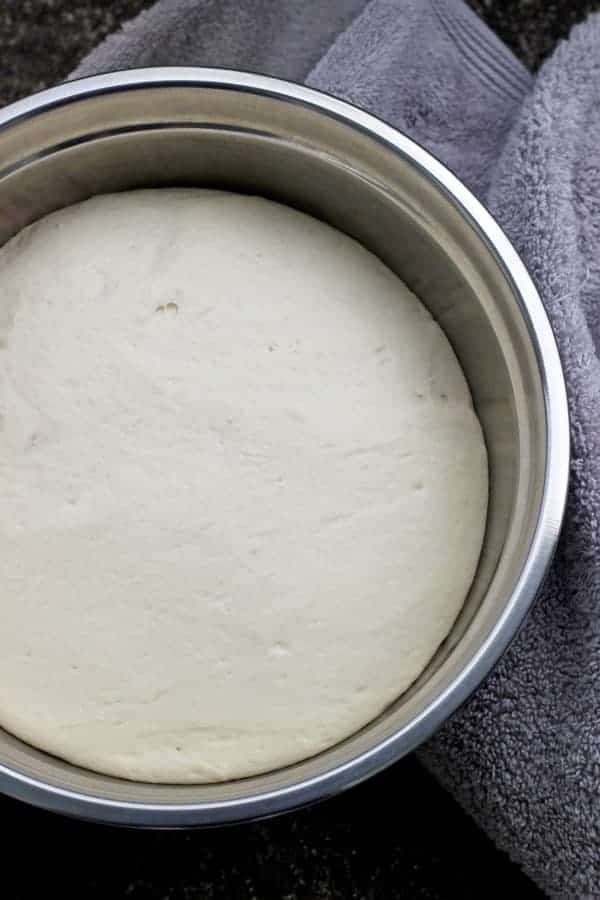
Step 4: First rise
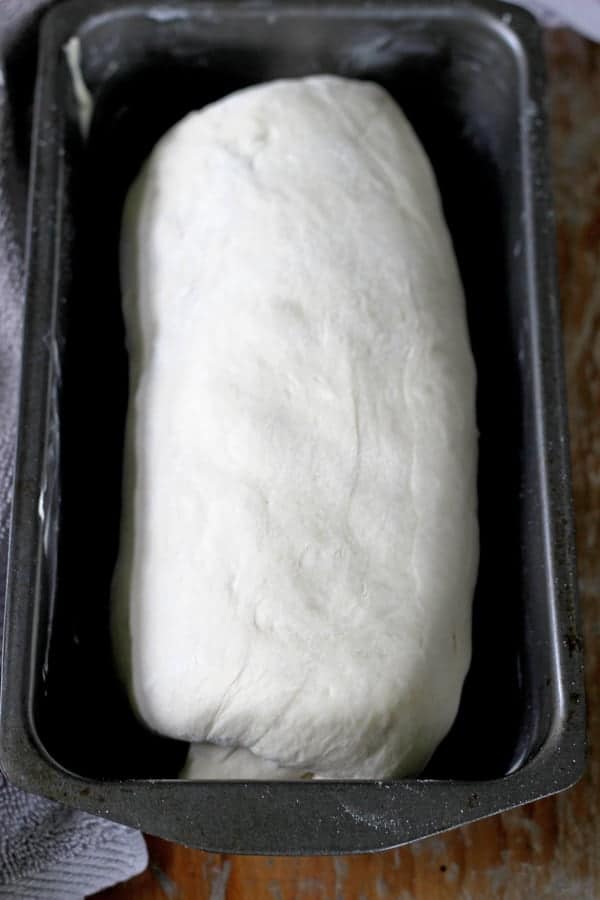
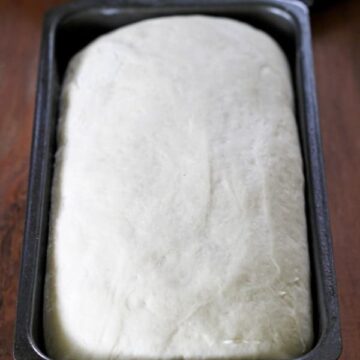
Step 5: Shape
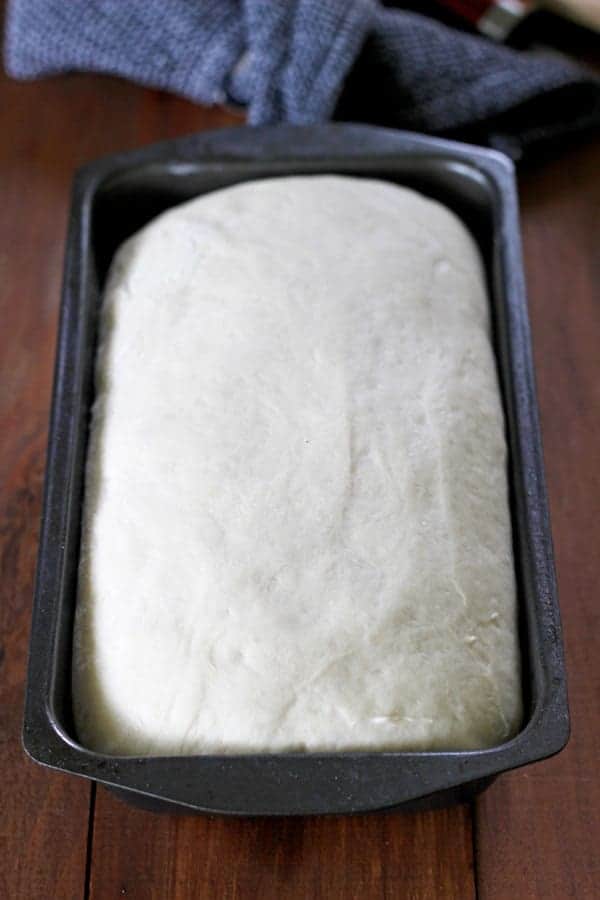
Step 6: Second rise
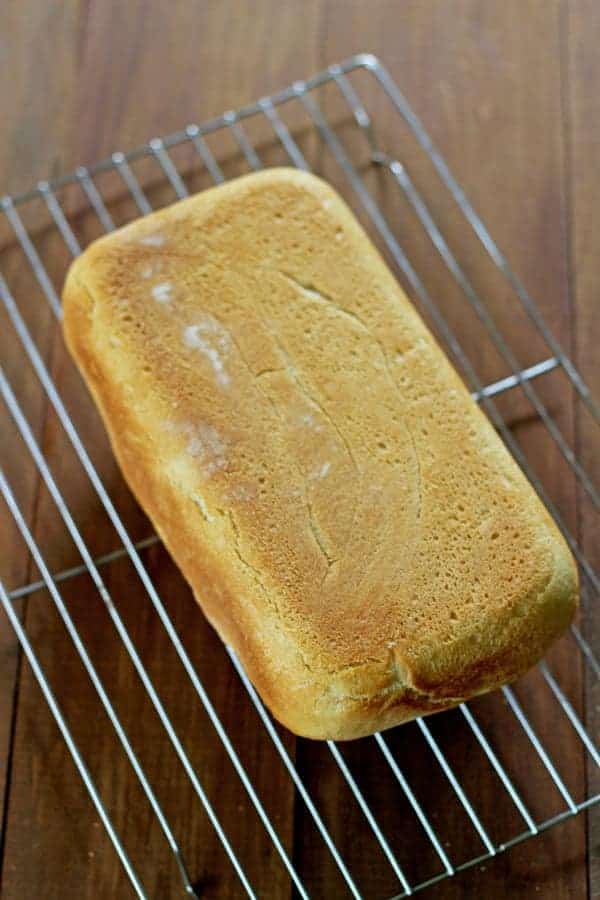
Step 7: Bake

Easy Homemade White Bread
Ingredients
- 1 cup (250 mls) warm water (45°C/110°F)
- 1 tsp (10g) sugar
- 1 ½ tsp (7.5g) active yeast
- ½ tsp (4.5g) salt
- 4 cups (around 550g) high grade flour
- ½ cup (125ml) milk
Instructions
- Activate the yeast by adding ½ cup (125ml) of the warm water, the sugar and the yeast, stir it up and leave it to sit for 15 minutes or so until it is foamy.
- Add the flour and salt to the bowl of a stand mixer. Once the yeast is foamy, add this and the remaining warm water and milk and mix together until incorporated.
- Using either the dough hook on your stand mixer, or by hand on a lightly floured bench, knead the dough for about 10 minutes until it is smooth, elasticy and bounces back when pressed gently.
- Put the dough in a clean bowl, cover with gladwrap/clingfilm and put in a warm, draught free place to rise until approximately doubled in size. Depending on the temperature this will take between 1 ½ to 2 ½ hours.
- Oil or butter the loaf tin you will be using. I prefer to use butter as it gives the crust a bit of crunch and great flavour. Gently tip the dough onto a lightly floured surface and roll it out into a roll about twice the length of the loaf tin you will be using. Gently flatten it using your knuckles and then fold it into thirds length ways, like a letter. Flatten it out again until it is about the length of two thirds of the loaf tin, and then roll it up from the long side, towards you into a tight roll. Make sure it is rolled firmly, but don't stretch or break the dough. Transfer the loaf, seam side down into the loaf tin.
- Cover the loaf again, but I like to use a supermarket bag so that it is not touching the dough and to give it enough room to rise slightly above the top of the tin without touching the bag.
- Put it in the same warm place to rise until it is round on top and just over the top of the loaf tin. It is ready when the loaf will resist slightly when you gently press down with your finger but will still spring back into shape. This step will take about 30-40 minutes. Once you have left this to rise, pre-heat your oven to 230°C.
- Once the bread has risen, put it in the oven. Bake for 10 minutes at 230°C and then reduce the heat to 200°C and continue baking for a further 20-30 minutes until the loaf is golden brown on the top, bottom and sides and sounds hollow when you tap the bottom. I always take the loaf out and remove it from the tin so that I can check that it's properly cooked. It's easy to put it back in at this stage if you think it needs a little longer. If while baking the top is going a little too brown, gently cover it in tinfoil to stop it from browning too much.
- Remove from the oven and the tin and cool on a wire cooling rack before slicing and serving.
- Store in an airtight container at room temperature for a few days or slice and freeze the loaf.

Rebekah says
I just made this loaf a couple of days ago and I think I'm going nuts cos I'm sure the recipe said to take out from oven after 25 mins and brush with butter and return for 5-10mins? Am I going crazy?! 🤯
I've just gone to make again today but cooking instructions seem different so I'm not sure what's going on! I know for certain I brushed butter on the last loaf I made but not sure how or why if that isn't the recipe as I was sure I followed to a T. Please help! Haha
Btw bread turned out fantastic when I made it a couple of days ago.
Laura says
I was reading this comment thinking, yes, I definitely brush it with butter, what is going on?! And then I remembered that silly me has 2 white bread recipes on my website - this one is my original one but the one where you brush the butter on is newer, more simple and the one I use all the time now! https://www.thekiwicountrygirl.com/5-ingredient-basic-white-bread-recipe/
Tamara says
Absolutely delicious, great instructions and came out perfect-even with 2 little helpers!
Robyn says
I made this bread today with white spelt flour, a.nd added sunflower seeds. It made a beautiful bread- lovely texture. It sliced up really well. So easy. I'm gluten intolerant and can tolerate spelt as long as I don't over-indulge. I usually make spelt bread once a month, and freeze in groups of 4, and eat once a week. The recipe I usually use has no milk, but it is more like Vogels bread, which is so yummy toasted. Nest time I'll put in more sunflower seeds.
Del Crothers says
Hi Hannah. Can you do the dough mix in a bread maker? I’m wanting to make two smaller loaves. Cheers
Del Crothers says
Sorry the should have read.
Hi Laura. Can you do the dough mix in a bread maker? I’m wanting to make two smaller loaves. Cheers
Laura says
Hi Del, I've never made the dough in a breadmaker but it should be fine! Laura
Catherine Newton says
Thankyou Laura for your delicious and simple bread recipe. I don't believe I'll ever eat supermarket bread again
Christina says
We love this recipe! Our oven is broken at the moment, so I tried baking this in the rice cooker and it was fantastic. Just wondering if you think this recipe would work with a starter bug rather than dry yeast? I sometimes run out of dry yeast, but always have a starter available
Laura says
Hi Christina. Oh wow, that's awesome that you were able to make it work! I'm not sure how it would go with a starter bug - it would be worth a try though!
Tony says
What are the dimensions of your loaf tin?
Laura says
I change between 2 - this one is 23cm x 13cm and the other one I use (that I actually prefer as it makes a taller loaf) is 21cm x 11.5cm
Margot Ah Sam says
I started making this bread for my family during lock down and have continued to make and enjoy it. Its so satisfying baking for my family and the kids have named it 'Mama bread'. Thanks so much for sharing your recipes and tips!
Hannah Shaw says
Hi
I'm just trying to get my head around the different types of yeast. Just to clarify - I have instant dry yeast so i should use 3 teaspoons of it in this recipe?
Laura says
Hi Hannah, instant dry yeast you use the same amount as active dry yeast, you just don't need to activate it first (but you can if it's easier to follow the steps in the recipe!) I've just published a post going into more detail about yeast - https://www.thekiwicountrygirl.com/guide-to-baking-with-yeast/ Hope that helps! Laura
Jen says
This is delicious!! I'm glad I made 2 loaves as it was eaten almost as soon as it was out of the oven. Thank you for a simple, easy recipe that gives a great result. (A happy discovery during our 2020 lockdown!!)
Laura says
Hi Jen! So happy you loved it - we have been making and eating this bread almost daily! 🙂
D Fechney says
WOW almost daily
Vicki @ Boiled Eggs & Soldiers says
That looks like the perfect loaf! Thanks for sharing with YWF too.
Laura says
It never lasts long in our house!
Hannah Shaw says
Hi
I'm just trying to get my head around the different types of yeast. Just to clarify - I have instant dry yeast so i should use 3 teaspoons of it in this recipe?
Laura says
Hi Hannah, it can be very confusing!! Instant yeast and active dry yeast use the same quantities. Instant yeast just doesn't need to be activated in warm water first, it can just be added directly to the dry ingredients. Laura
D Fechney says
ha ha