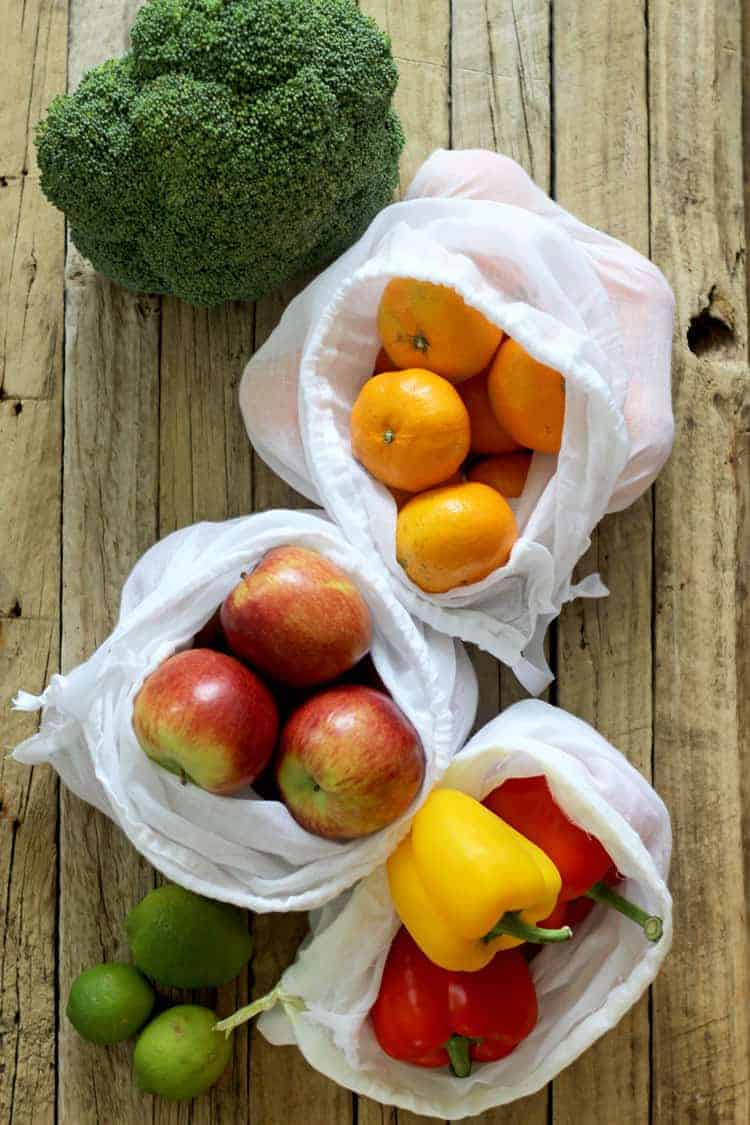
A quick tutorial for DIY Reusable Produce Bags. How to make them, what material to use and simple instructions for a great way to use less plastic bags and reduce waste in your home!
Where do you sit on the waste free living scale? Do you recycle your milk bottles? Do you compost? Do you just throw everything in the rubbish? Or are you like me and own ALL the reusable supermarket bags because leave them in your car so that you're prepared and still forget to actually take them into the supermarket so end up buying more at the checkout?
I've definitely got much better - especially now that a couple of our big supermarkets are planning on getting rid of single use plastic bags....yay! But one thing that isn't quite so easy to get your hands on is reusable produce bags. There are more places now that sell them but I figured, why not make some!
This sewing project is right up there in terms of simplicity with my baby change mat. Once again, if you can sew a straight line (actually, it doesn't even really need to be straight!) you can make these bags.
PIN THIS POST TO YOUR HEALTHY RECIPES BOARD TO SAVE IT FOR LATER AND FOLLOW THE KIWI COUNTRY GIRL ON PINTEREST FOR MORE GREAT RECIPES, CRAFT PROJECTS & FARM/GARDEN TIPS!
The key here is choosing a fabric that is super light (as it will be weighed along with your produce) but also one that is strong enough to hold the fruit & veggies. I made my bags out of muslin. I had a spare muslin cloth that we didn't use when Sadie was little and this was the perfect way to reuse it! Also, if you don't already have any at home, it's super cheap to buy. You can pick it up for less than $5 per metre at Spotlight. Not only is muslin cheap and light, it's perfect for storing your fruit & veggies in once you get them home as it's breathable! The bags can also be thrown in the washing machine if they get a bit sticky, which is ideal.
I also made my bags with a drawstring - there is nothing more frustrating to me than having bags of apples in the boot of the car only for them to all roll out and then having to spend ages crawling under the seats trying to find them! So not only are these bags better for the planet, they're way more functional than their plastic counterparts! And the drawstring can be anything you like. I used ribbon that I had floating around from making baby tag blankets. You could even colour coordinate them - green for veggies, red for fruit, yellow for nuts etc!
These DIY reusable produce bags are:
- Easy to make
- Super functional
- Lightweight
- Machine washable
- Pretty!
- Great for the planet
Let's get into it!
Materials needed to make 1 bag:
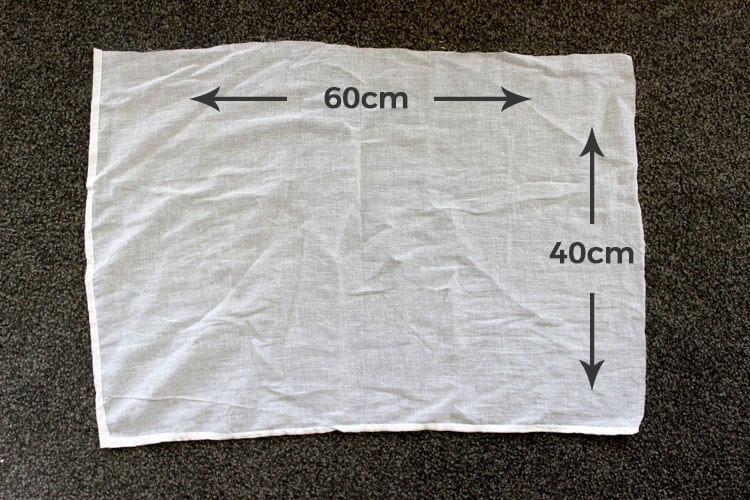
- 1x 60cm (23″) x 40cm (15") piece of lightweight material such as muslin
- 1 x 75cm piece of ribbon for the drawstring
- Sewing machine
- Pins
- Thread (same colour as the material)
- Scissors
Instructions:
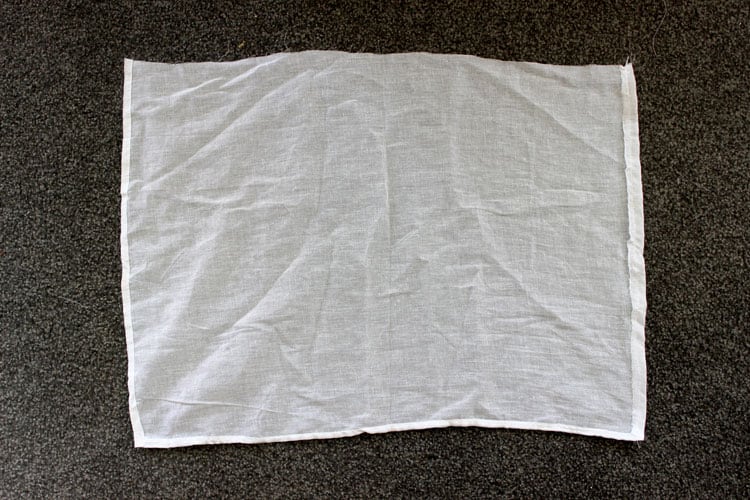
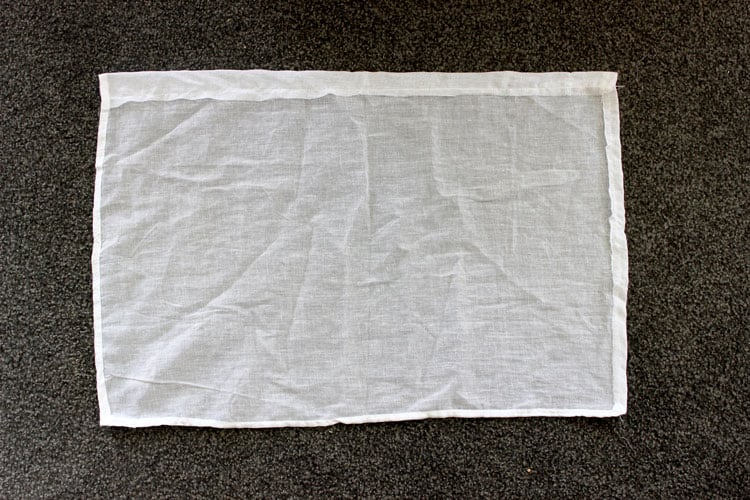
Cut out the muslin to the right size. Fold the 2 short edges over and sew the whole way along to tidy up the edges. This is so that the top of the bag looks tidy when you are finished.
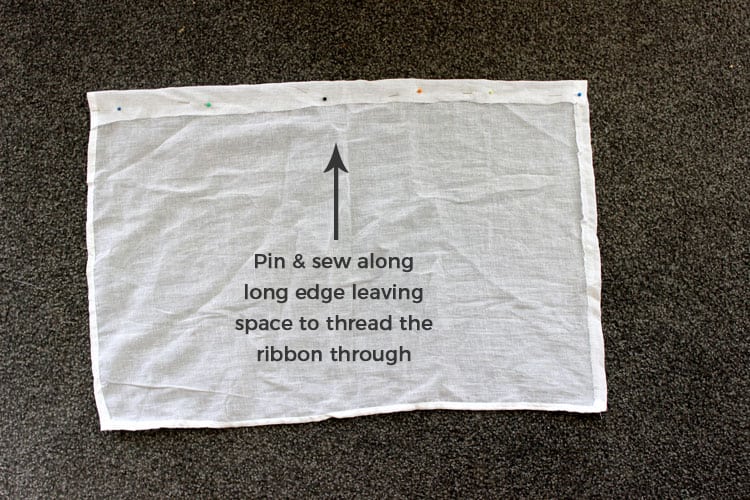
Fold the top edge over 2cm and sew along the whole edge leaving approximately a 1.5cm seam allowance (the distance between the fold of the material and the stitching) This is where you will thread the drawstring through, so just make sure you make it wide enough for that.
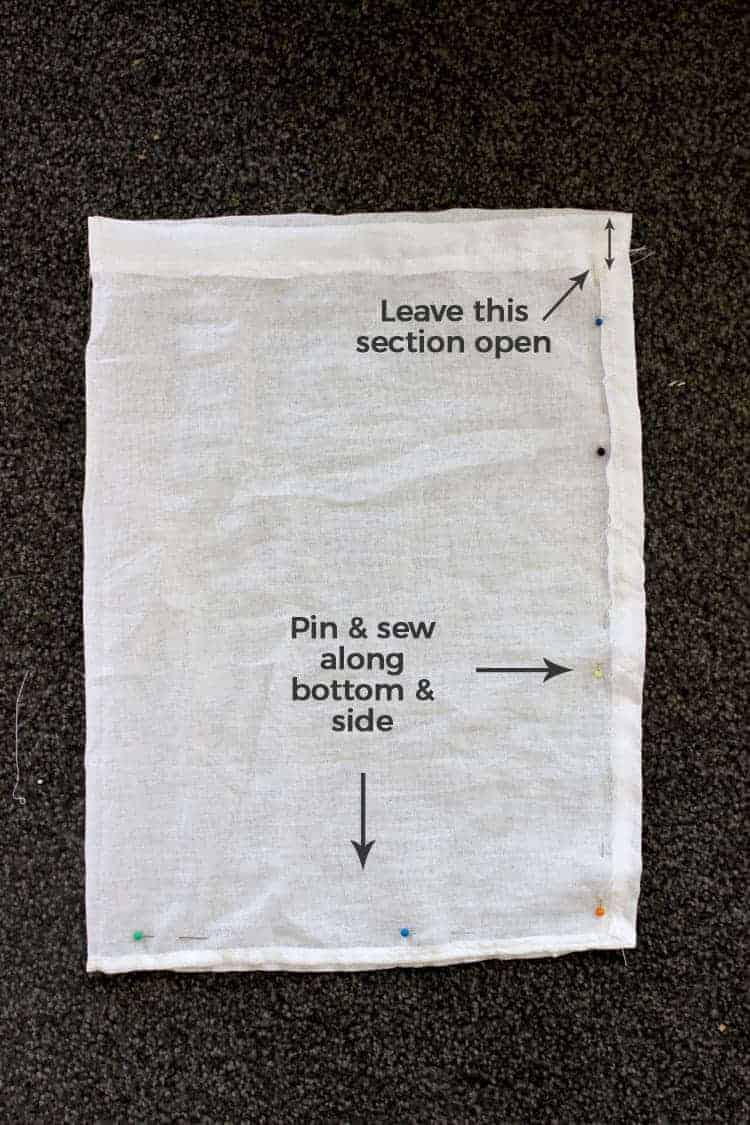
Lie the material on the table with the the sewn sides facing downwards and fold the material in half so that the 2 short edges meet. Now the sewn side will be facing you. Pin along the bottom of the bag and up the short edge of the bag.
Sew along the 2 edges you have pinned, starting along the bottom of the bag and ending 2cm before you get to the top of the bag. You want to leave it open where you will thread the drawstring through. You may want to do a double stitch here (go back over where you just sewed) to strengthen the bag.
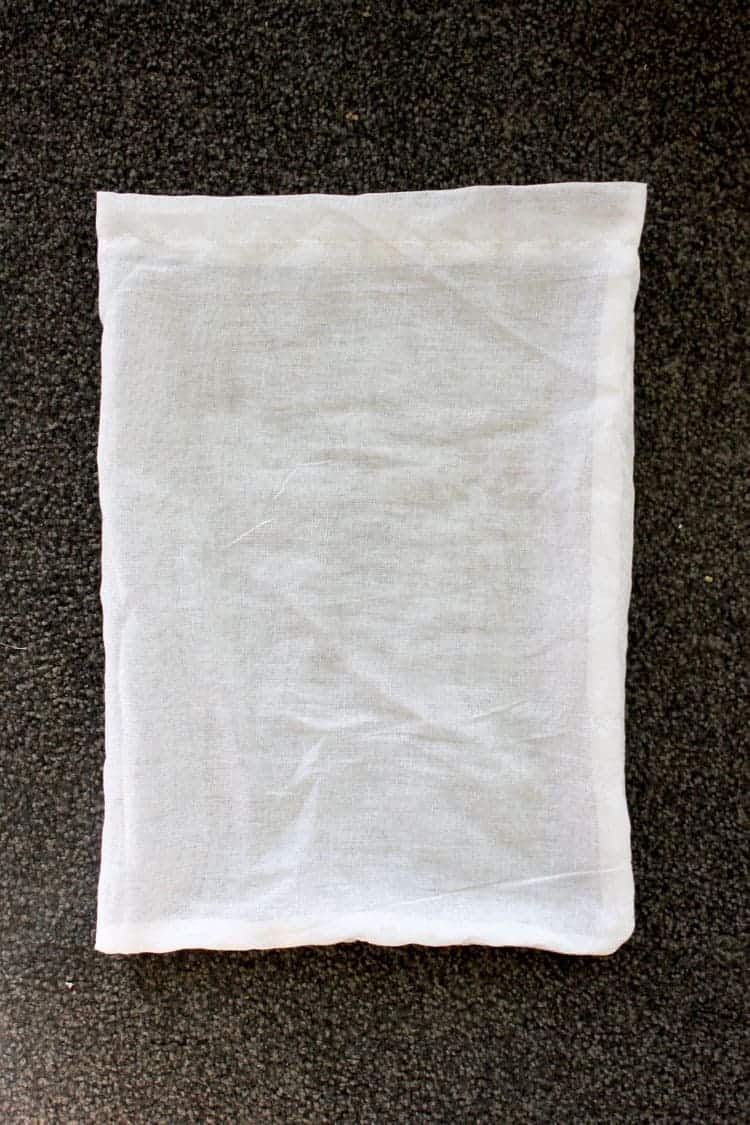
Turn the bag inside out. Almost done!
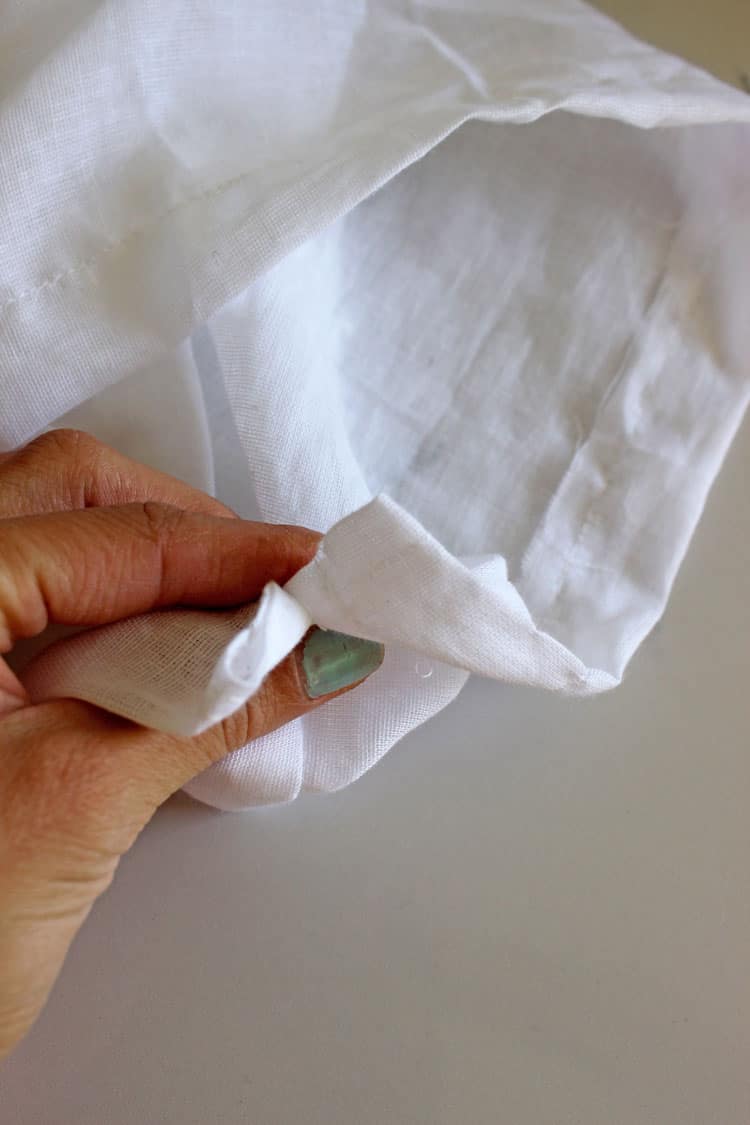
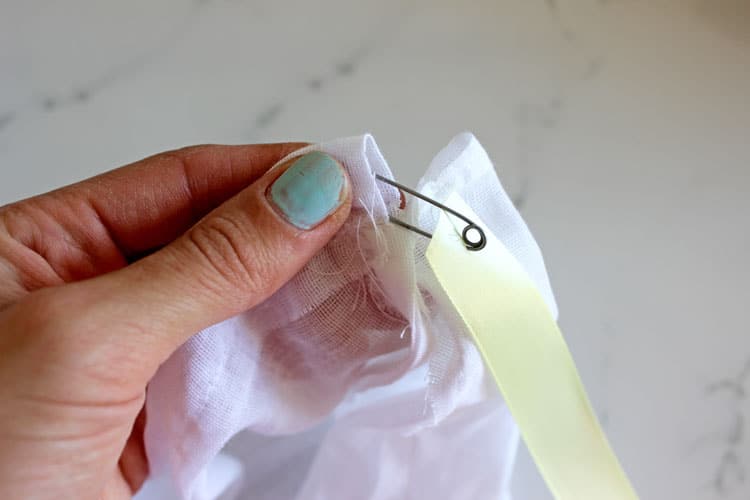
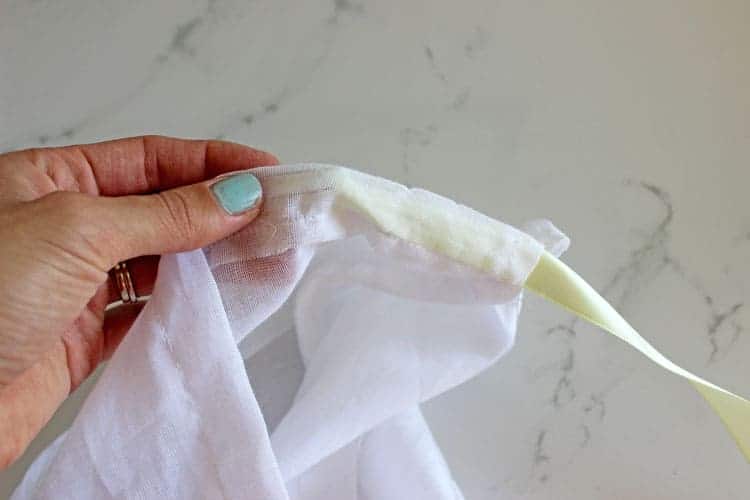
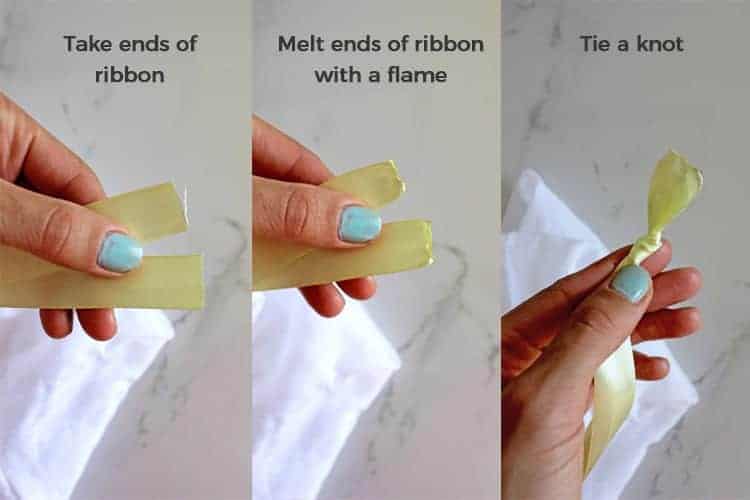
Take one end of the ribbon and attach a safety pin to it. Use the safety pin to help you thread the ribbon all the way through the top of the bag. Hold the edges of the ribbon up to a lighter or flame to melt the ends and stop it from fraying and then tie the 2 ends of the ribbon together in a knot. Also, please ignore the state of my outdoors hands. Turns out I need to remember to moisturise and paint my nails before taking hand shots!
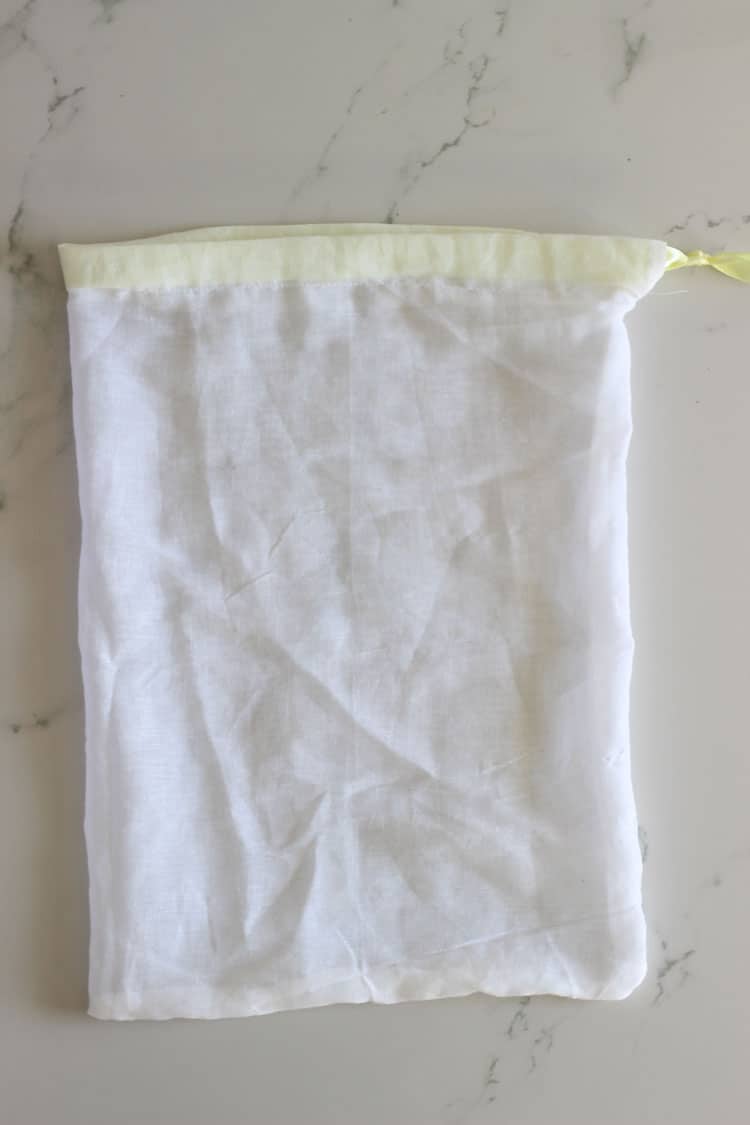
All done! Now the only thing to do is remember to take them to the supermarket with you!
So what are you waiting for? Go and make them! And don't forget to send me a picture if you do or tag me on Instagram @thekiwicountrygirl and hashtag it #thekiwicountrygirl





Janet Colling says
I have different size bags. I used different coloured toggles on the drawstring so when they’re folded and tucked in a rubber band, I can pull out the size I want with out having a pile of bags like a laundry pile in my trolley. I also like the toggles as they’re quick and easy to use…….. and I had a stash of “recycled” ones.
Laura says
That is so smart!!
Tamy says
Can I use tulle as I have tons thank you
Laura says
As long as you are able to sew it, you can use any material you have!