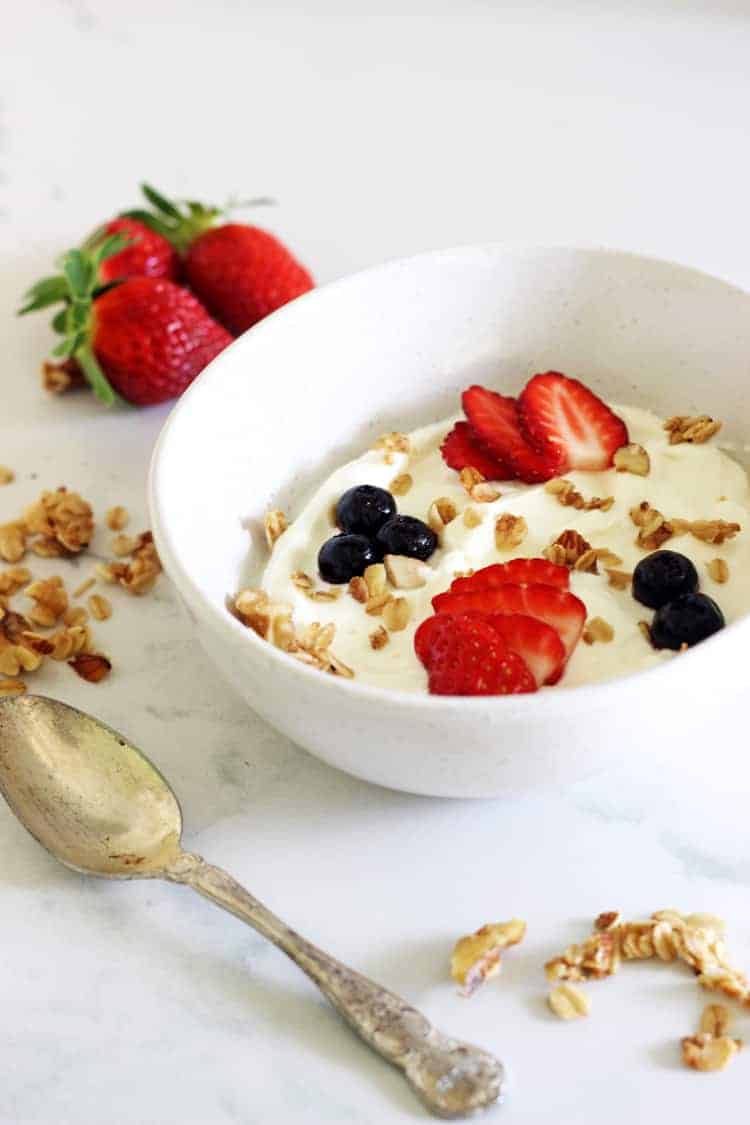
Making yoghurt at home is easier than you think and is so much cheaper than buying it. Here is my guide for how to make yoghurt at home using three simple methods!
Some of the links in this post are affiliate links, which pay me a small commission for my referral at no extra cost to you! Thank you for supporting The Kiwi Country Girl.
Jump to:
I've had a yoghurt maker for years and have always bought the packets of powder to make my own. It was easy, fun and definitely cheaper than buying ready made yoghurt. But then I learnt that you could make it entirely from scratch without even using the packets and I was intrigued. Just milk and yoghurt needed? Obviously I had to learn!
I looked up a few tutorials online and tried, but only had mediocre success. It was ok, but not like I thought it would be. So I asked my aunty (the one who is responsible for us having chickens, making vanilla extract and homemade granola) and she gave me her method. I was determined to make it work, and I did!
The best thing about making yoghurt at home is that once you've made it once, you can keep using the leftover yoghurt to start the next batch which means it is super cheap to make! I buy 2 litres of milk which costs around $3.50 meaning 1 litre of yoghurt costs me $1.75 to make. Not bad considering buying 1 litre of yoghurt (even plain and unsweetened) is around $5 or $6! We usually get through 1 litre of yoghurt per week, so even with my terrible maths, that means we are saving about $175 per year. I can think of plenty more things I could spend that on.
It's certainly not as simple as adding a packet to cold water, shaking and incubating but once you have the hang of it, it becomes second nature and fits into your routine easily. When I need to make more yoghurt I heat and cool the milk in the morning while we are having breakfast, then leave it incubating all day, put it in the fridge before I go to bed and it's ready to go the next morning.
Click here to pin this post to your made from scratch recipes board on Pinterest to save it for later
Let's break it down into simple steps so that you can make yoghurt at home!
Equipment needed:
- 1 litre milk
- ¼ cup fresh yoghurt (store bought plain unsweetened yoghurt with lots of live cultures or leftover yoghurt from the last batch you made)
- Small pot
- Thermometer that can be clipped to the side of the pot (this is the one I have and love)
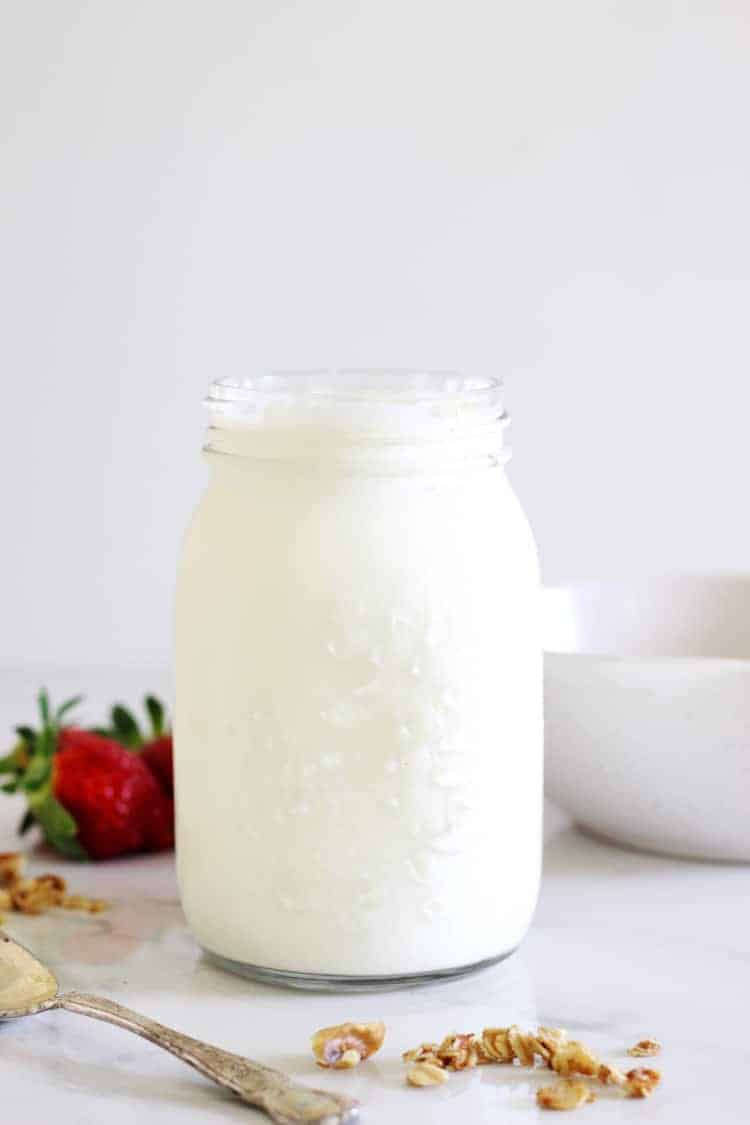
- 1L capacity glass jar with screw top lid (I use a 1L Agee preserving jar)
- Yoghurt maker OR oven OR slow cooker
How to make yoghurt
Step 1: Heat the milk
Pour the milk into a saucepan, clip the thermometer onto the side, turn the heat to medium and leave it for 20 minutes until it reaches 85°C/185°F. I like to set a timer so that I don't forget about it.
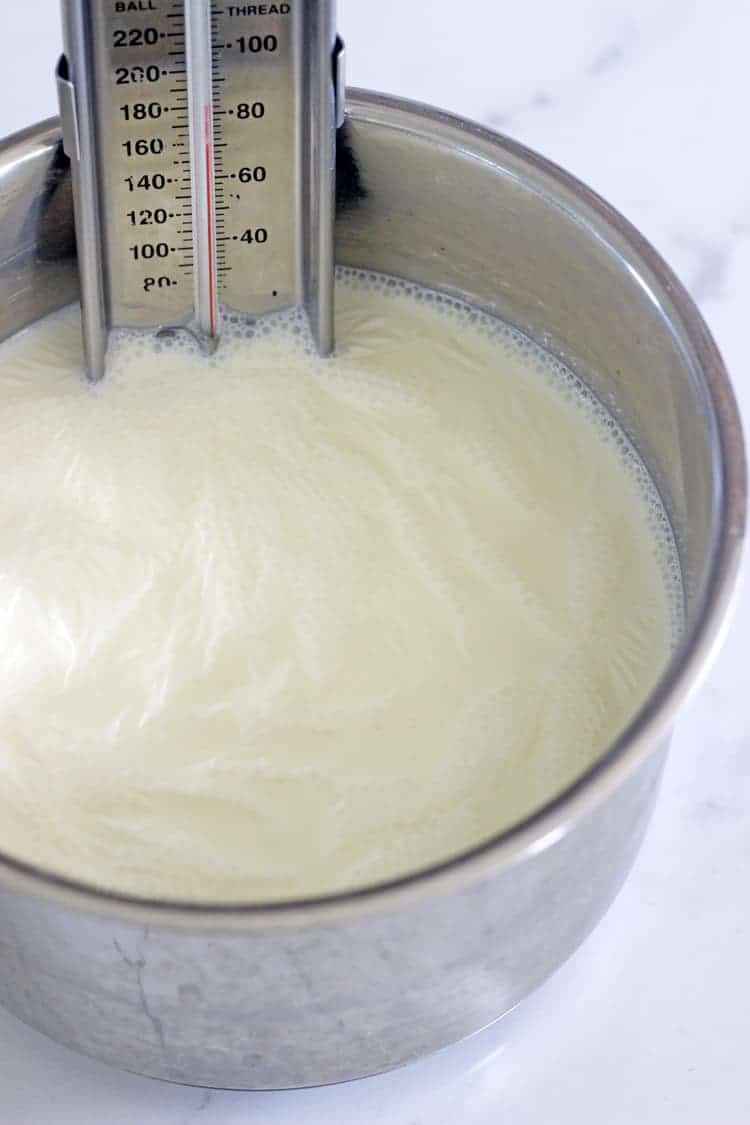
Step 2: Cool the milk
Take the pot off the element and leave it sitting for 45 minutes until it reaches 45°C/113°F. I also use my kitchen timer here.
Step 3: Mix in the yoghurt
Once the milk has cooled to the right temperature, add the yoghurt to the jar you will be using and pour in 1 cup of the milk. Stir it up and then add the remaining milk and stir again.
Step 4: Incubate
Now the yoghurt needs to be incubated so that it can turn into yoghurt! It usually takes around 4-5 hours to set but the longer you leave it, the thicker and tangier the yoghurt. I like leaving mine for around 8 hours, but you can play around with it! At this stage you have a few options depending on which method you want to use to incubate the yoghurt.
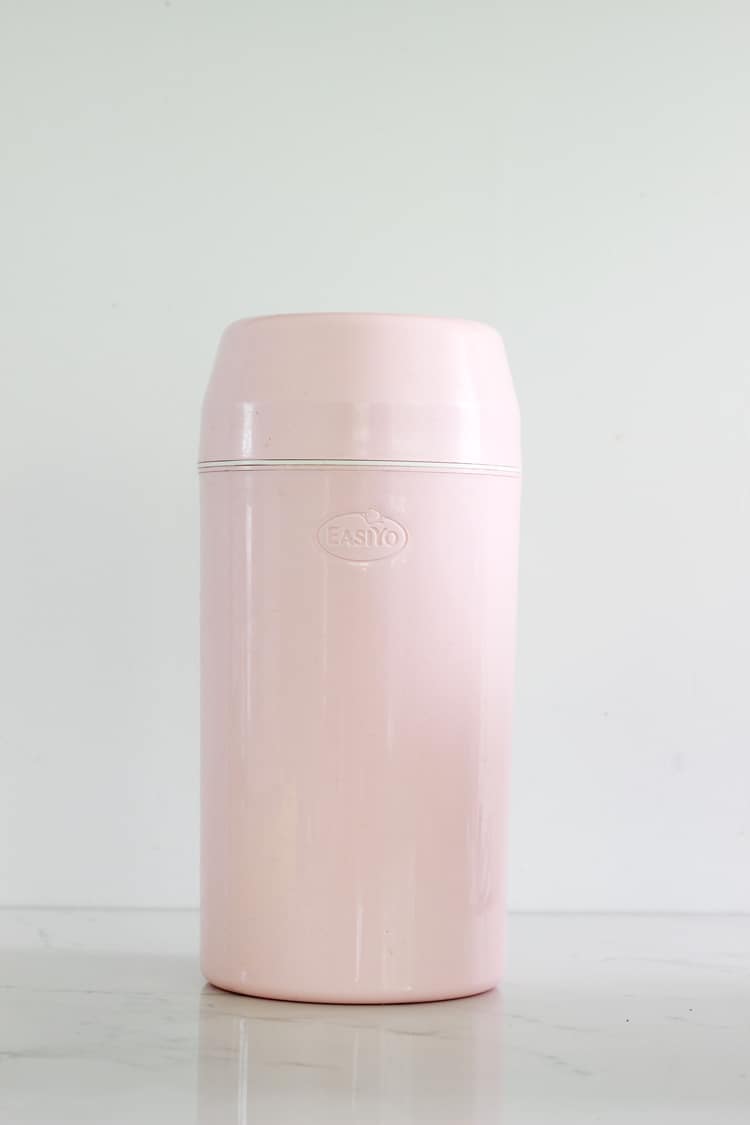
Method 1: Yoghurt maker - if you have a yoghurt maker, this is the easiest option. Pour boiling water into the bottom of the yoghurt maker (I pour in enough so that the water isn't touching the jar.) Leave on the bench for 6-10 hours.
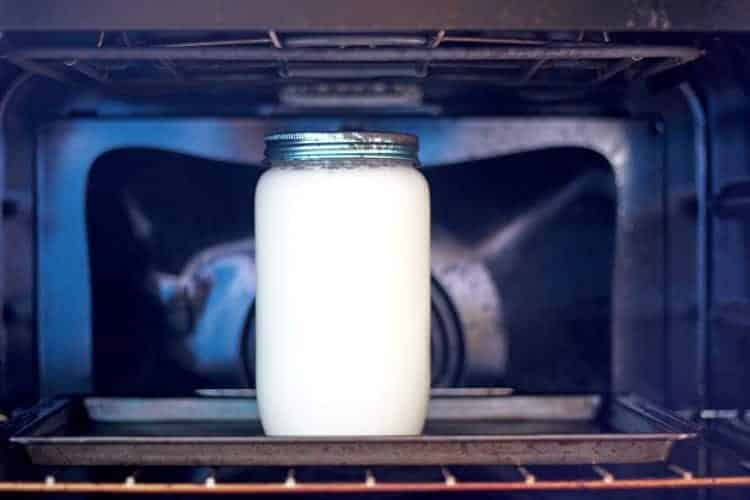
Method 2: The oven - heat the oven to the lowest temperature (it's 50°C/122°F on my oven) then turn off the oven but leave the oven light on and place the yoghurt jar in the oven. Leave for 6-10 hours.
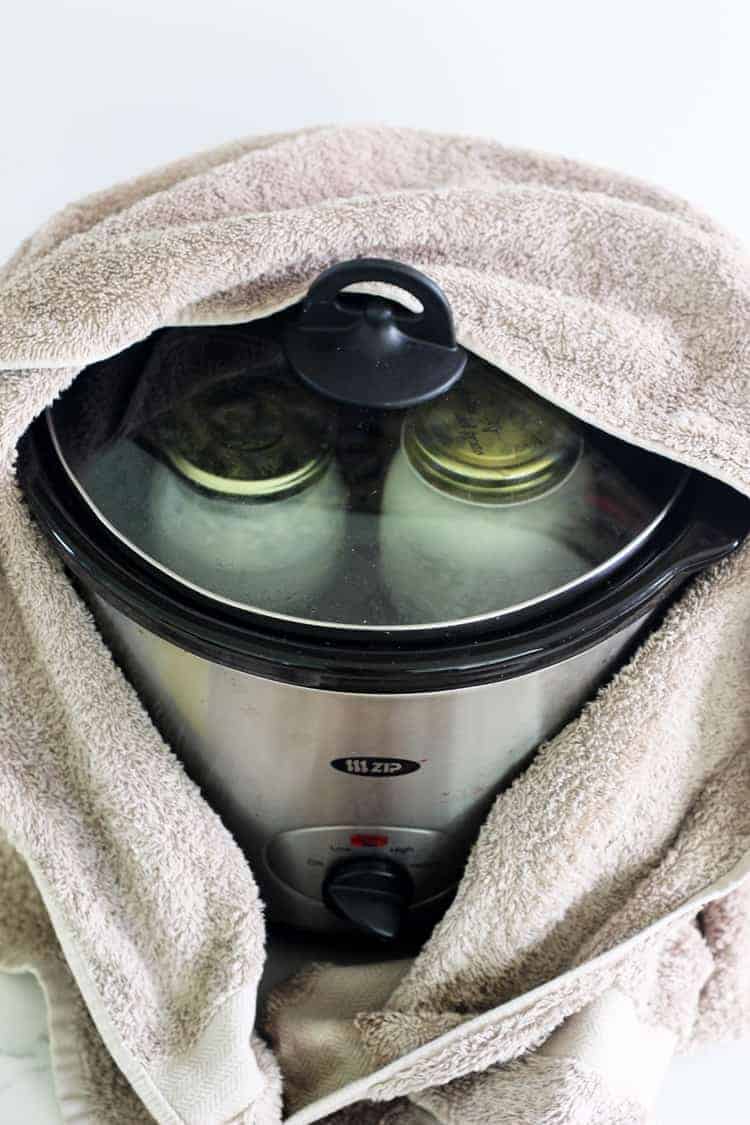
Method 3: Slow cooker - I've tried a couple of different ways with the slow cooker. The only thing to note with the slow cooker is that you may need to make your yoghurt in two smaller jars as you need to put the lid on the slow cooker. If I'm making it in the slow cooker I use 500ml Agee jars. You can half fill the slow cooker with hot tap water, place the yoghurt jar in it, wrap the whole slow cooker in a towel and leave for 6-10 hours. The other way I did it was pouring hot tap water into the slow cooker, turning it to warm and leaving the yoghurt in there for 6 hours. I didn't like this method as much as wrapping it in a towel and leaving it for longer as I felt the temperature may have got too hot.
Step 5: Refrigerate
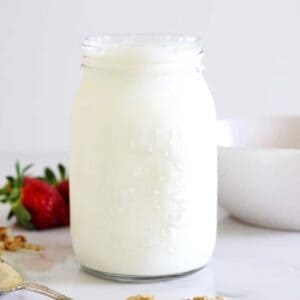
Once the yoghurt has set, it needs to be refrigerated. Place in the fridge overnight or until cooled completely. At this stage you can also stir in any flavours you like or strain it to make thicker Greek yoghurt.
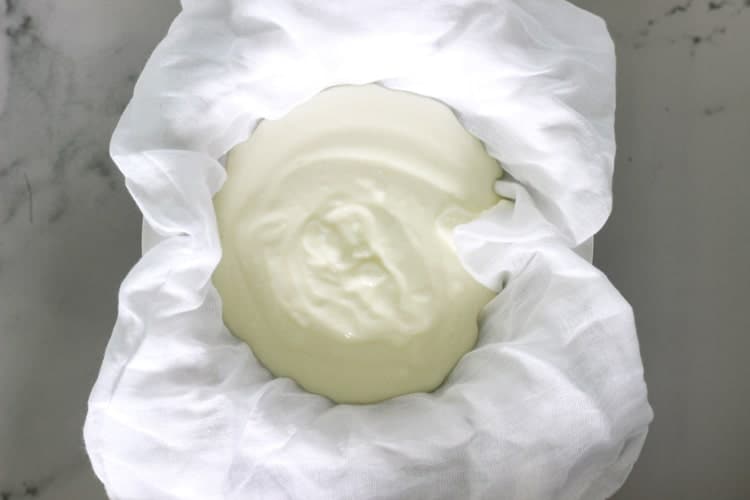
To strain the yoghurt I place a sieve/strainer lined with a piece of muslin cloth over a large mixing bowl and pour the yoghurt into this. The whey will drip through into the bowl and you will be left with thick Greek yoghurt! This usually takes a couple of hours and I just leave it in the fridge. Note that when you make Greek yoghurt, you will end up with about half the quantity of yoghurt you started with, so 1 litre of normal yoghurt will give you about 500ml of Greek yoghurt.

Yoghurt will store in the fridge for up to 2 weeks and you can now use the last of this homemade yoghurt to make your next batch! I made my first batch of yoghurt in March and have been using my own yoghurt to make new batches ever since!
If I had to recommend a method to start with, if you have a yoghurt maker, this is the easiest. It's the job that it's designed for and it does the job perfectly. If you don't have a yoghurt maker and don't want to rush out and buy one, the oven is a very close second. The only disadvantage of using the oven is that your oven is then tied up for 8 hours or so but other than that, it maintains heat and makes perfect yoghurt too. Leaving it overnight is a great work around if you use your oven a lot. The slow cooker is still a good way of doing it but it is less reliable as it's a lot harder to maintain the correct temperature.

FAQ's/Troubleshooting
If the yoghurt hasn't set there are a few things to check.
- Was your yoghurt fresh? Did you use plain unsweetened yoghurt with lots of live cultures?
- Was the milk the correct temperature when you added the yoghurt? Too hot and it will kill the bacteria, too cold and it won't work either
- Did the temperature of the yoghurt stay constant while you were incubating it?
If all of these things were right, you may need to start over with fresh milk and yoghurt and try again.
It will! The great thing about making yoghurt is that it is actually pretty forgiving. I have lost count of the number of times I have been trapped under a baby or outside and not heard the timer go off and come back to milk that is boiling over. The good news is, let it cool to the right temperature and it will still be fine. Likewise, if you let it get too cold, I just turn the heat back on and let it get back to the cool temperature (45°C/113°F) and continue. When this happens I find that sometimes the end result can be a little grainer than usual, but just give it a good stir and it comes right. Also, the next batch of yoghurt won't be affected by this.
I use full fat (dark blue) milk. I have also made it using light blue milk successfully.
YES! As we live so far out of town, I buy milk in bulk (think 12L at a time!) and put it in the freezer. I thaw the milk on the bench overnight and it works perfectly to make yoghurt.
I have a whole lesson on making dairy free yoghurt in my membership, The Kiwi Country Homestead
Otherwise, Cassie at Wholefully has a great tutorial on making coconut yoghurt on her website that you should check out.
We usually eat ours within a week but I've definitely kept it for 2 weeks with no problems. You will be able to tell if it's no good - it will start to separate and will smell weird. If this is the case, throw it out, don't use it to make a new batch - start over.
Yes definitely! I haven't used these methods but here are some great posts that can help you.
Instant Pot/Multi Cooker
Heating Pad
No. You can buy yoghurt culture that you can use instead of fresh yoghurt. I've never tried it but imagine it would be a great place to start or a good option to have as backup in case you run out of yoghurt!
Now you are all set to make your own yoghurt at home! If you think of any other questions that I haven't answered, comment below or send me an email!
Made this? Tag me on Instagram @thekiwicountrygirl and hashtag it #thekiwicountrygirl.
How to Make Yoghurt
Ingredients
- 1 litre milk (I use dark blue - full fat)
- ¼ cup plain, unsweetened yoghurt (with lots of live cultures)
Instructions
- Step 1: Heat the milk. Pour the milk into a saucepan, clip the thermometer onto the side, turn the heat to medium and leave it for 20 minutes until it reaches 85°C/185°F. I like to set a timer so that I don't forget about it.
- Step 2: Cool the milk. Take the pot off the element and leave it sitting for 40 minutes until it reaches 45°C/113°F. I also use my kitchen timer here.
- Step 3: Mix in the yoghurt. Once the milk has cooled to the right temperature, add the yoghurt to the jar you will be using and pour in 1 cup of the milk. Stir it up and then add the remaining milk and stir again.
- Step 4: Incubate. Now the yoghurt needs to be incubated so that it can turn into yoghurt! It usually takes around 4-5 hours to set but the longer you leave it, the thicker and tangier the yoghurt. I like leaving mine for around 8 hours, but you can play around with it! At this stage you have a few options depending on which method you want to use to incubate the yoghurt.
Method 1: Yoghurt maker - if you have a yoghurt maker, this is the easiest option. Pour boiling water into the bottom of the yoghurt maker (I pour in enough so that the water isn't touching the jar.) Leave on the bench for 6-10 hours.
Method 2: The oven - heat the oven to the lowest temperature (it's 50°C/122°F on my oven) then turn off the oven but leave the oven light on and place the yoghurt jar in the oven. Leave for 6-10 hours.
Method 3: Slow cooker - I've tried a couple of different ways with the slow cooker. The only thing to note with the slow cooker is that you may need to make your yoghurt in two smaller jars. If I'm making it in the slow cooker I use 500ml Agee jars. You can half fill the slow cooker with warm water, place the yoghurt jar in it, wrap the whole slow cooker in a towel and leave for 6-10 hours. The other way I did it was pouring hot tap water into the slow cooker, turning it to warm and leaving the yoghurt in there for 6 hours. I didn't like this method as much as wrapping it in a towel and leaving it for longer.
- Step 5: Refrigerate. Once the yoghurt has set, it needs to be refrigerated. Place in the fridge overnight or until cooled completely. At this stage you can also stir in any flavours you like or strain it to make thicker Greek yoghurt.
- Yoghurt will store in the fridge for up to 2 weeks and you can now use the last of this homemade yoghurt to make your next batch! I made my first batch of yoghurt in March and have been using my own yoghurt to make new batches ever since!
If you tried and loved this recipe, please leave a comment and a rating below!

Caitlin says
Hi there, these instructions are super easy to follow. It's the most successful I've been with making my own so far.
The only question I have is around consistency / texture. My batch is a bit lumpy and grainy. It tastes fine, but it's not very smooth.
I left it overnight from around 9pm to 7am in the yoghurt maker, with the water just below the level of the red shelf, so not touching the plastic jar. I think this is how you recommend to fill it?
Is there something I can change around the temperature or method I've used that I can tweak to improve it?
Thank you!
Laura says
Hi Caitlin, from time to time my yoghurt is a bit grainy too. The only thing I can put it down to is sometimes if I let the milk get a bit hot (i.e I forget about it and it boils over haha) but it shouldn't affect your next batch! And if you give it a good stir, any lumps should disappear.
Jeannette Lopez says
I didn't know yoghurt was so easy to make! It worked perfectly, tastes just like the unflavored Greek yoghurt I used as the starter. AND, I was able to make it lactose free to boot! I had stopped eating yoghurt years ago because it was just too unpleasant for my body to process (even when eaten with lactase pills).
Because most in my family are lactose intolerant, and lactose free milk is so expensive in the stores, we treat regular milk with a crushed unflavored lactase pill (one pill per 2-liter works for us) and leave it alone in the fridge for 24 hours before using. The Greek yoghurt I used as a starter wasn't lactose free, but because it's just a small amount used, we're able to eat the finished product with no issues at all. I'm so excited about this!
Jeannette Lopez says
Sorry. Forgot to add, Thank You!
Laura says
That's fantastic!! I'm so happy to hear you've had success with this! Laura
Fernanda says
I’ve tried and it worked! Thanks for the recipe. The only thing is that it’s getting a bit grainy, so I’m not sure what I’m doing that’s causing that. Could it be the milk that’s a bit older? Not over the expiry date though.
Thanks again.
Laura says
Hi Fernanda. Yay!! I'm so glad it worked! Sometimes mine is grainy too - and always for different reasons! Often if I've heated the milk just a little too much it is, sometimes if the yoghurt is getting a bit old it does too. It doesn't affect the next batch though! Laura
Jody says
Would I be able to incubate the yoghurt in my hot water cupboard?
alice says
hi ive tried making yogurt this way years ago and failed using a different recipe or maybe i didn't start with the right yogurt what type do people start with there are so many different kinds and brands of plain unsweetened
Laura says
Hi Alice, in the past I have used the yoplait Greek yoghurt I think - as long as it has the cultures in it (it will say on the back) you should be fine. Alternatively you can buy yoghurt culture sachets from Country Trading Co which are super handy to have on hand (this is what I use now if I have run out of my own yoghurt) without needing to buy yoghurt! Laura
Patsy says
I made up some yogurt using milk powder I still brought to the boil in a saucepan after adding the milk powder to cold water Can I just use boiled water add the milk powder once it has cooled down then add the yogurt
Laura says
Hi Patsy, I've always wondered this myself and actually just bought some milk powder the other day to try it out. I imagine you can but when I will update this post! It is certainly a cost effective way of making yoghurt! Laura
Sandra says
I’m thinking of making yoghurt using your method. Just wondering can I use the plastic yoghurt container from my eziyo yoghurt maker or is it better in a jar?
Laura says
Hi Sandra, you absolutely can use the plastic jar, it works perfectly! Use whatever you have 🙂
Irene Studman says
I've now been making my own yoghurt for over a month with never a failure. Thank you so much for a recipe that uses Kiwi units and makes use of my existing yoghurt maker instead of needing to wrap pots in towels! Looking forward to some of your other ideas
Emma says
first try consistency a little off, second time like a brought one! so impressed. Kids loved it.
Arthur van der Velde says
Hi Laura.
Yet another option. Years ago, many times I successfully used a wide mouth thermos flask. I put it into the hot water cylinder cupboard for 24 hours. It was very convenient, no space on the bench, and no towels required.
Arthur
Jane says
Hi Laura,
I havent tried but want to try your yogurt recipe especially now that we are in COVID19 isolation. Looks very encouraging.
My question please: have you tried adding probiotic cultures from probiotic capsules(i have them on hand) mixture of Lactobacillus bulgaricus/aciduphilus or Streptococcus thermophilus? Thank you
Laura says
Hi Jane! That should work absolutely perfectly! I have been using culture sachets recently that contain the same things and it works exactly like using yoghurt! Laura
Megan says
Hi Laura the yoghurt I normally buy has the cultures Lactobacillus Acidophilus, is this ok to use?
Laura says
Yes that's the culture you need. Just make sure the yoghurt is plain unsweetened yoghurt too 🙂 Laura
Bernadette Hill says
HI Laura
Great post. I have been making my own yoghurt for a few years now and used a dehydrator to maintain the temperature before lashing out and buying a yoghurt maker which is so much simpler and probably using less electricity. A couple of years ago when I was buying cultures from my local supplier, she gave me a game changing suggestion. Use UHT (long-life) milk instead, which cuts out the initial boil, so all you have to do is heat the milk to 38 degrees (in the container in the microwave for about 1.5 minutes for 1 litre, check temperature with a thermometer, add culture, put in the yoghurt maker and voila! I do my yoghurt for 24 hours which has a lot more good gut bacteria than store bought yoghurt (another suggestion from the culture supplier). By using UHT milk, i keep it in the cupboard and it takes about 5 minutes to get a batch going. I love this method!
Caren Kelly says
Hi Jill, I use to make yoghurt years ago & thought I'd have another go at it. Was wondering if I Can heat the milk up in a microwave? Can't seem to find my liquid thermometer (must have broken it). Is there a way of judging if the milk is hot enough, like just before it starts to boil?
Laura says
Hi Caren! You can definitely heat it up in the microwave - you want to catch it just before it starts boiling, when it starts getting little bubbles around the edges is usually a pretty good indication! But if you take it too far (which I have done many times!) it's still fine 🙂 The hardest part is probably guessing when it's cool enough to add the yoghurt. You want it to be quite warm to the touch but not burning your finger! Laura
Jill says
Hi Laura,
Thanks for the recipe, I have made it several times and always with great success.
Sorry, if this is a dumb question, but when the milk has cooled, there is the skin on top. Do you take that off and discard, or stir it in?
Also, and this question is dumb, how do you tell if the yoghurt has culture. Apart from a date on a purchased yoghurt, is there a way to tell on a home made yoghurt?
Cheers again for the recipe, I love it.
Laura says
Hi Jill! Not a dumb question at all! I remove and discard the skin but stirring it in would be absolutely fine too. And yes, on the label of bought yoghurt you are looking for Lactobacillus bulgaricus or Streptococcus thermophilus on the label 🙂 Laura
Karen says
Kia ora, thanks to your post I am now the owner of a yoghurt maker (and I brought one for my sister too for her birthday next week). Just wondering if it is normal to have a layer (approximately 2 cm) at the very top of the jar of what looks like cream (when milk separates and the cream goes to the top)? And do you have any flavoring ideas?? Thanks 😊
Laura says
Yay! Yoghurt makers are a great gift! Yes, mine sometimes looks a little strange on top too but I just stir it in. Same goes if you get the yellowy whey liquid at the top, you can either drain it off or stir it in. I love cooking up berries with a little honey or maple syrup and stirring that through - my girls think that is a pretty special treat!!
Tracey Cassells says
Is it important that it takes 20 min to heat up? If it is heating up too fast, should I turn it down?
Laura says
Hi Tracey, no the time is not important, the temperature is. I just included the time as a rough guide in case you don't have a thermometer! Laura
Robyn says
Hi, Keen to have a go and just wondering if I can use Greek Yoghurt to start with as that's what we have in the fridge at the moment? Thanks.
Laura says
Hi Robyn, absolutely, as long as it is unsweetened that will be perfect. I use Greek yoghurt all the time 🙂 Laura
Robyn says
Thanks.
Lisa says
Hi Laura
I have just come across your recipe and had a question. I though I had a life for my jar but don’t.....I have used the plastic one for the yogurt maker. Do you think it will work? I haven’t filled the water it.
Thank you!
Lisa says
*haven't filled the water over it
Laura says
Hi Lisa, yes the plastic one for the yoghurt maker will work perfectly!! Laura
Jane says
Hi Just wondering if it’s ok to use milk that is only a couple of days fro its use-by date?
Laura says
That's definitely ok! I even make it with milk that I've had in the freezer so it will be fine 🙂
Jordan Hardwick says
Wow yum, I'm inspired !! Where did you get your Thermometer from?
Laura says
Hi Jordan! This is the thermometer I have and it's great! https://www.mightyape.co.nz/product/stainless-steel-deluxe-candydeep-fry-thermometer/20937918?r=1699668
Ashley says
can you use a normal thermometer or do you need a liquid one?
Laura says
Any cooking thermometer is fine, I usually use my meat one as it's an instant read digital one which I love! Laura