Homemade bagels made simple! Step by step instructions to show you exactly how easy it is to make bagels at home as well as ideas for toppings including homemade everything seasoning! Have those delicious deli fresh bagels made in your own kitchen whenever you feel like them!
HOMEMADE BAGELS!!!! I'm kind of excited, can you tell?
I'm not sure everyone feels quite as strongly about bagels as I do, so if you don't - bear with me. If you do, you are in for a TREAT!
I'm not even kidding guys - these are a-maz-ing!
Chewy but soft, strong enough to hold a bunch of toppings and versatile enough to sit right on the sweet/savoury fence. I've been to New York City and had a deli bagel and lemme tell ya - these guys are the real deal. We had them for Mother's Day lunch, then we had them for dinner and I promise you, if we had any left we would have had them for breakfast the next morning.
I used to be in love with the bagels you could buy from the supermarket, but that relationship is officially over. No more will I pay $5 for 4 hard bagels that are only good if you toast them and eat them immediately.
Bagels are something I have wanted to make for a long time but have always been a little intimidated by them. Not only is there the yeast factor, there is then the whole boil & bake scenario to get your head around. Luckily I have a go-to when it comes to homemade bread of any description - Steph from Girl Versus Dough is a bread baking legend and these bagels were no different. I made them once and was pleasantly surprised at how easy it was. I made them twice and didn't even really think about it. The third time I made them I practically did it with my eyes closed. True story.
Easy, I'm telling ya!
First up, add the yeast, sugar and warm water to a bowl or jug.
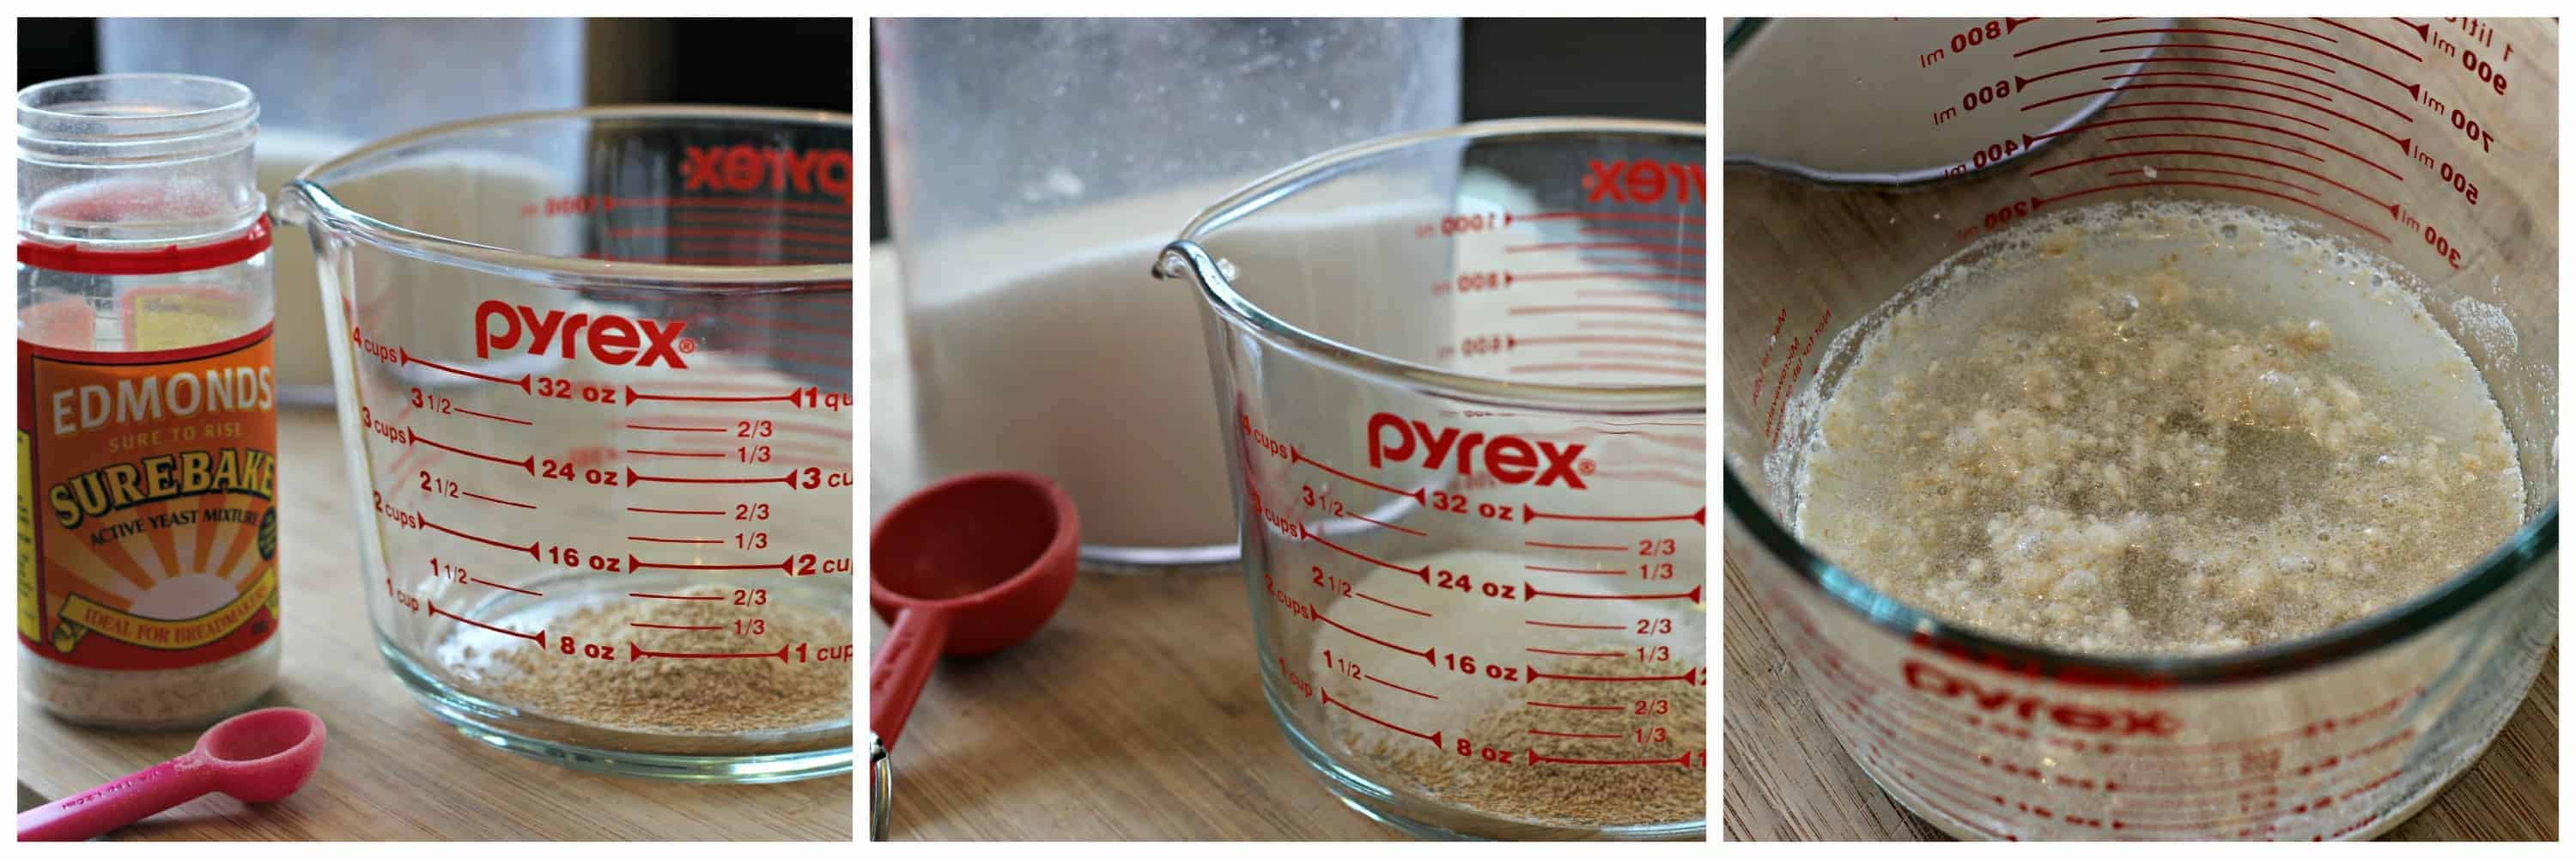
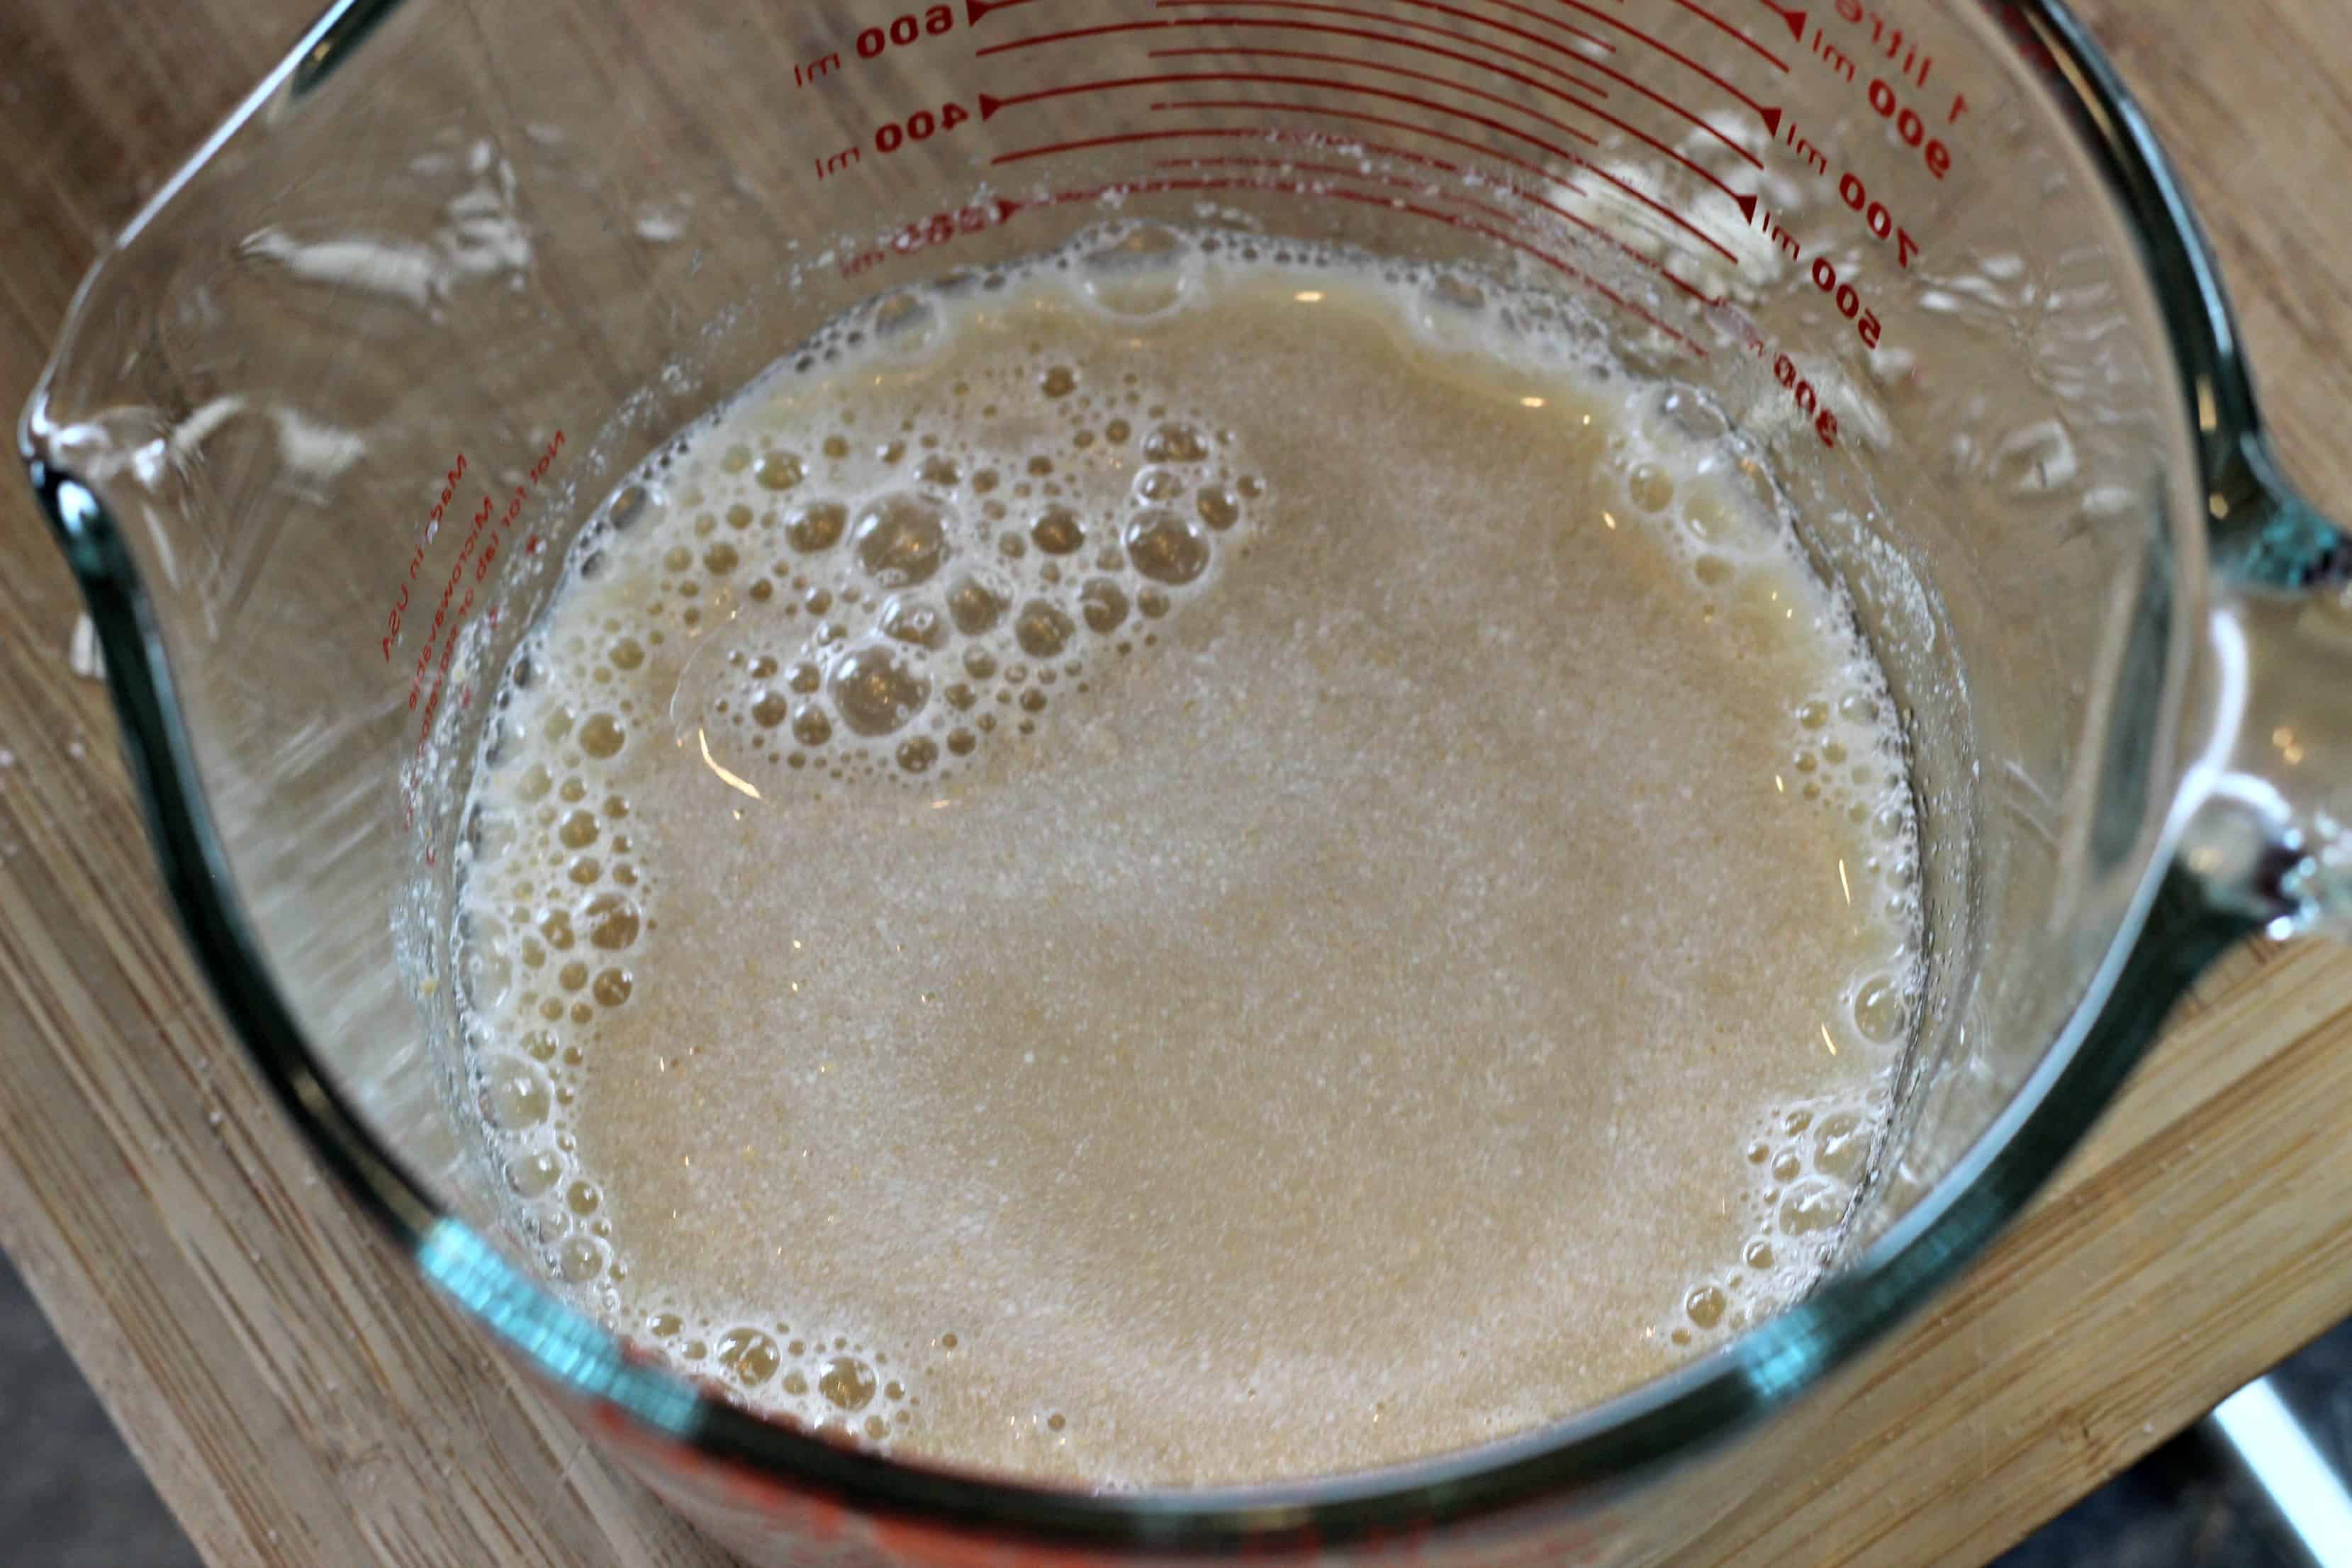
Leave it for 5 minutes until it is frothy.
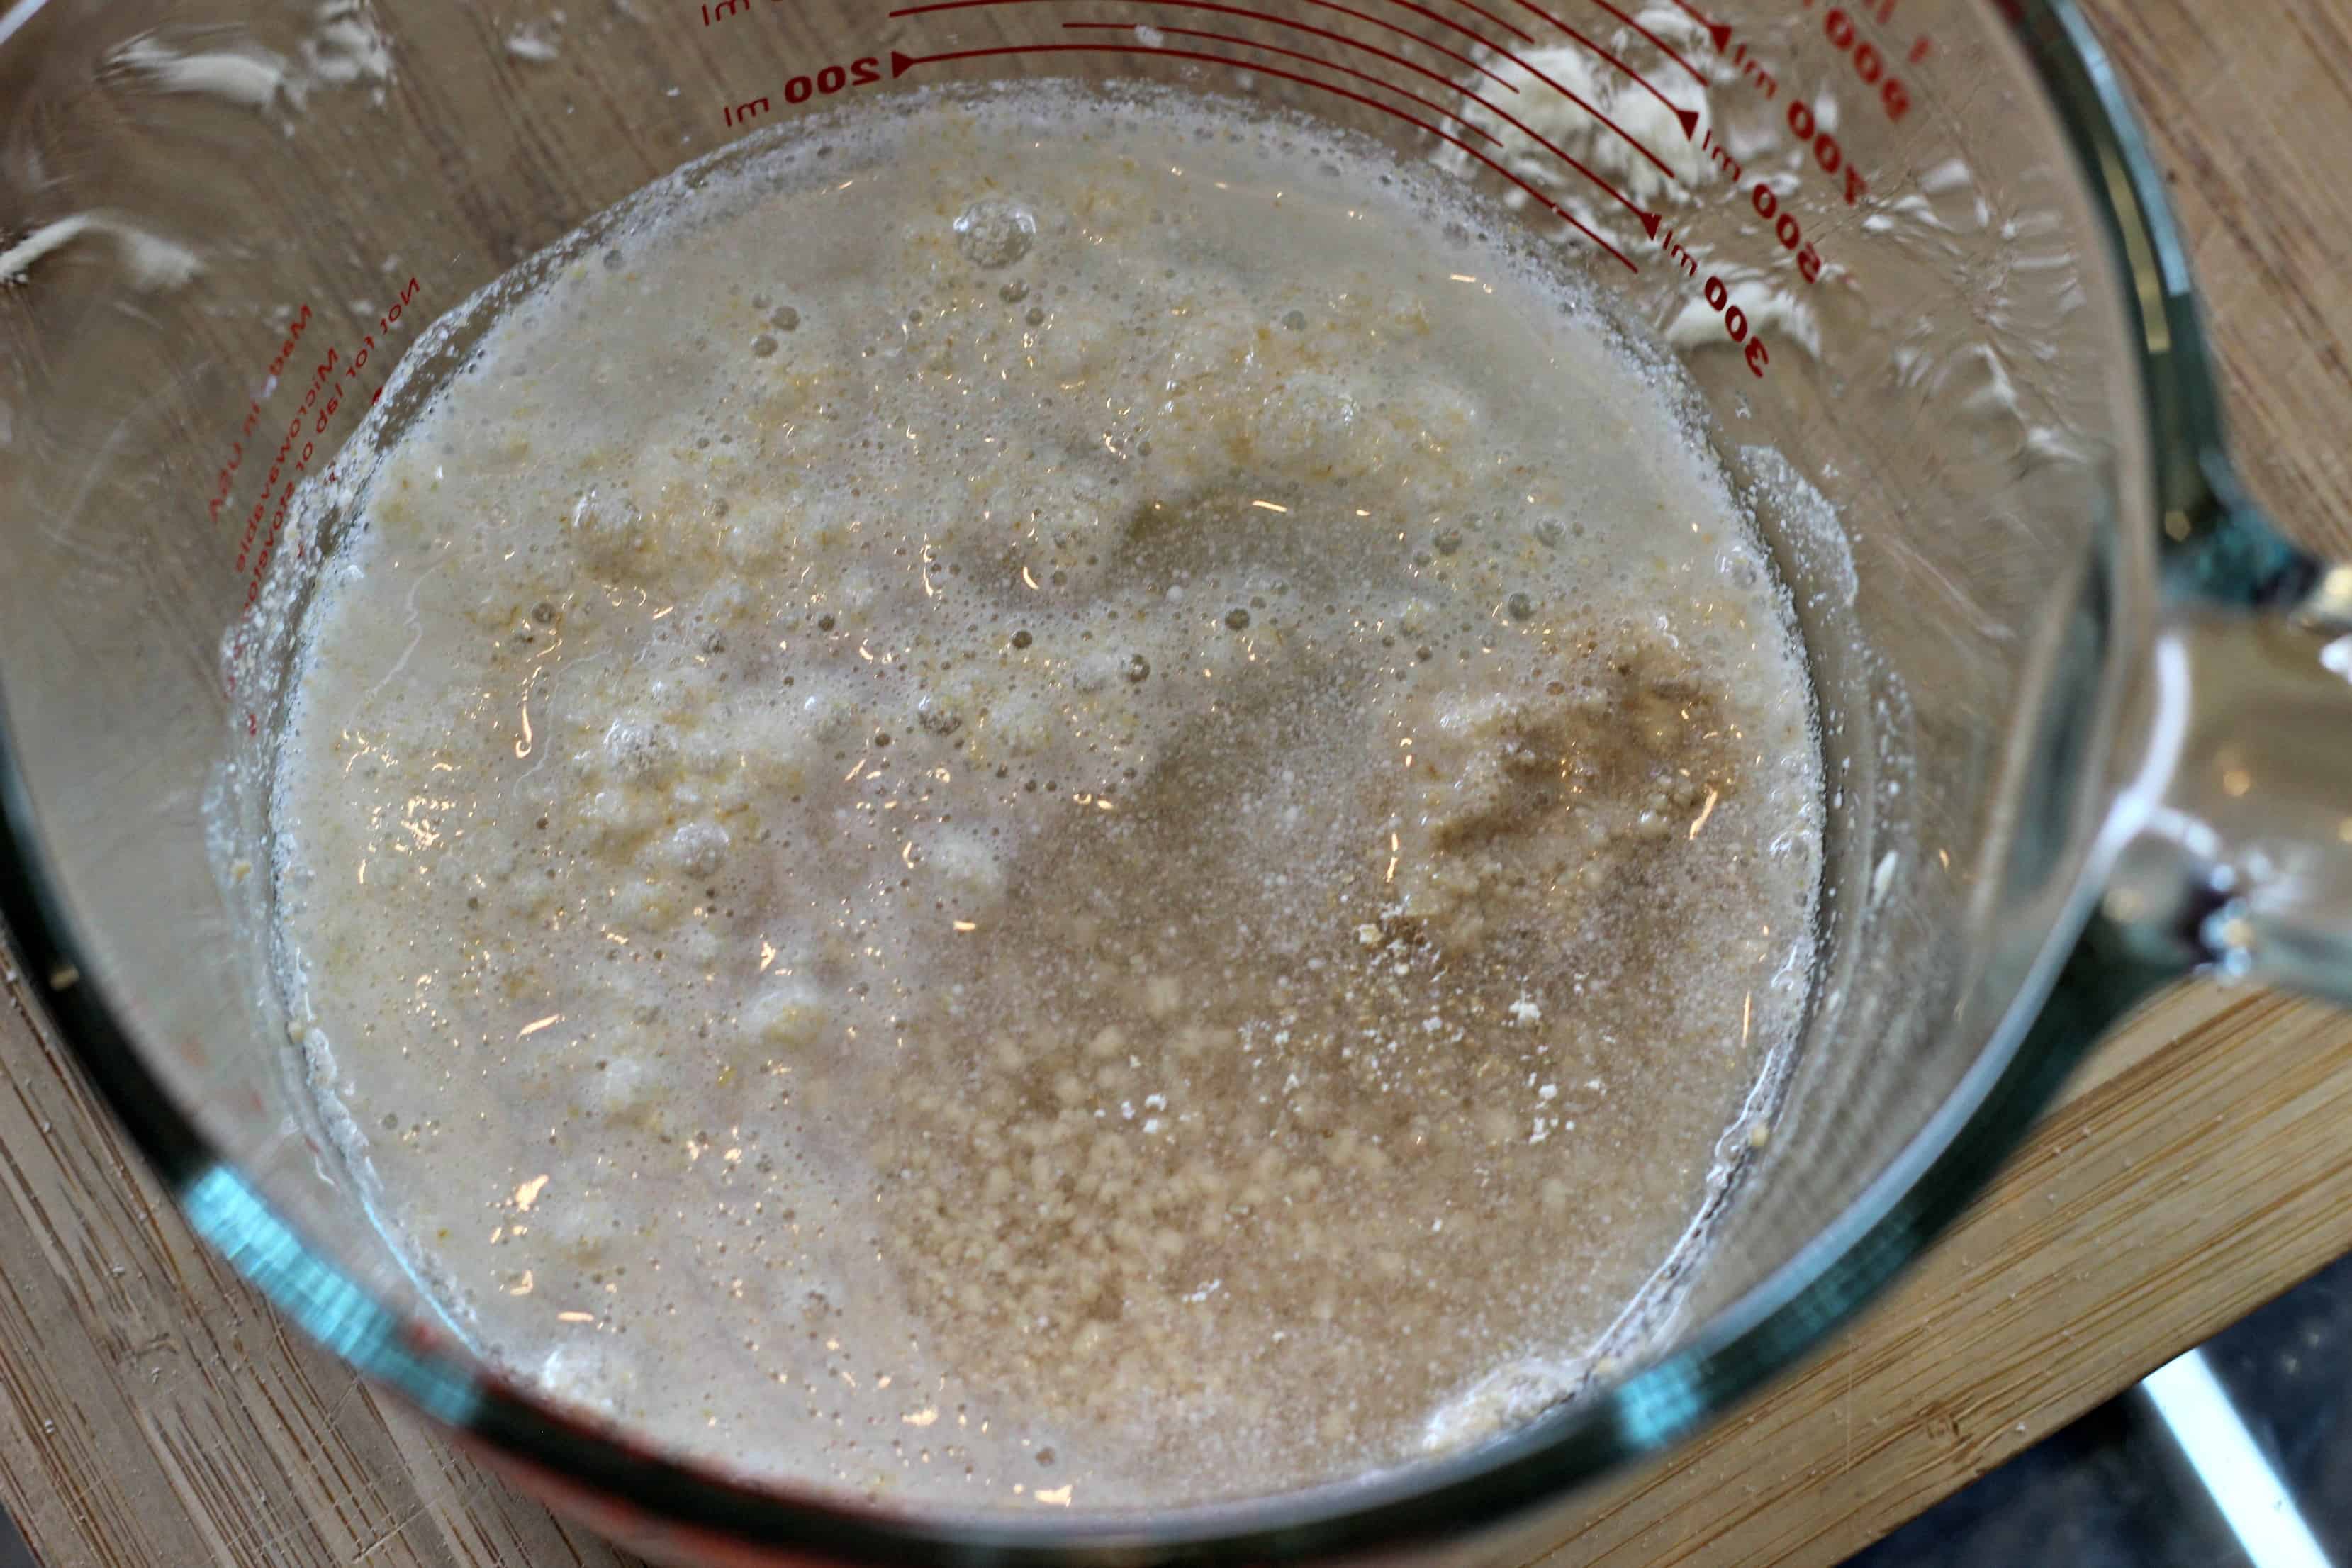
And then mix it up with a fork until the yeast dissolves.
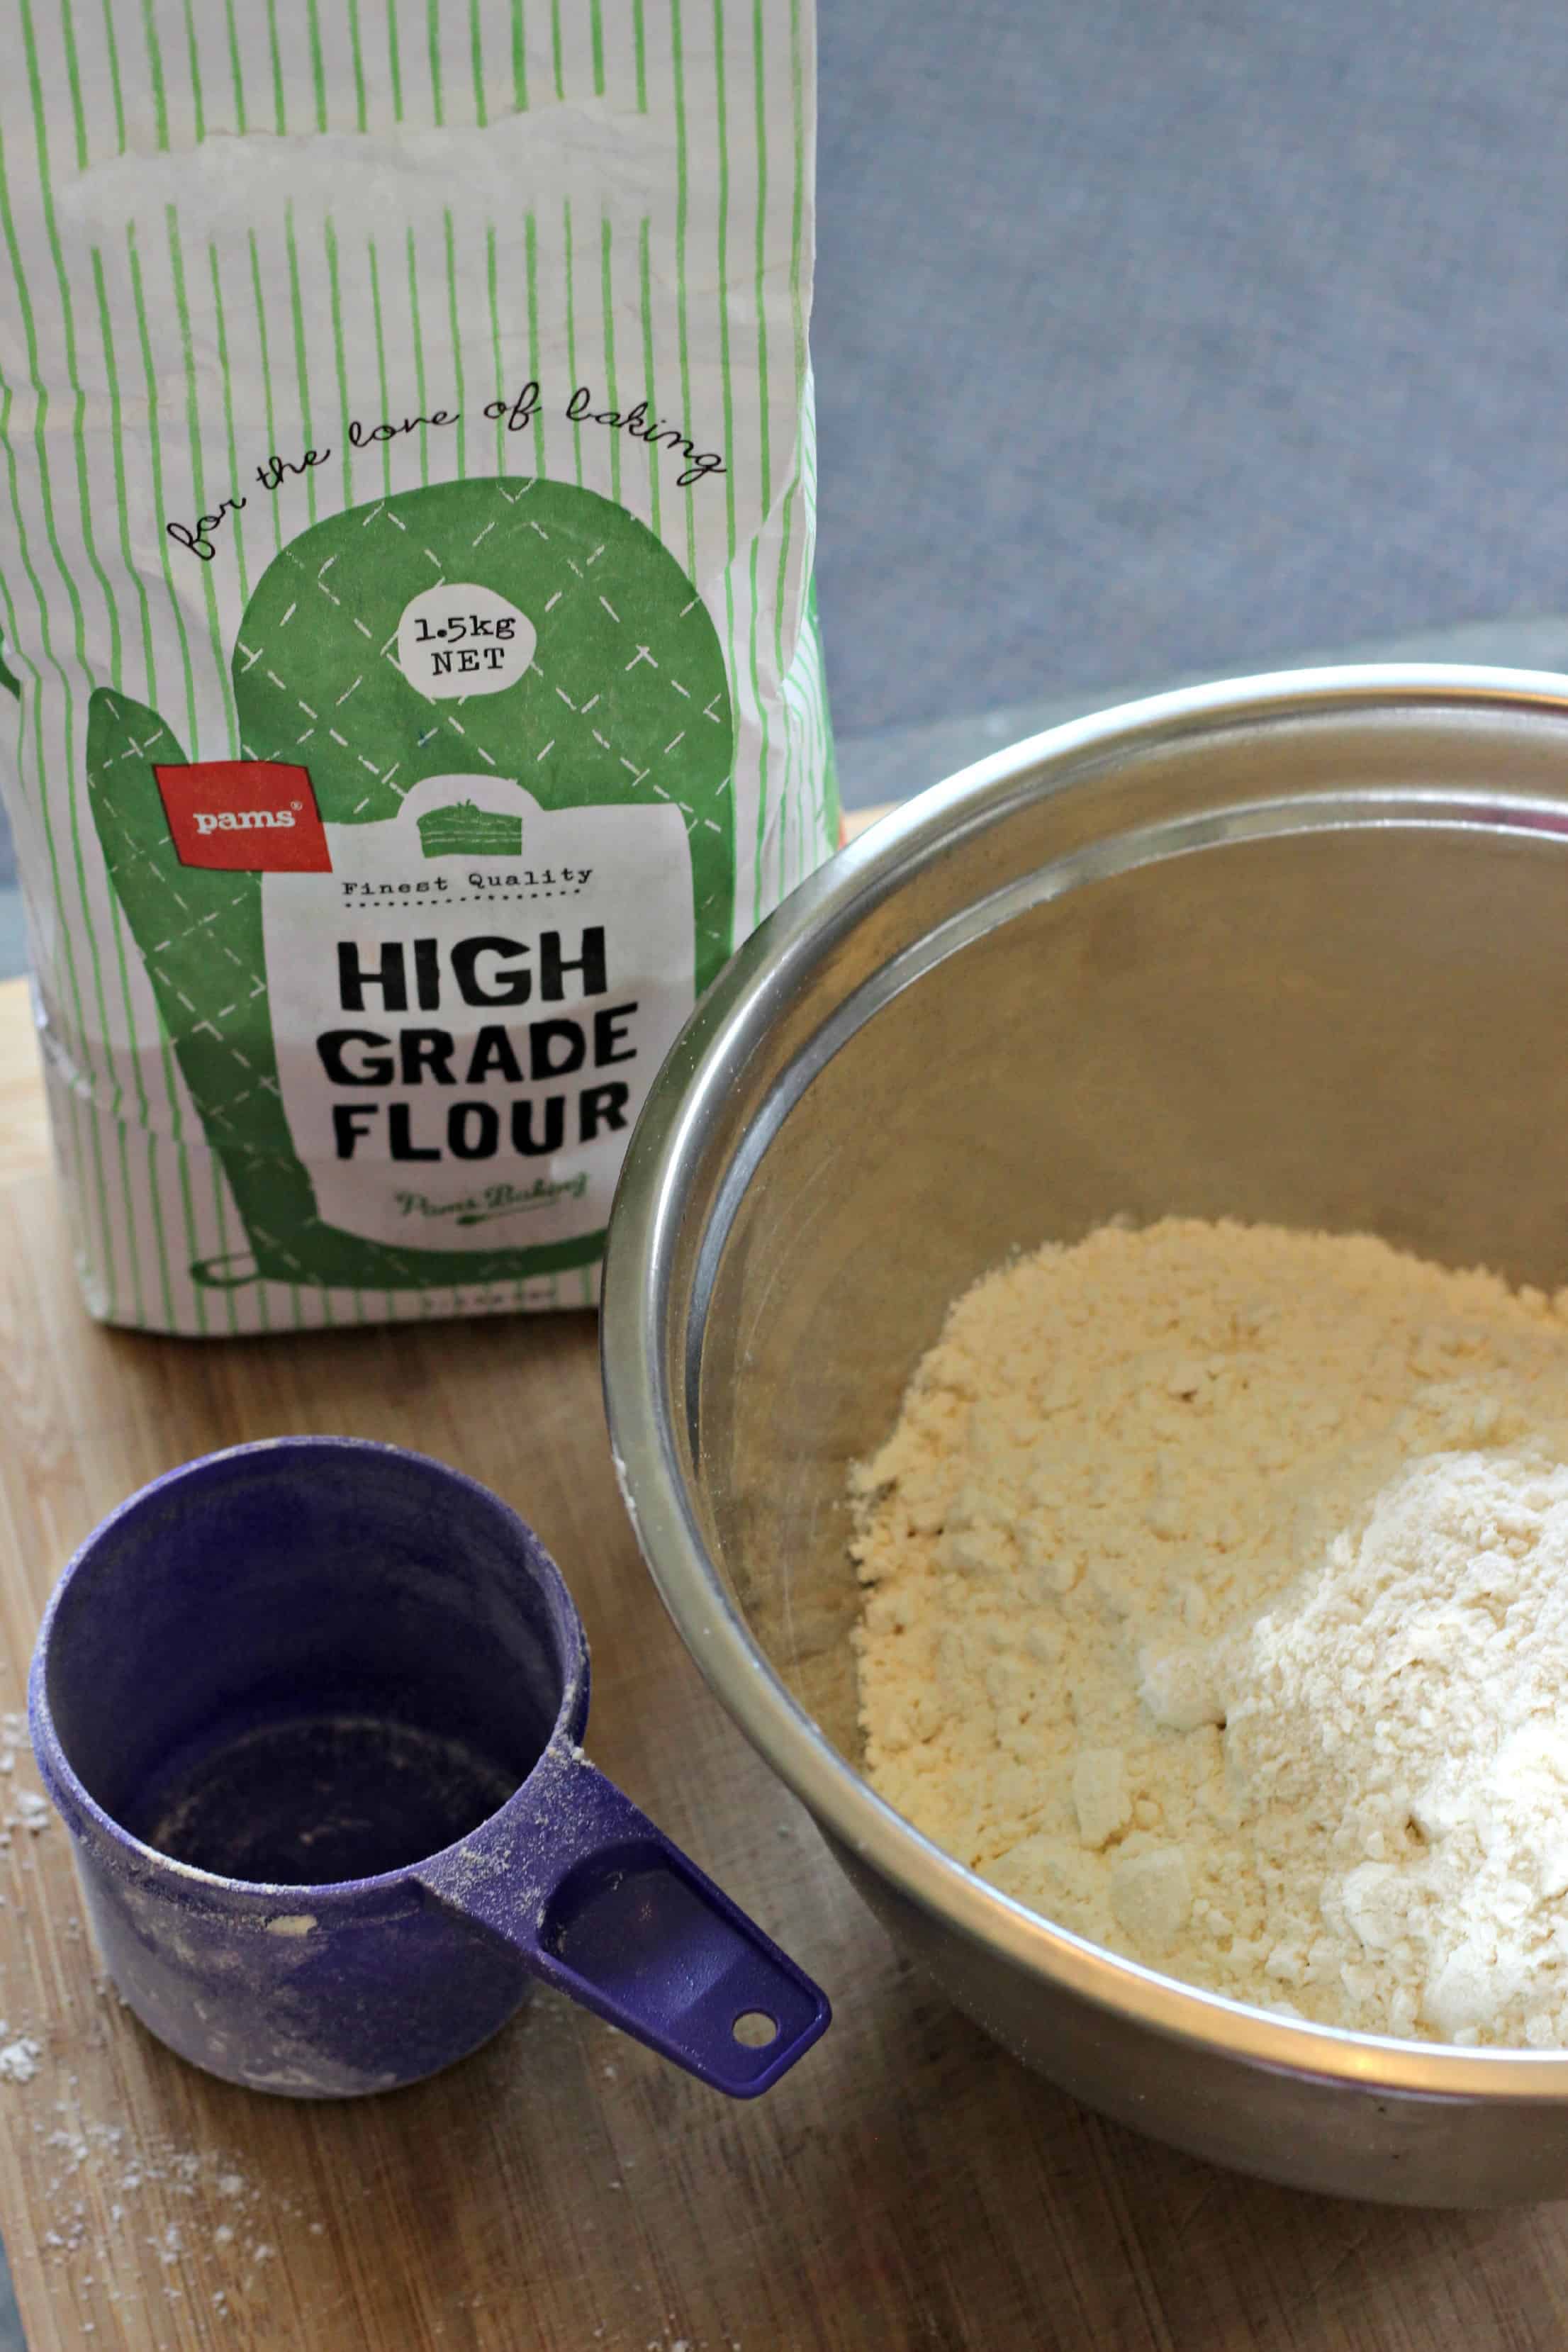
In another bowl add 3 ½ cups of high grade flour and a little salt. I have made these with both high grade and plain flour and both worked fine however I did prefer the high grade flour. It made a much nicer dough to work with and rose a lot better. If using plain flour you will need 4-4 ½ cups of flour - not sure why but the dough seemed to be a lot stickier.
Make a well in the centre and pour in the yeast mixture and another ¾ cup of warm water.

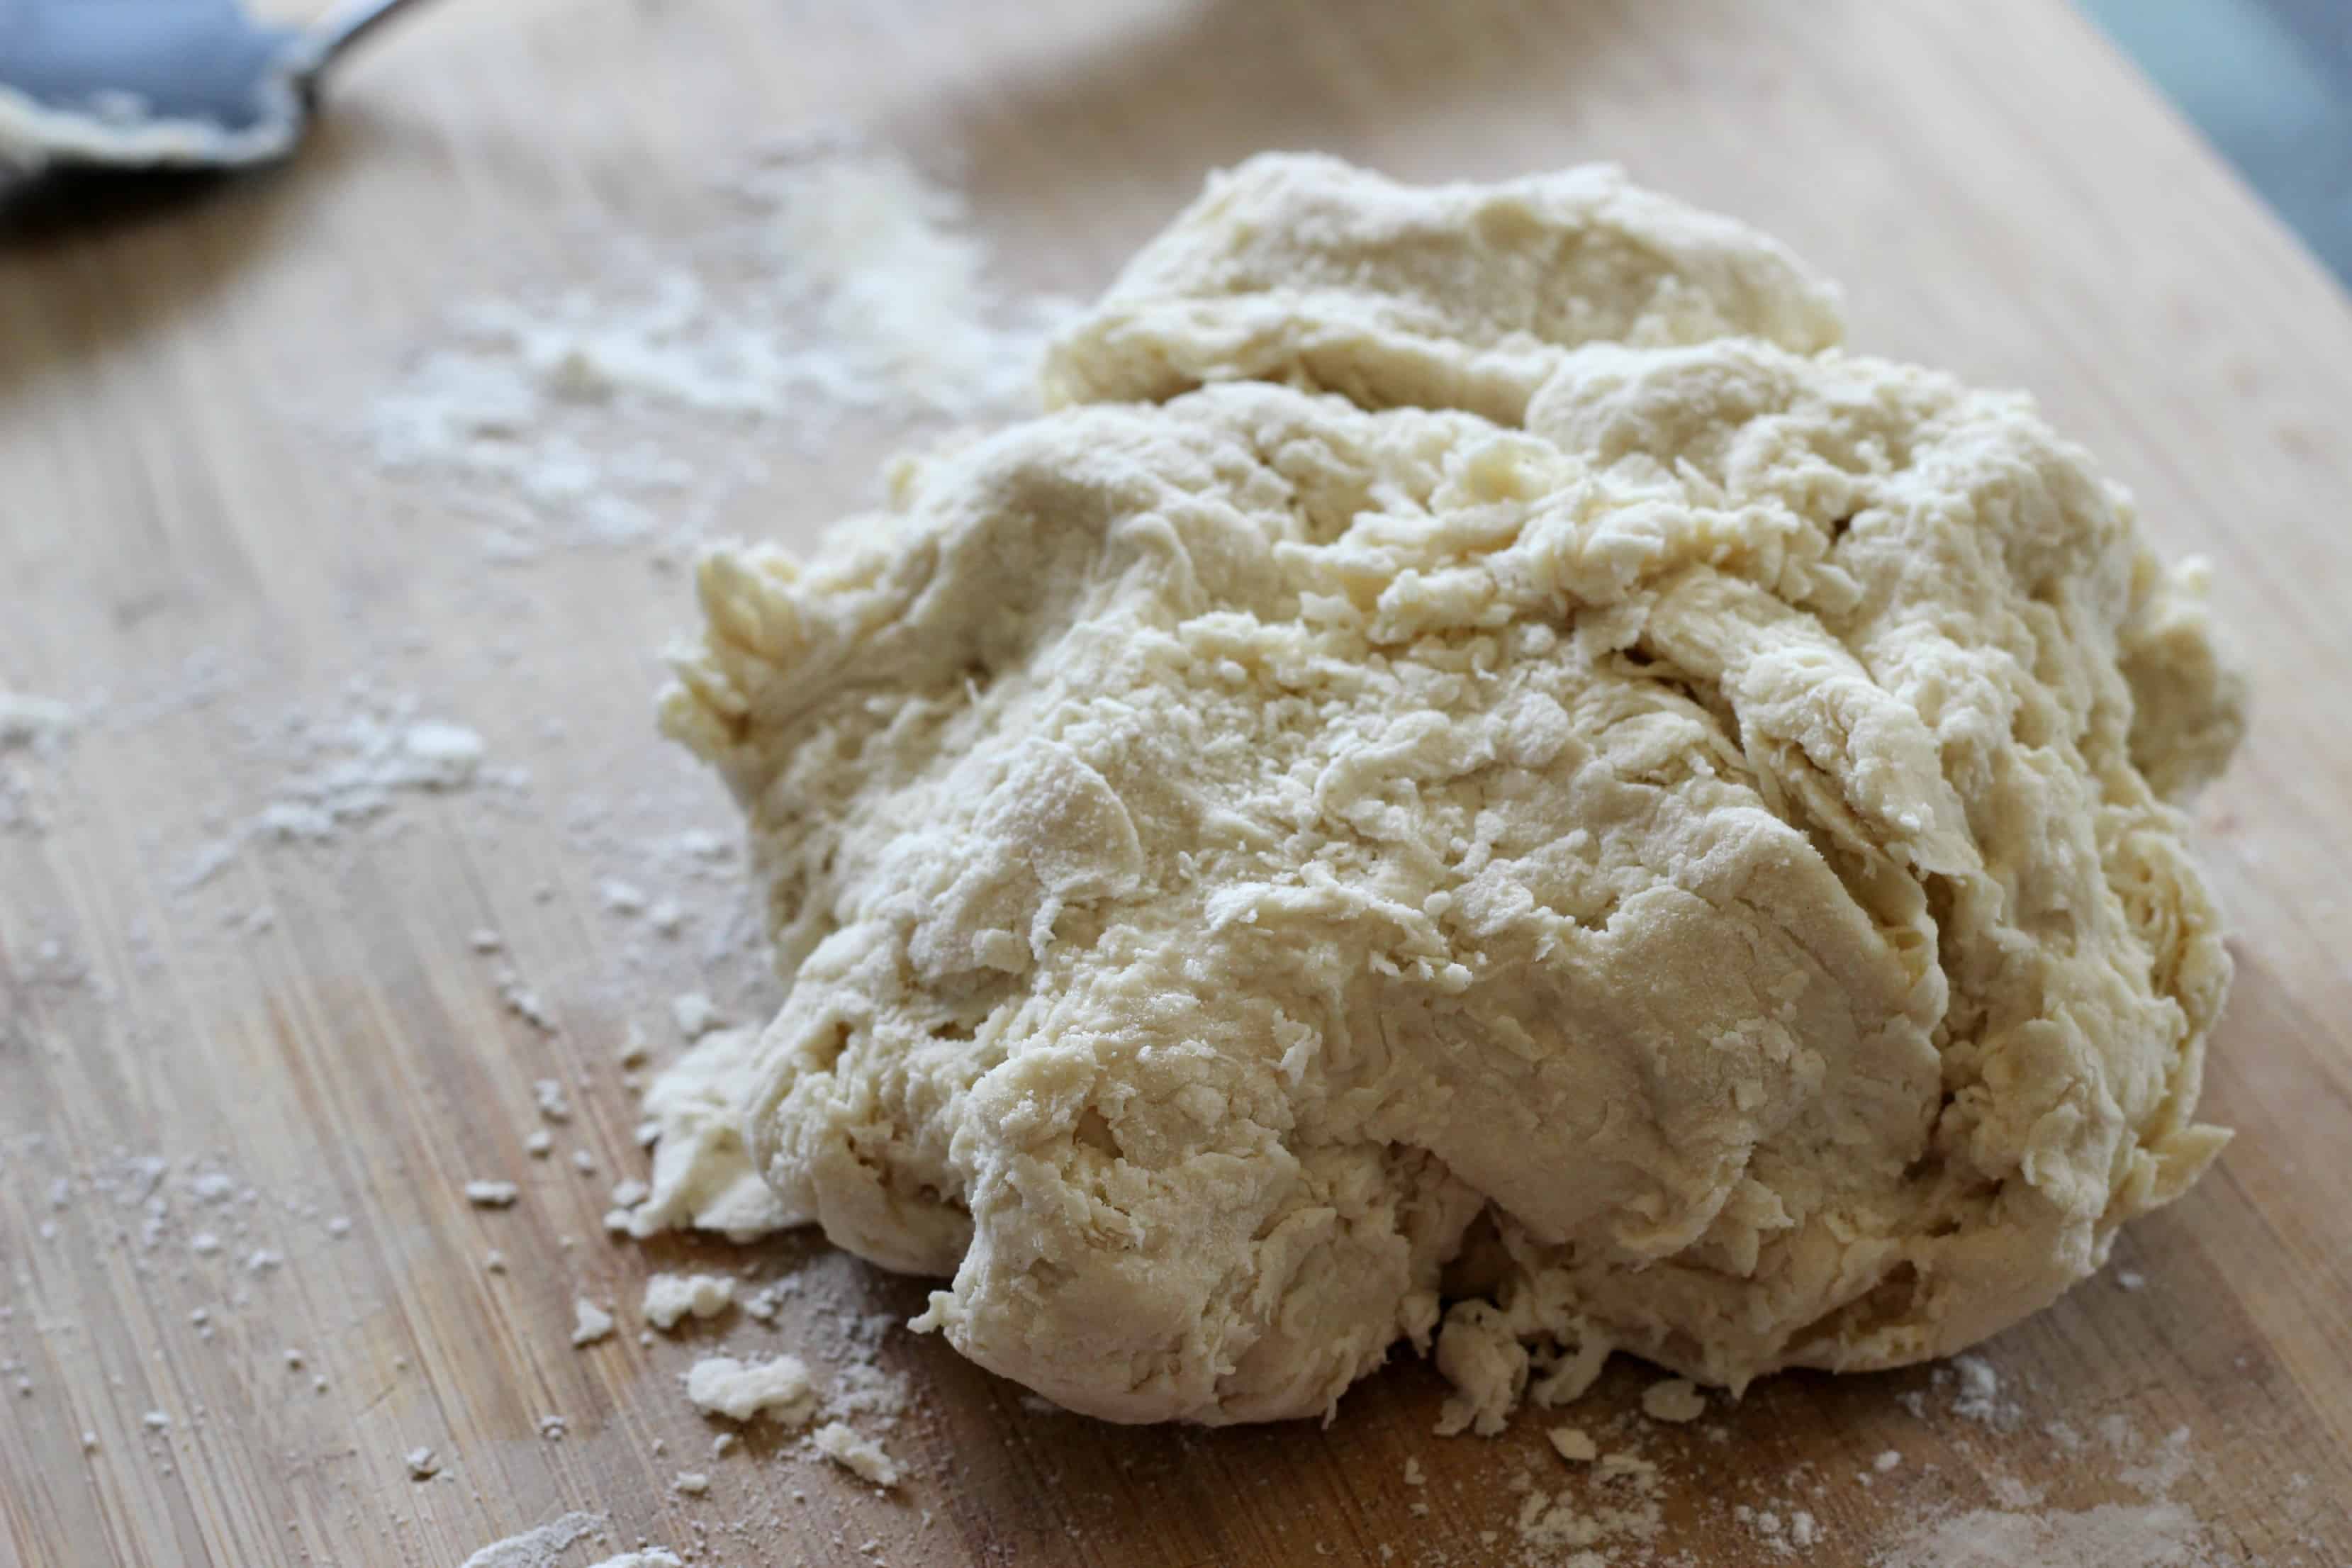
Mix together until the dough starts to come together,

And then turn out onto a lightly floured surface.
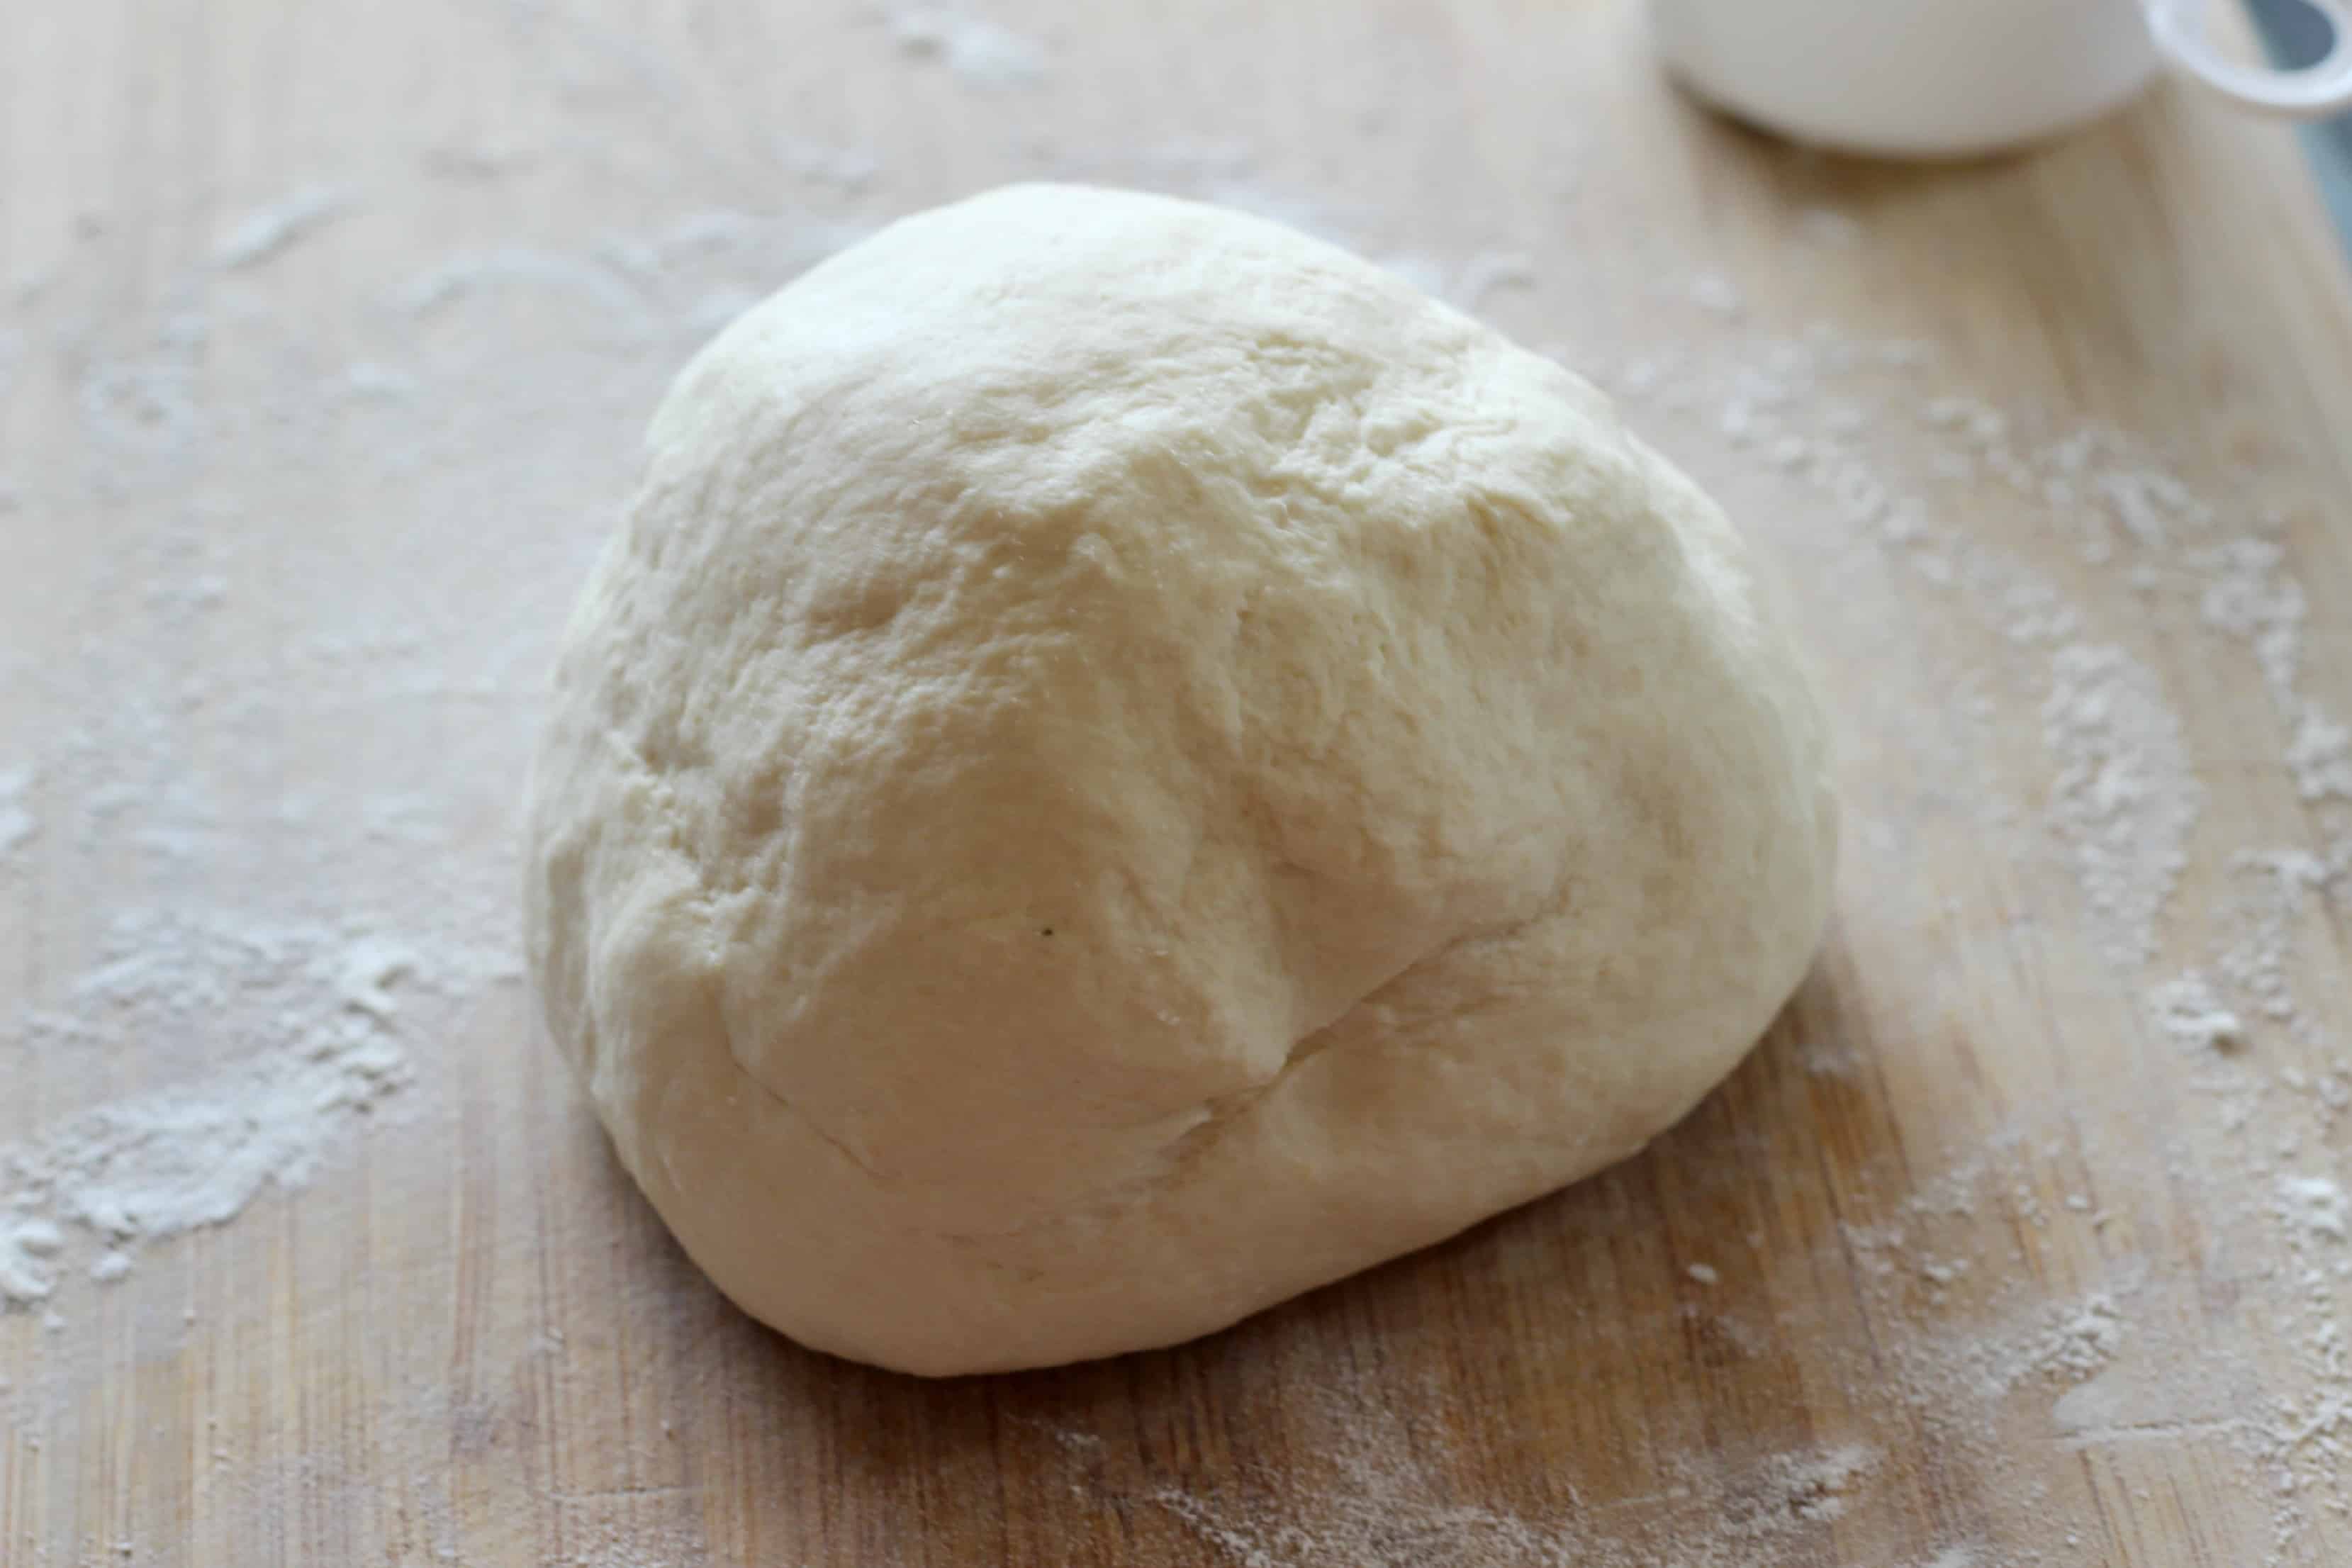
Knead for 8-10 minutes until the dough is smooth & elastic but still firm - like this!
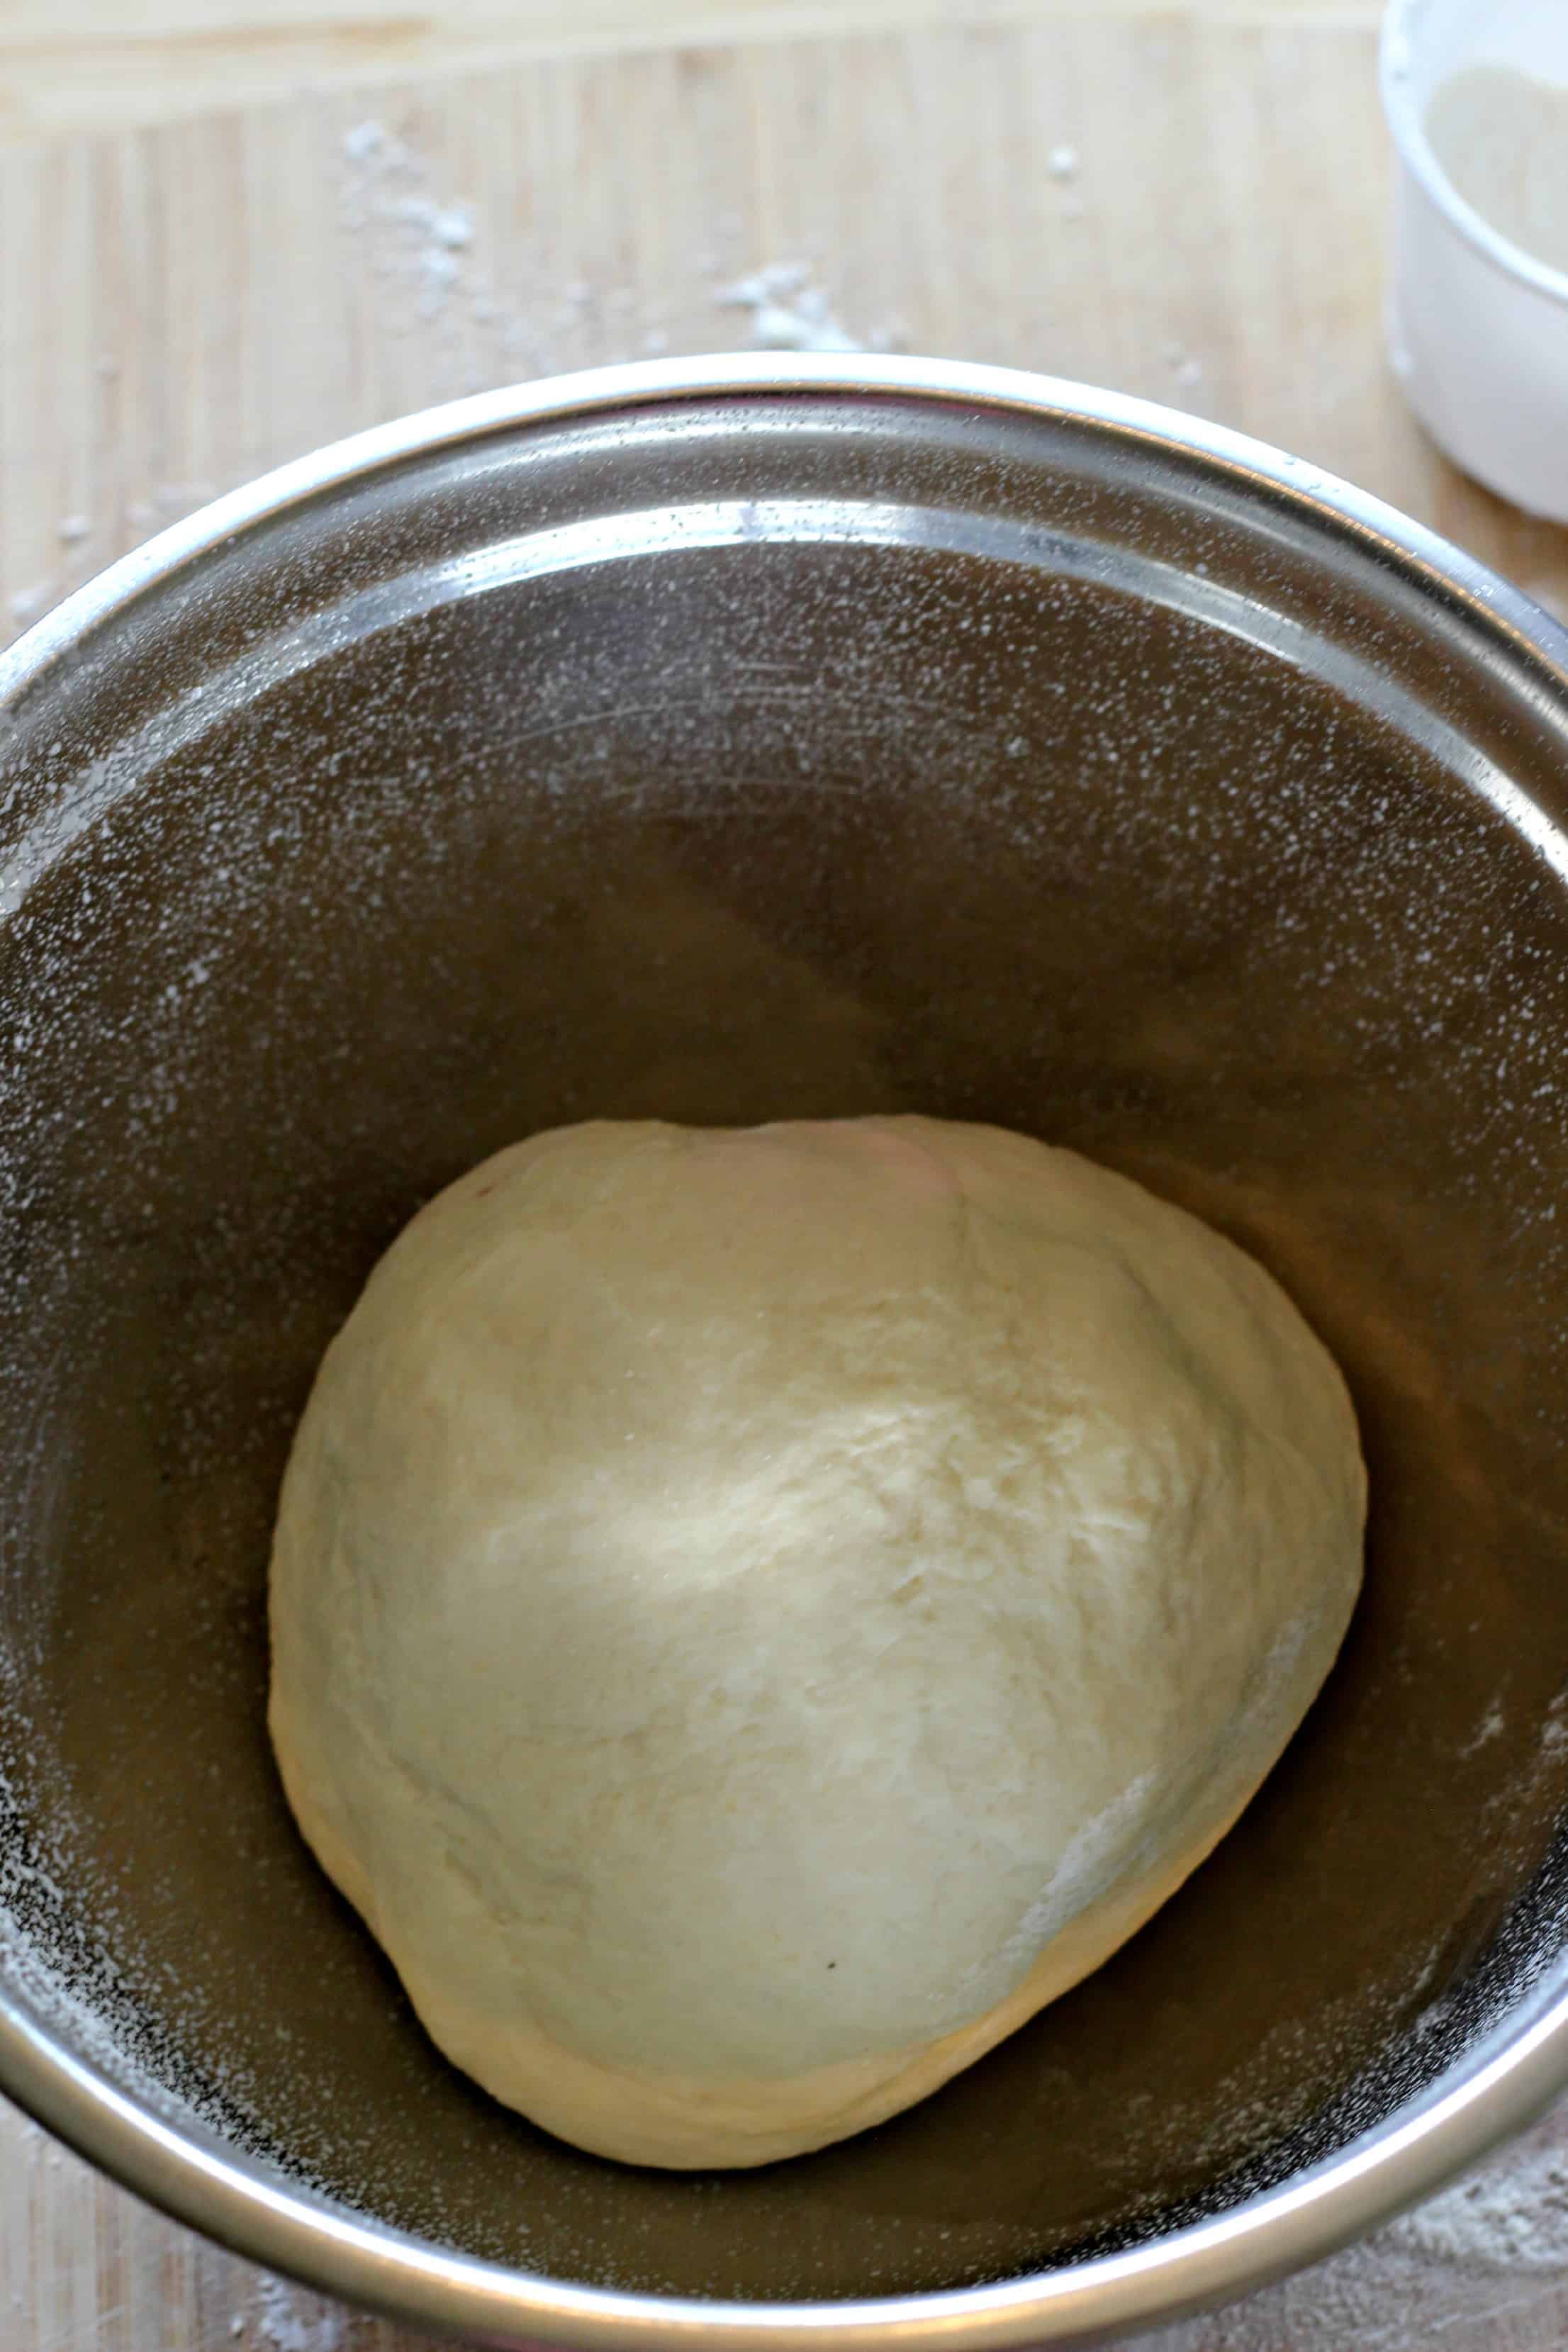
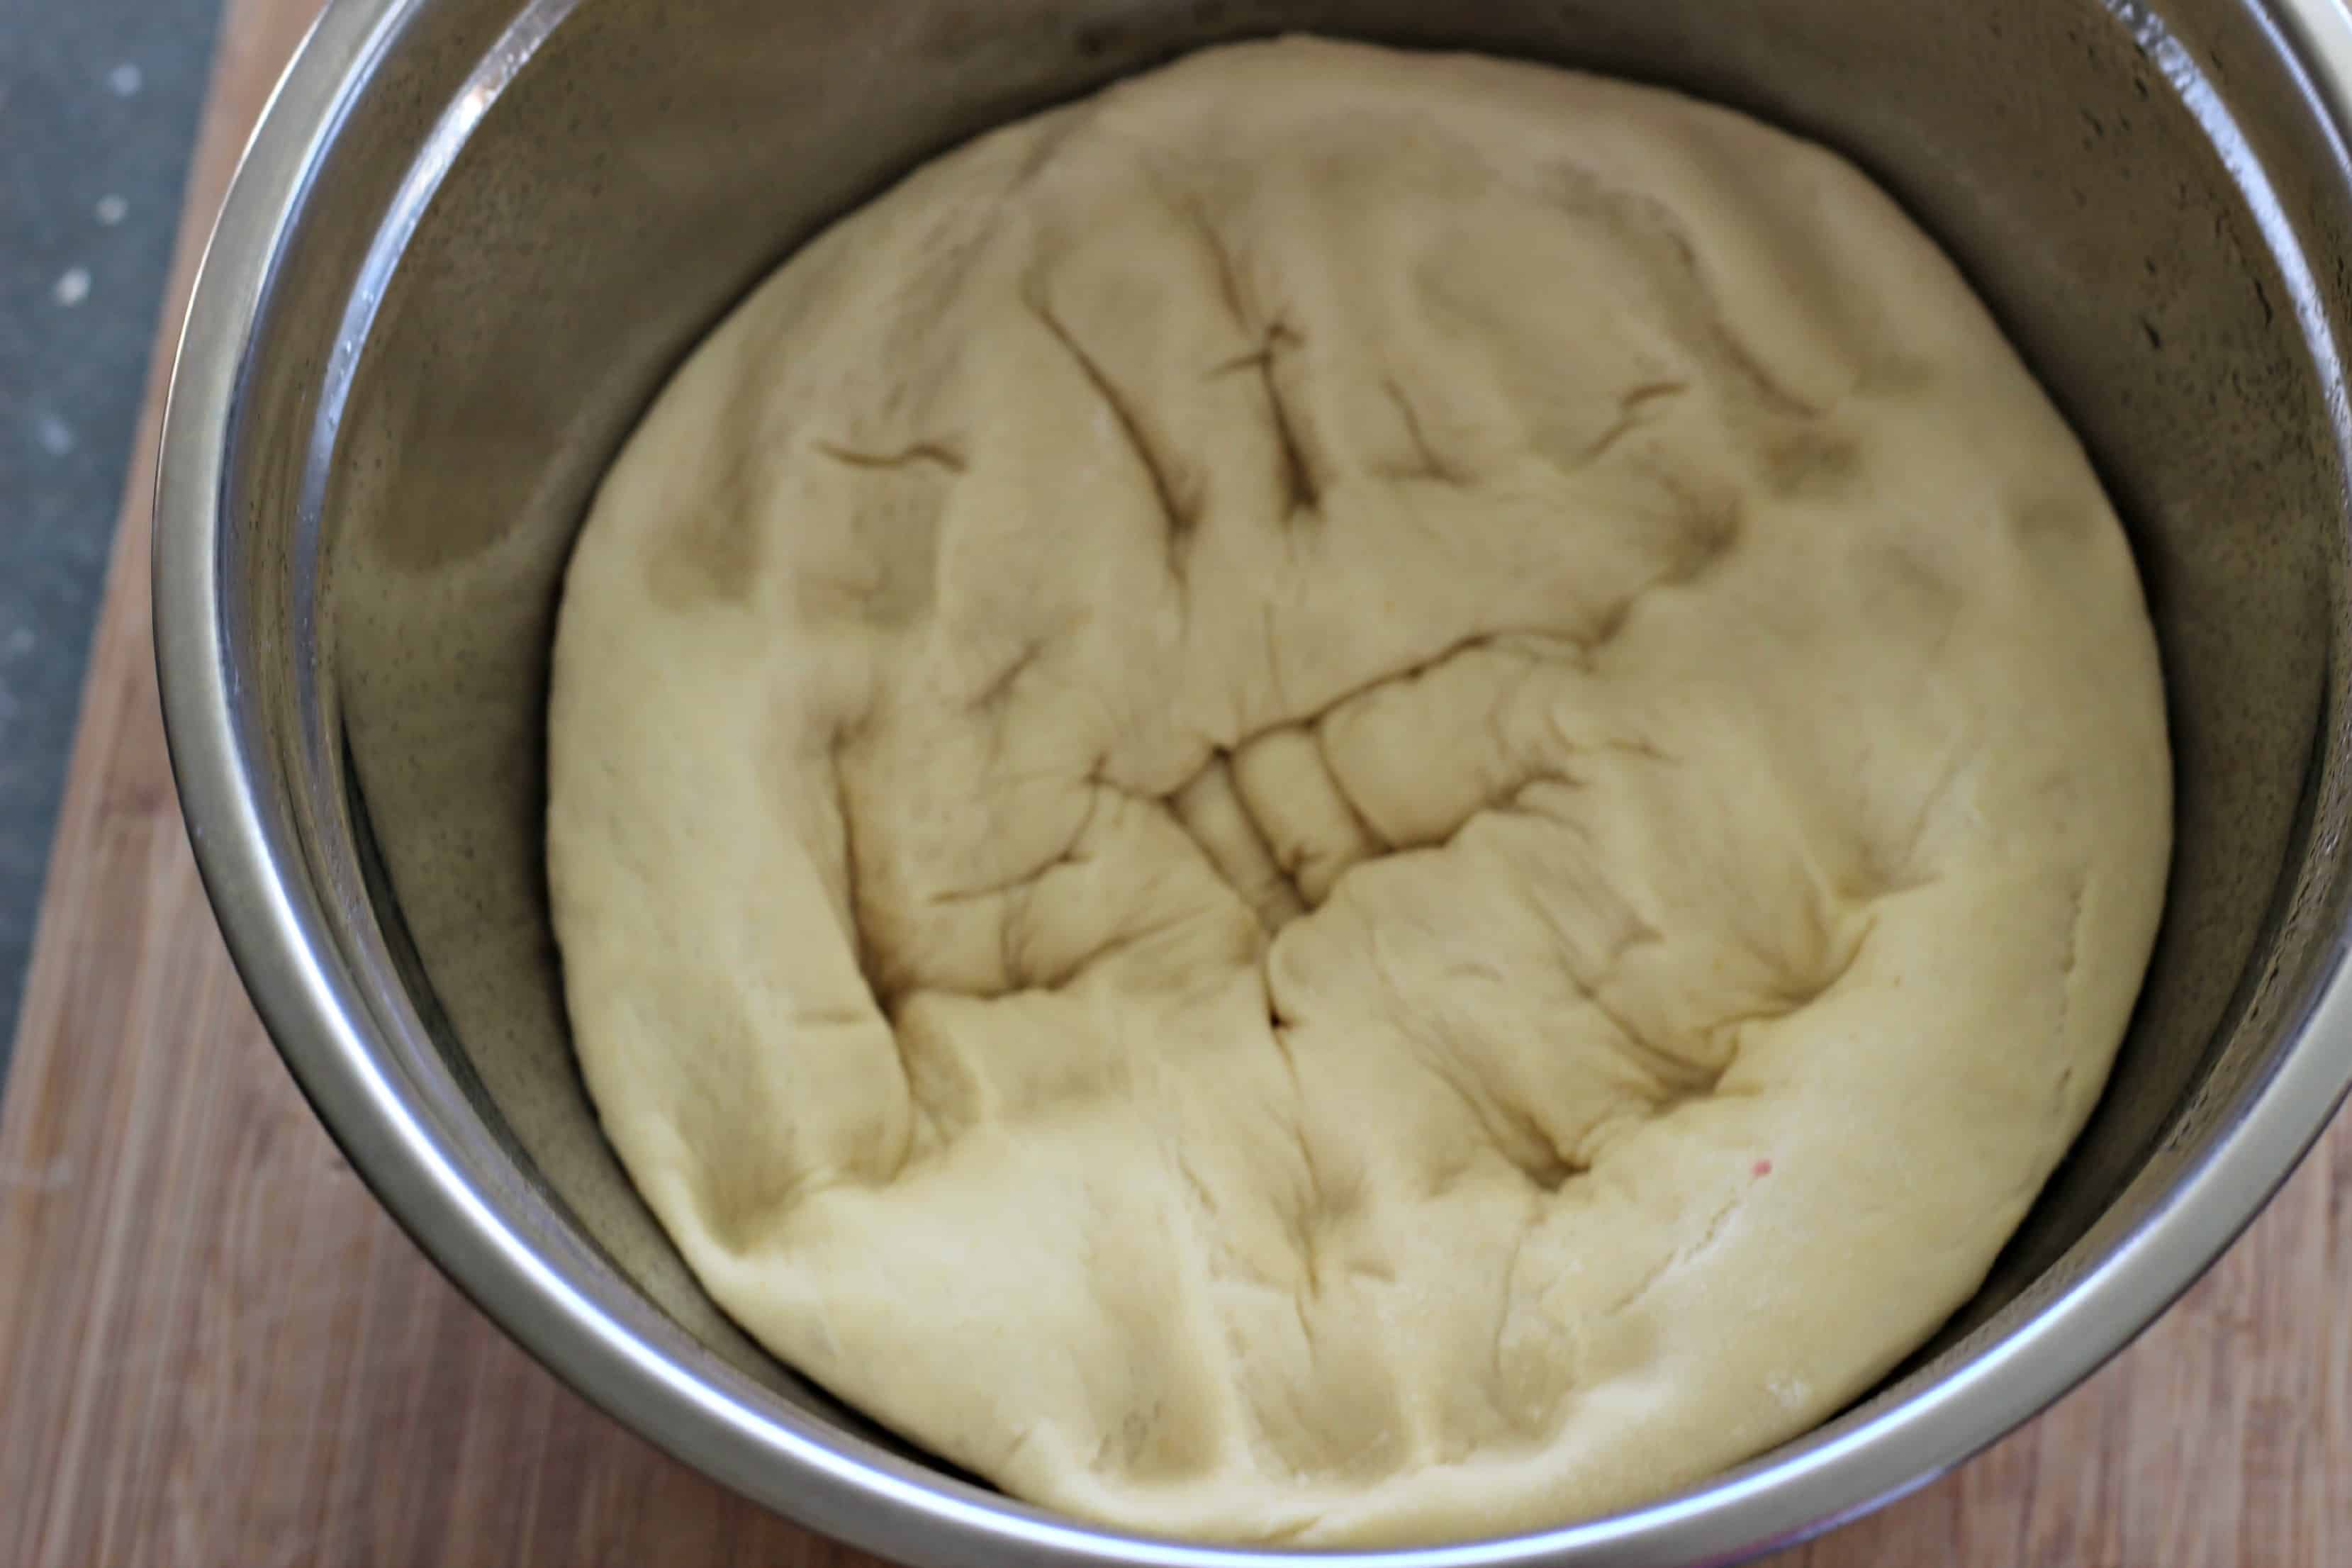
Put in a lightly greased bowl, cover with gladwrap or a tea towel and leave to rise for an hour, or until doubled in size.
Once it has risen, punch it down and let the dough sit for 10 minutes.
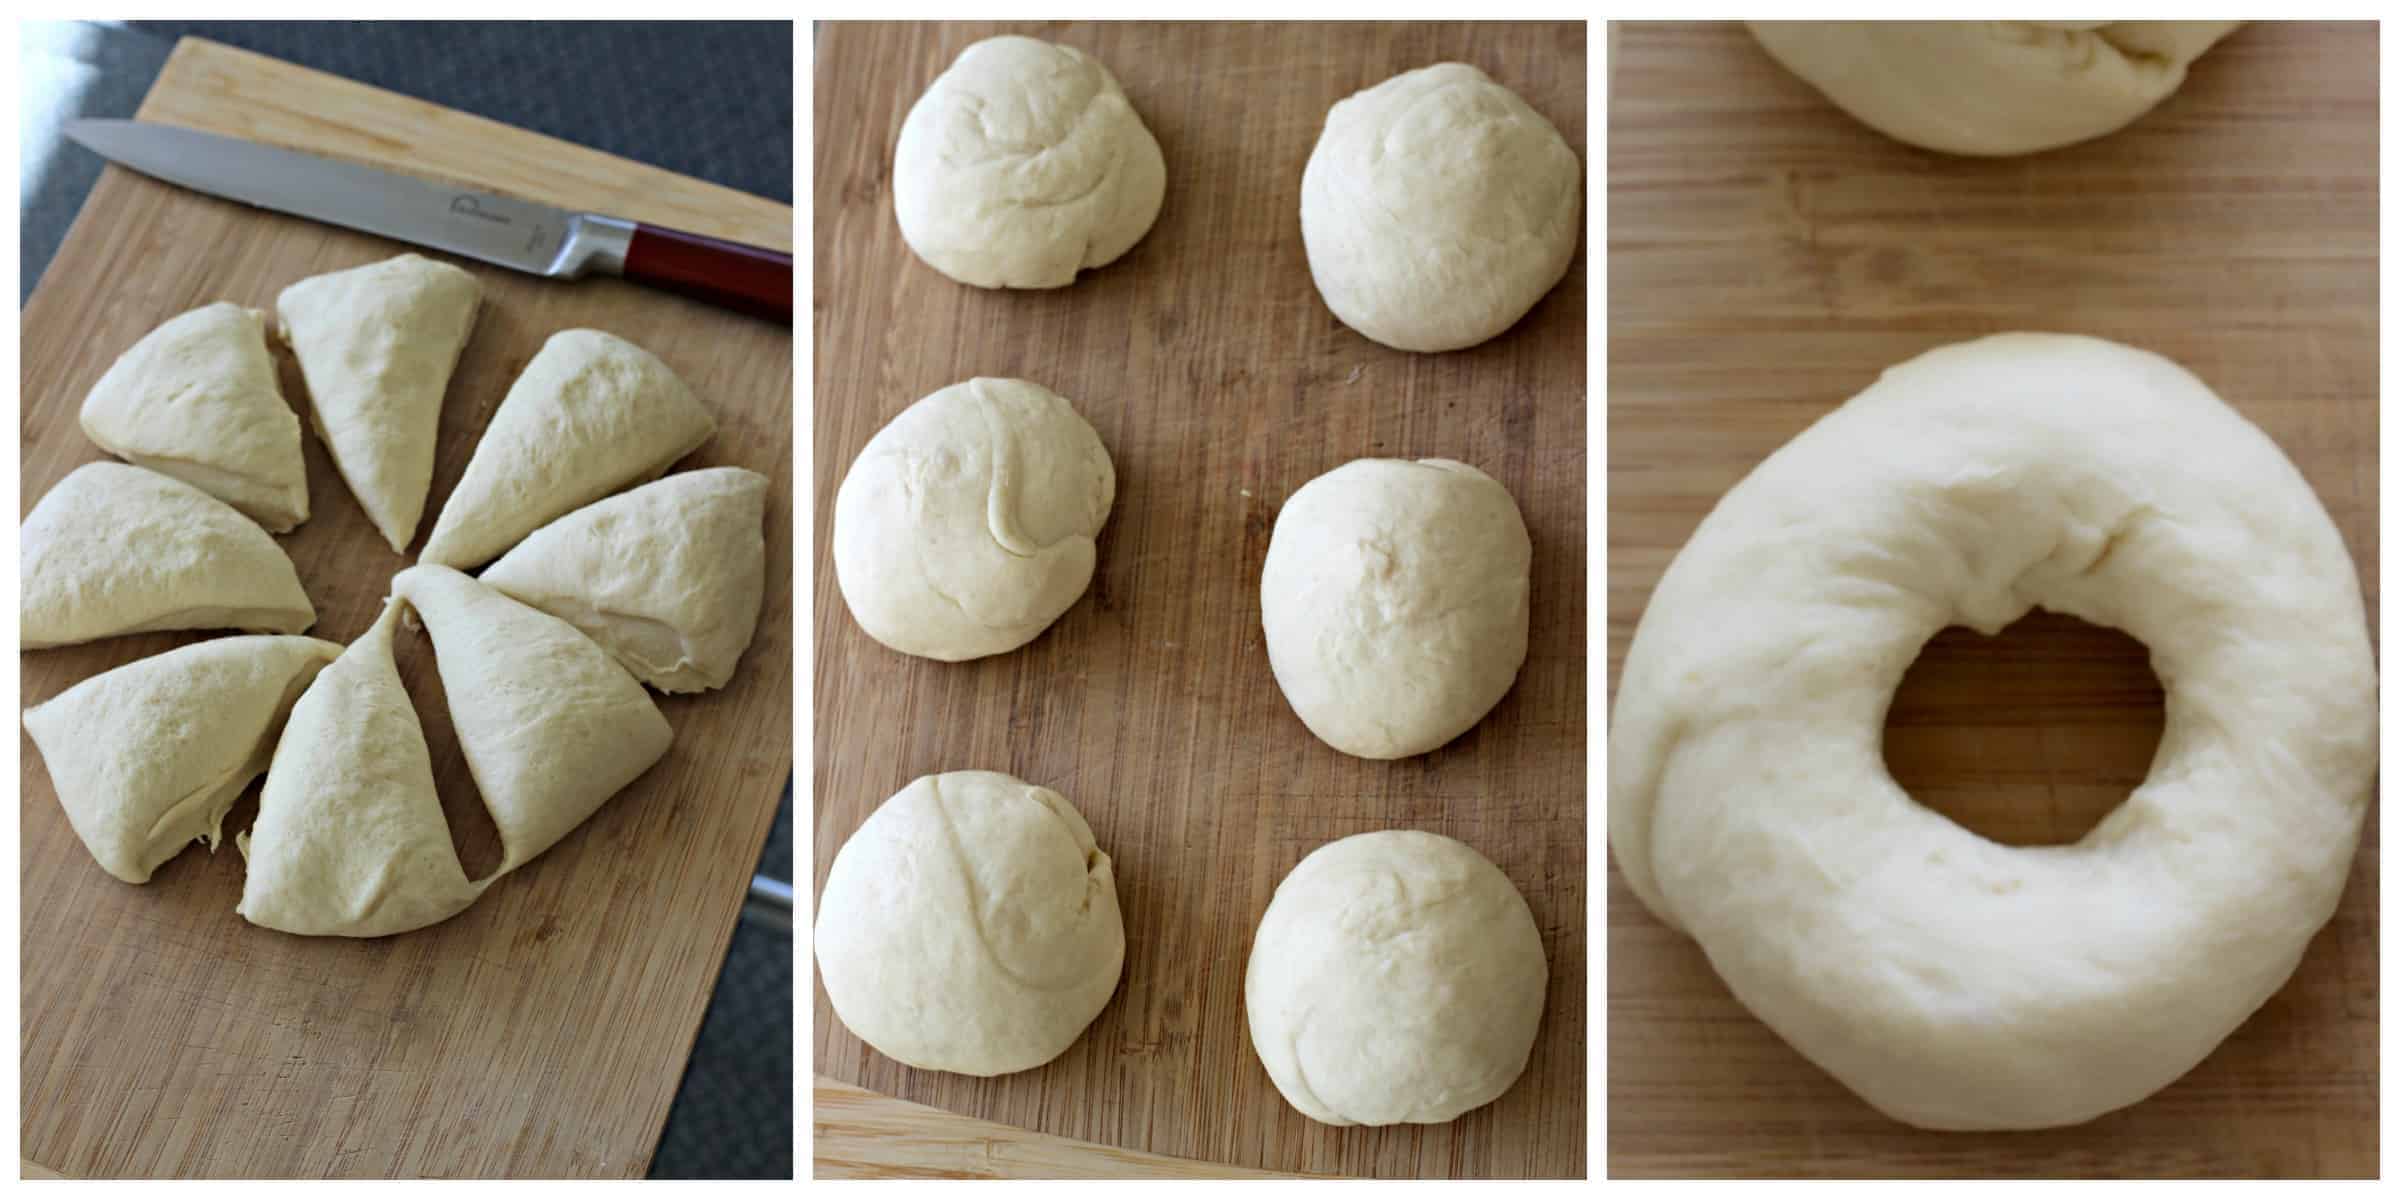
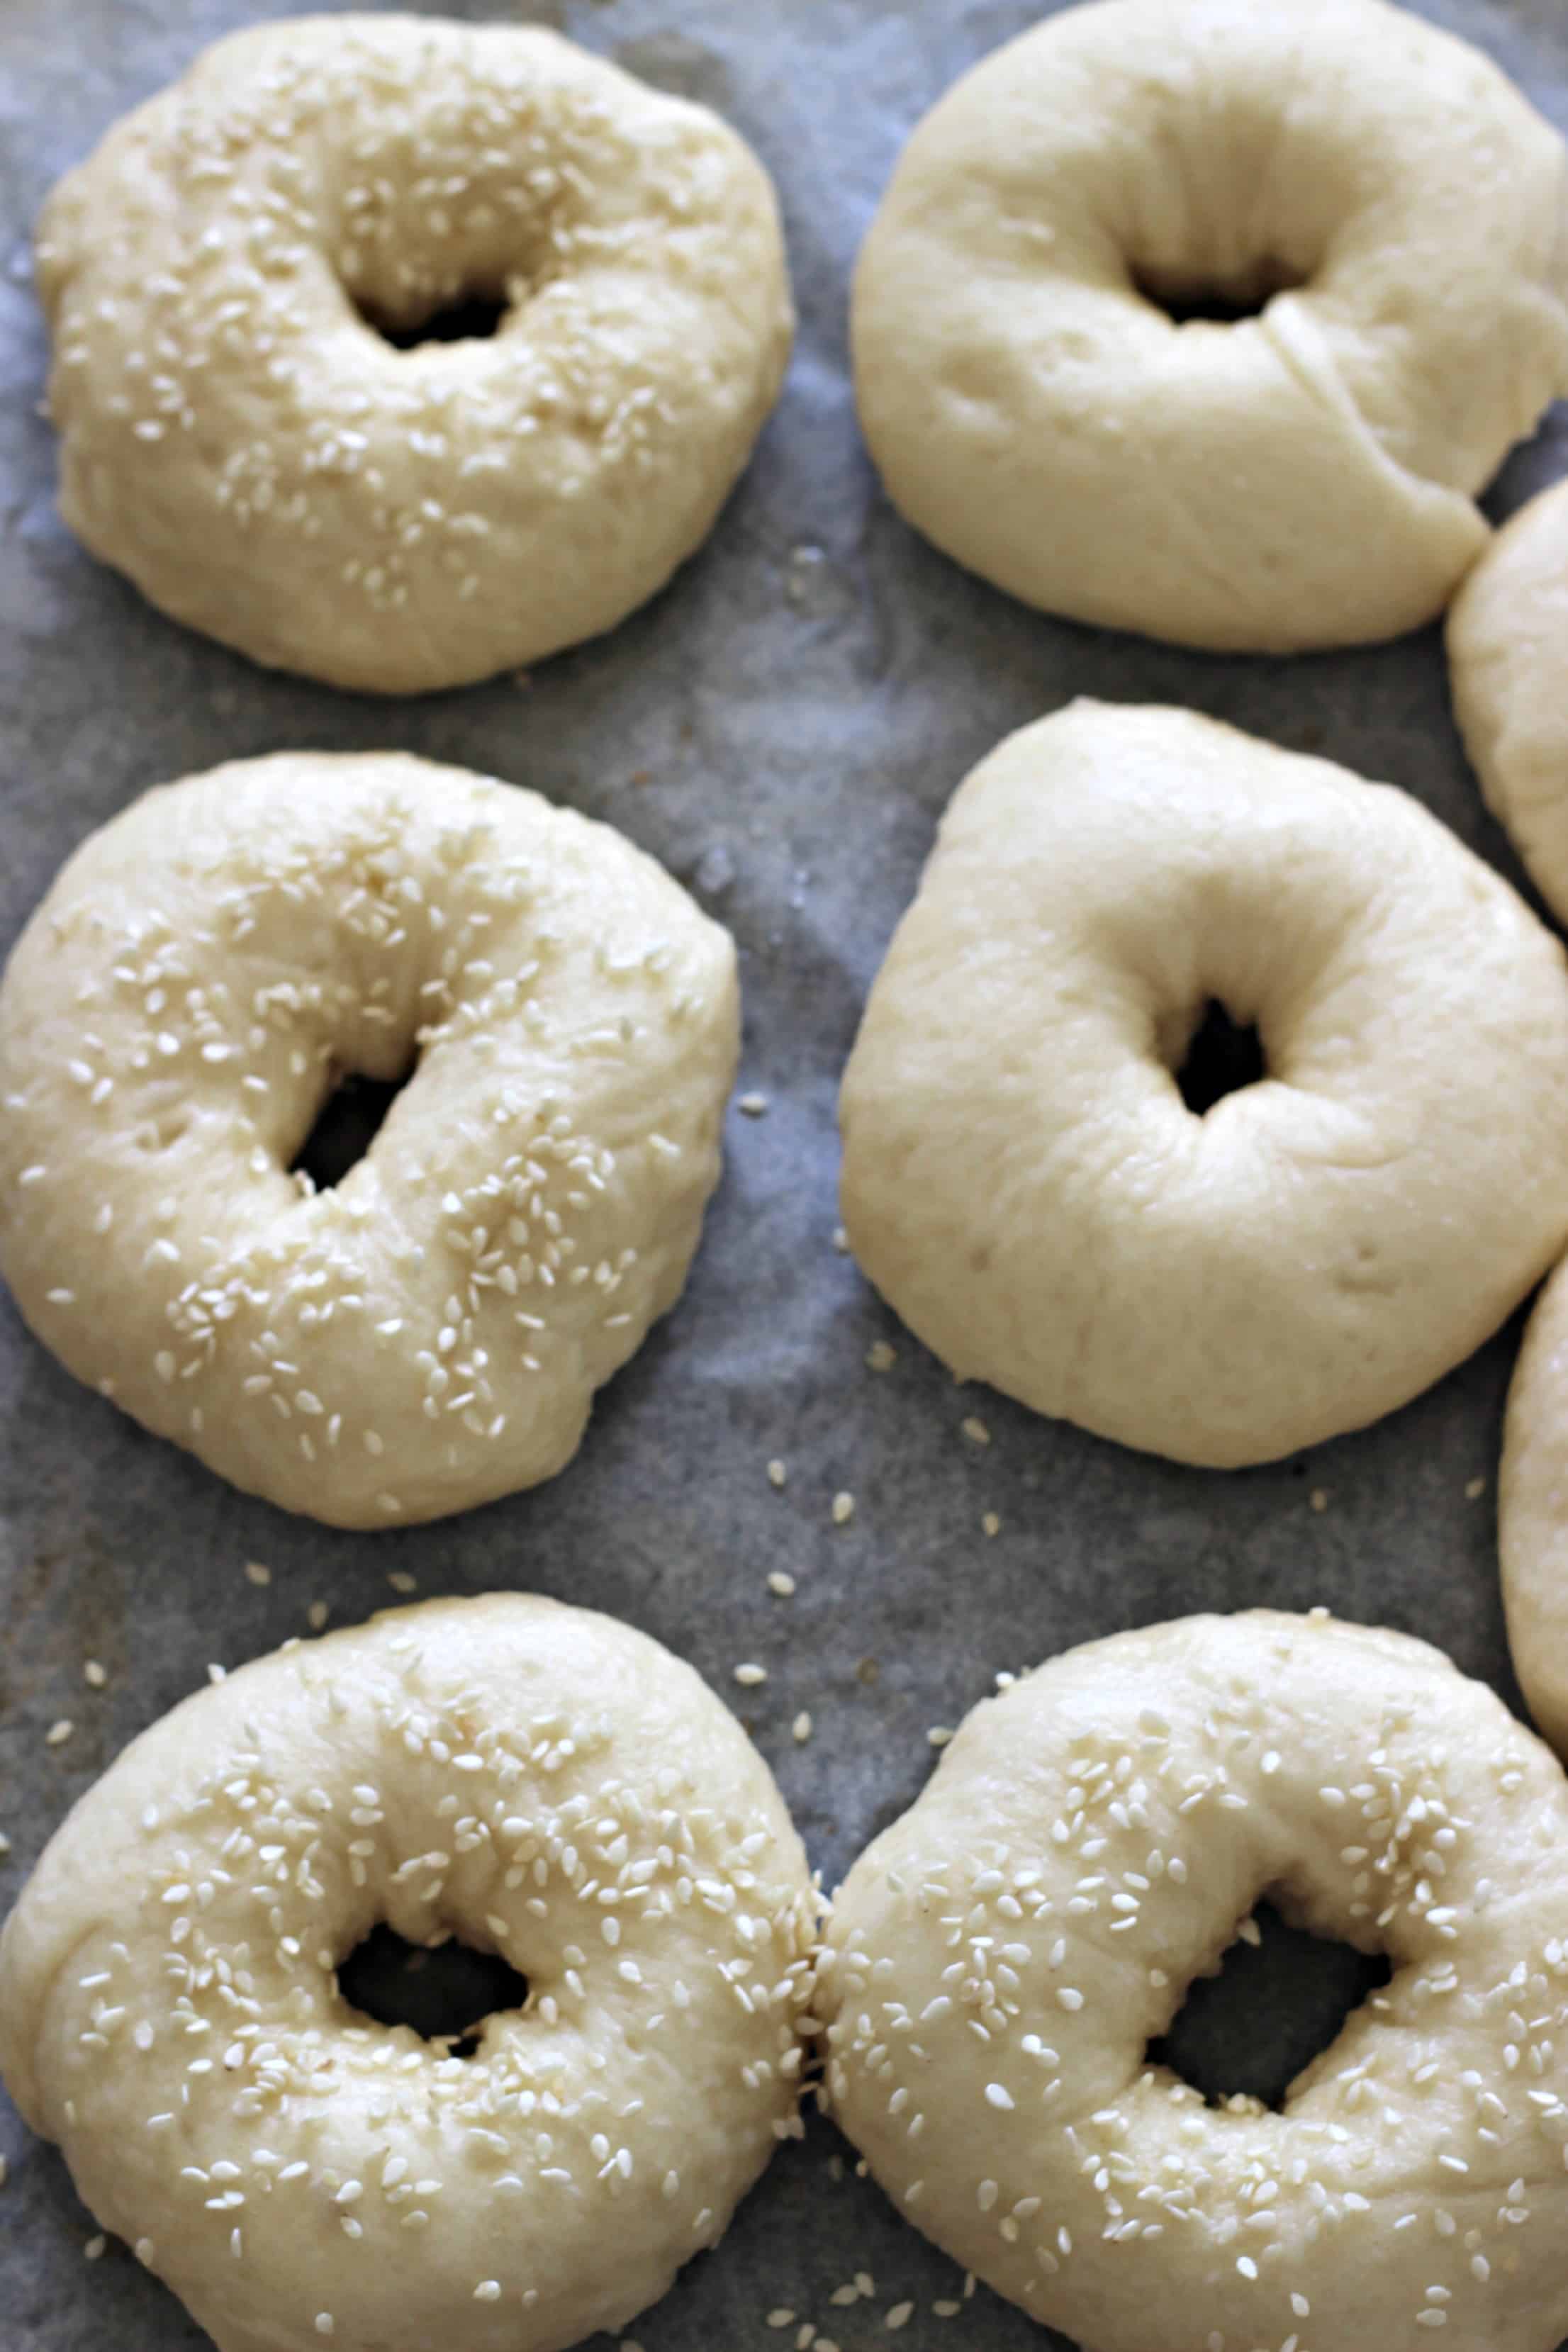
Turn out onto the bench and cut into 8 equal sized pieces, roll them into balls and stretch a hole in the middle. You want to make the hole quite big as it will shrink when you boil & bake the bagels.
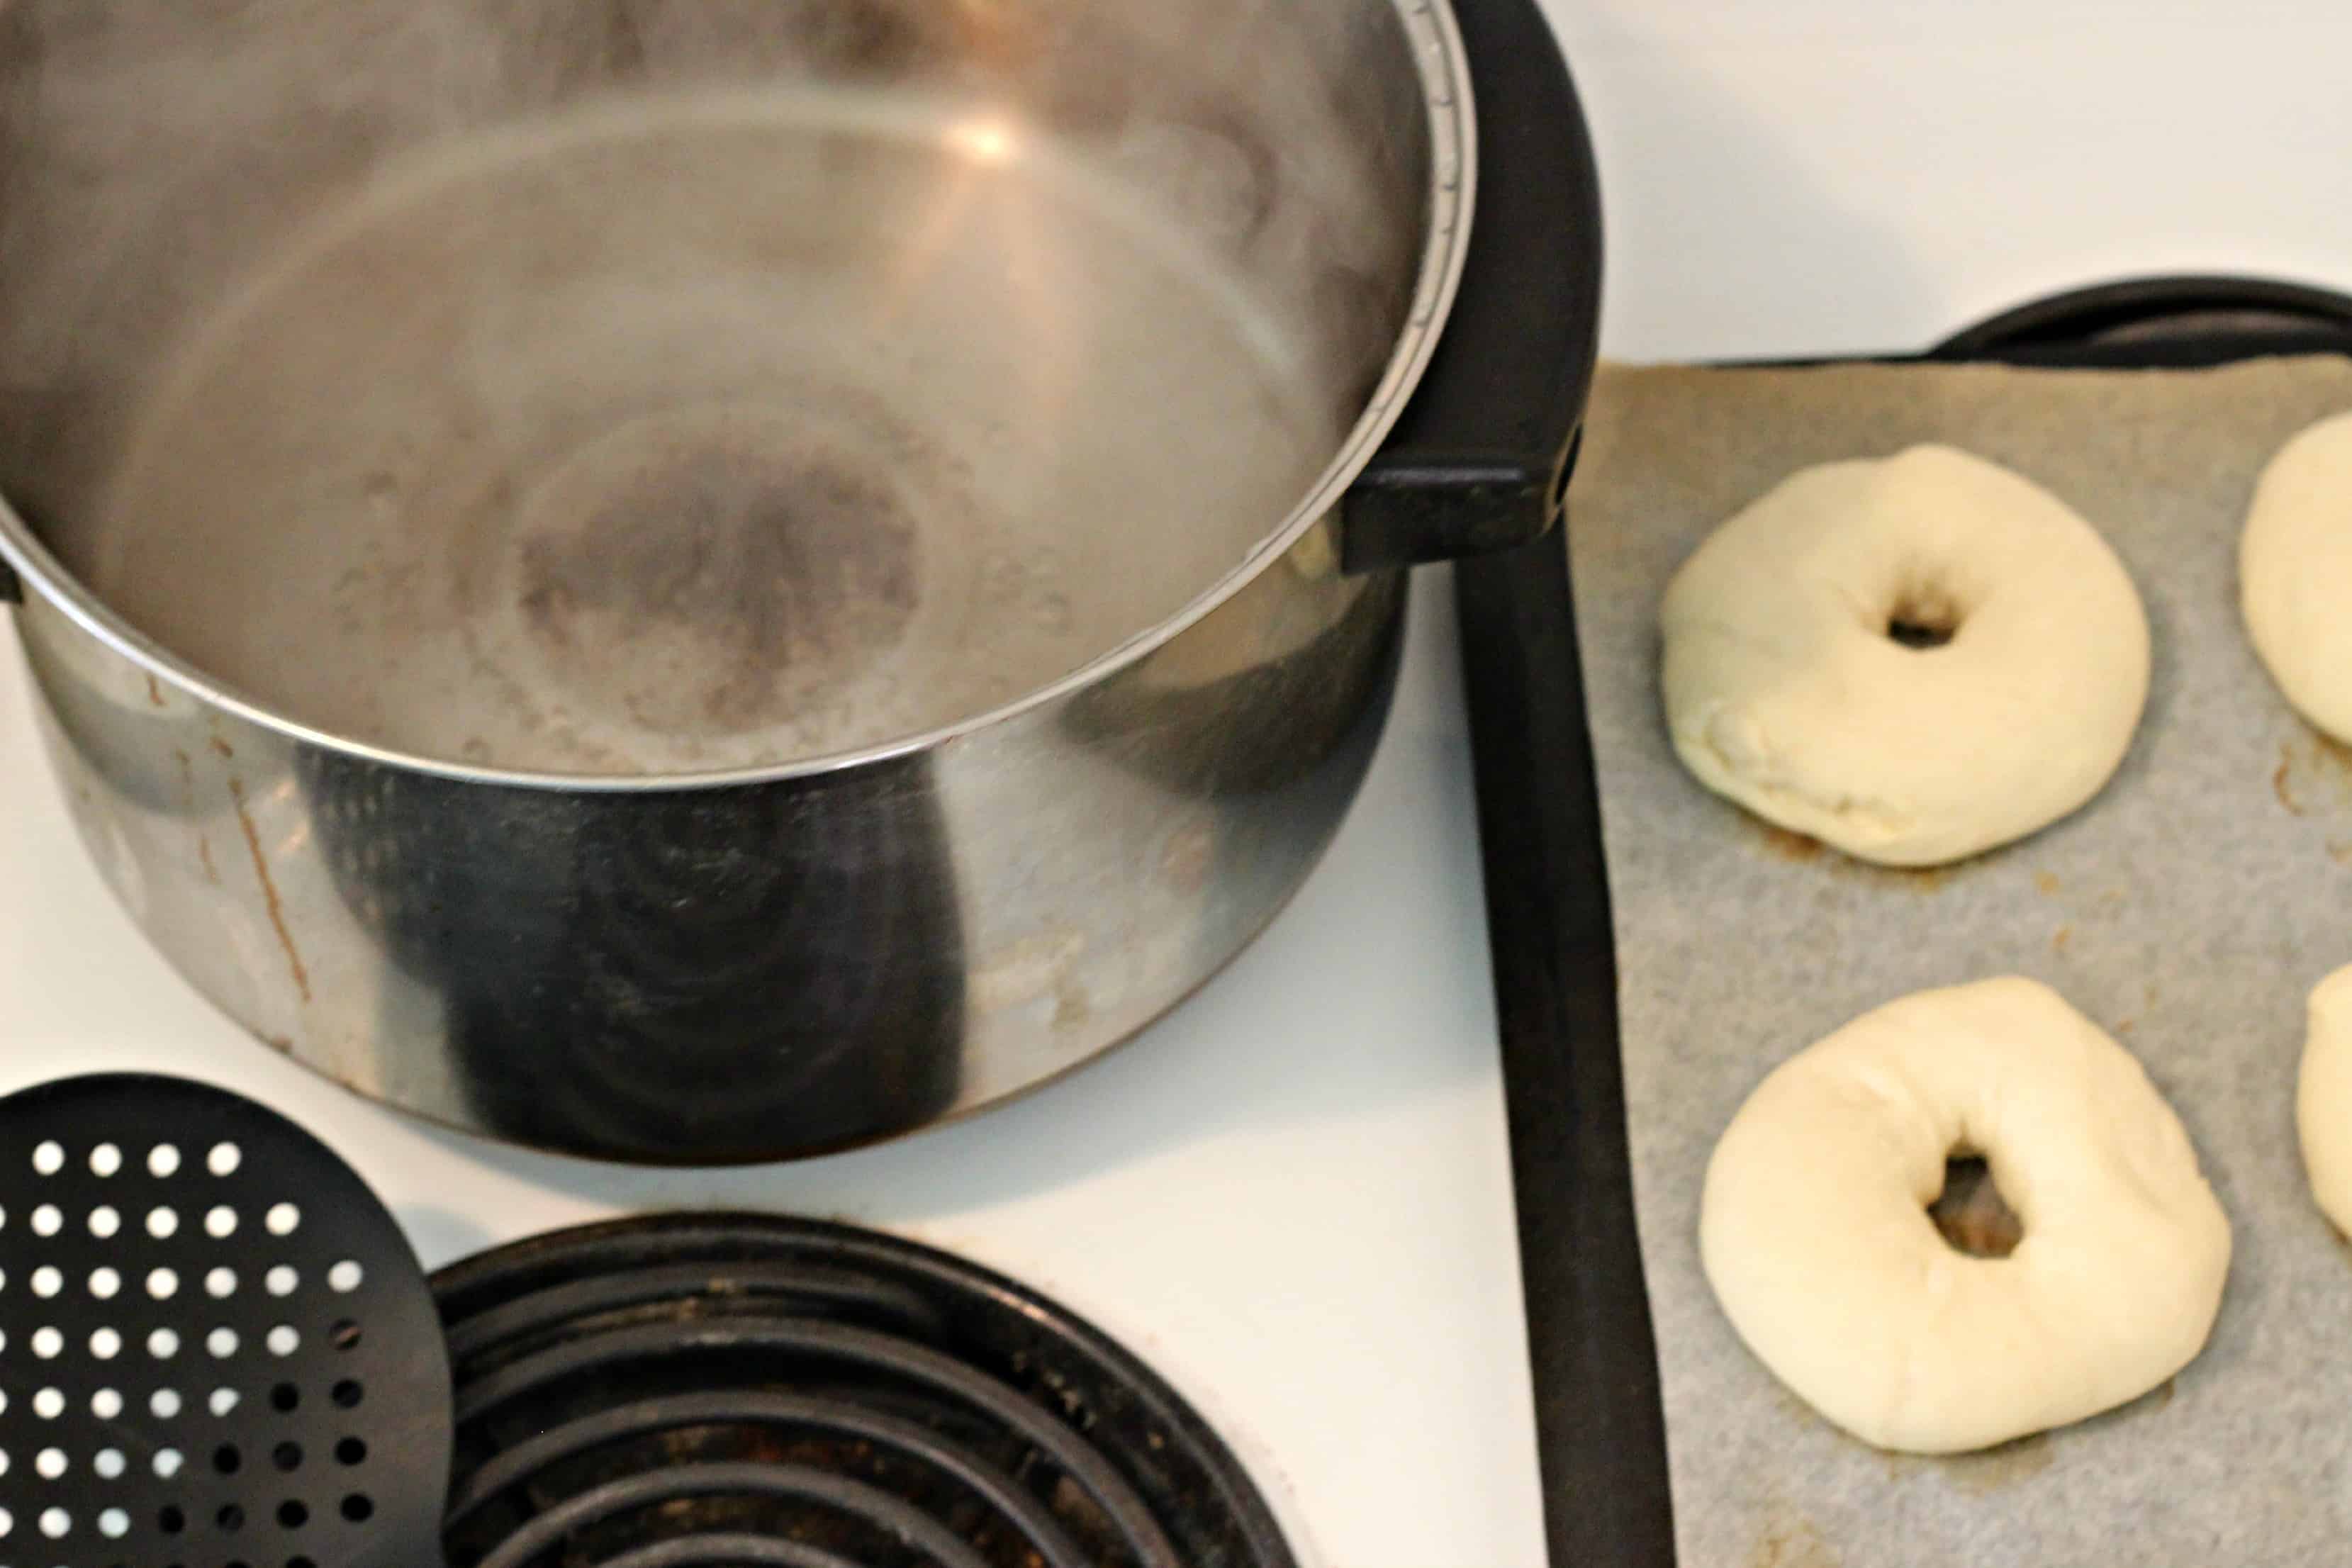
Place the shaped bagels on a greased or lined oven tray, cover and leave to rest for 10 minutes. While you are waiting pre-heat the oven to 220 degrees C and bring a large pot of water to the boil.
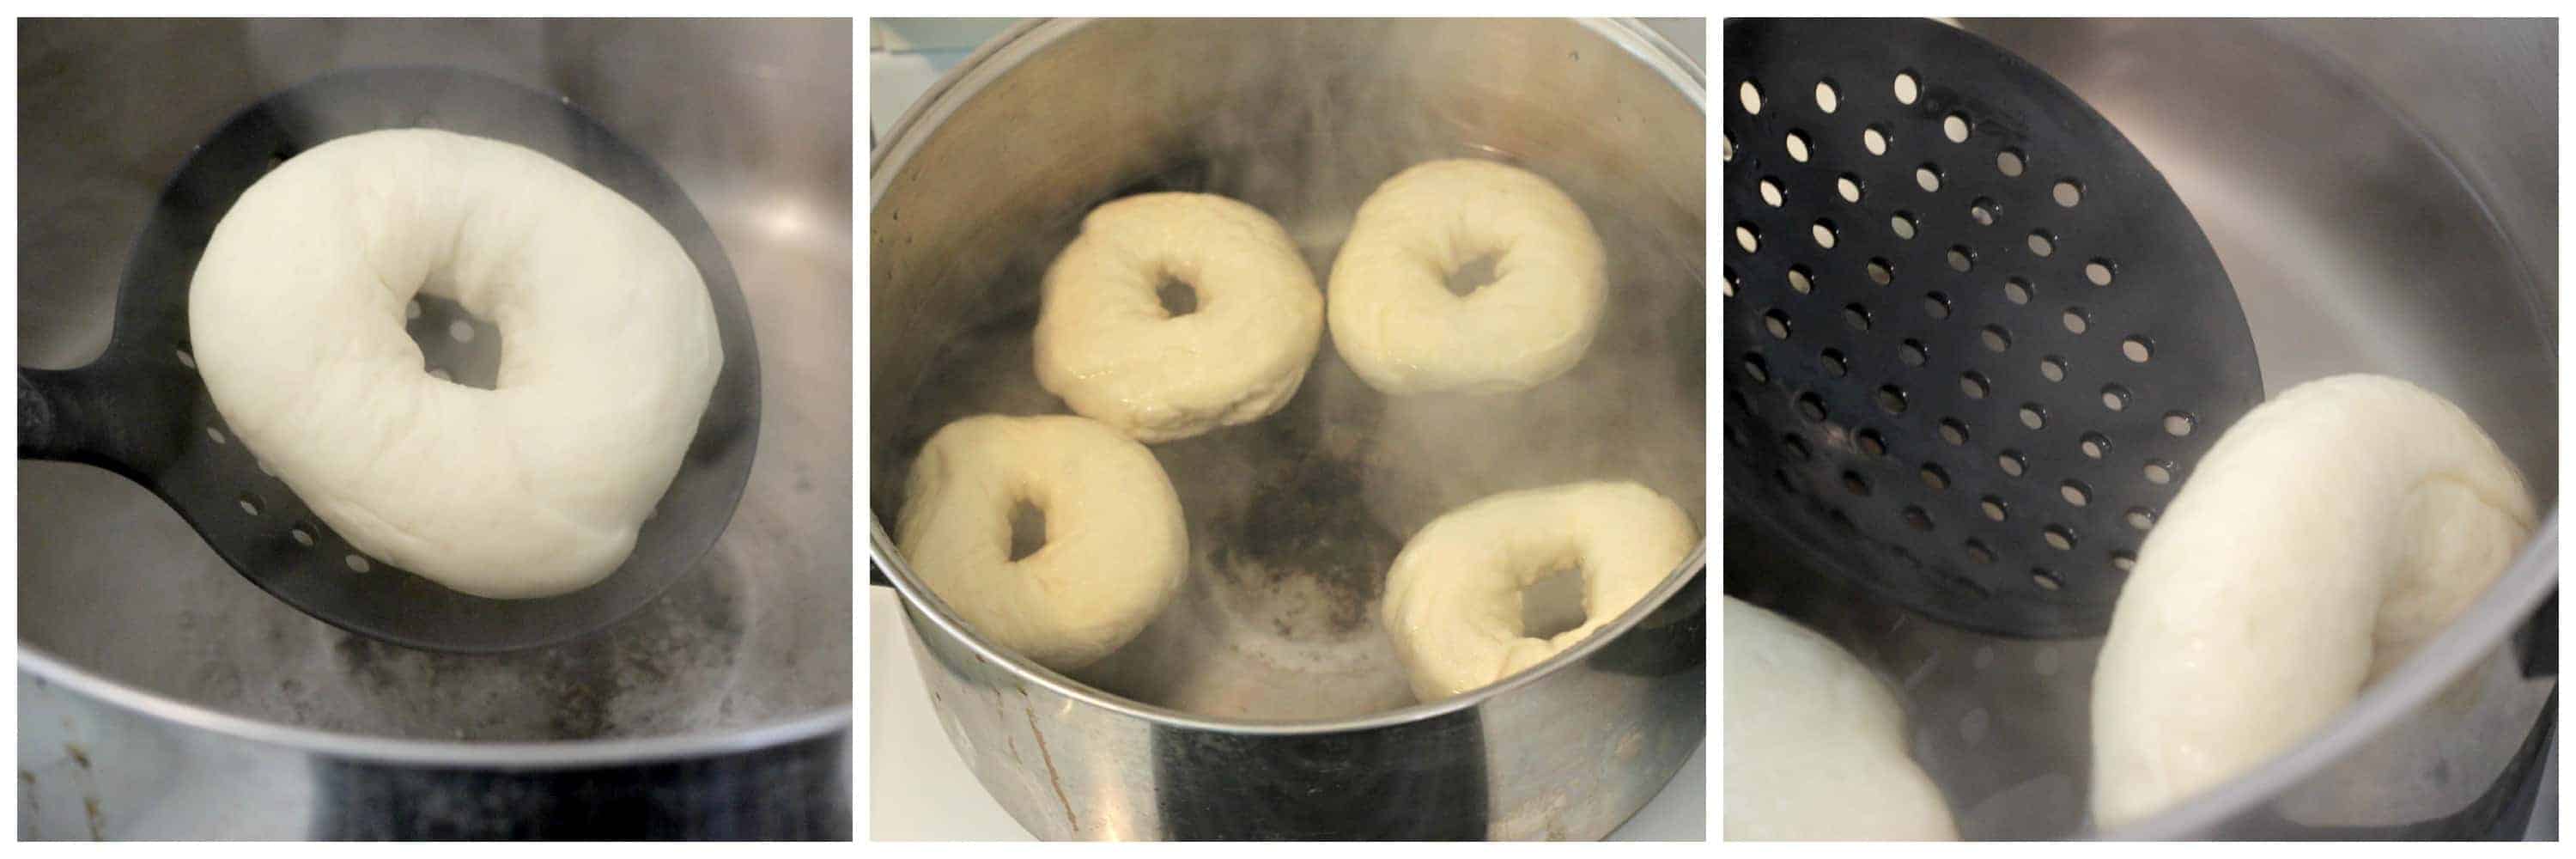
Once the water has boiled, reduce it to a gentle simmer and using a slotted spoon place a few bagels at a time into the water. Leave for 2 minutes, flip them over and boil for another 2 minutes.
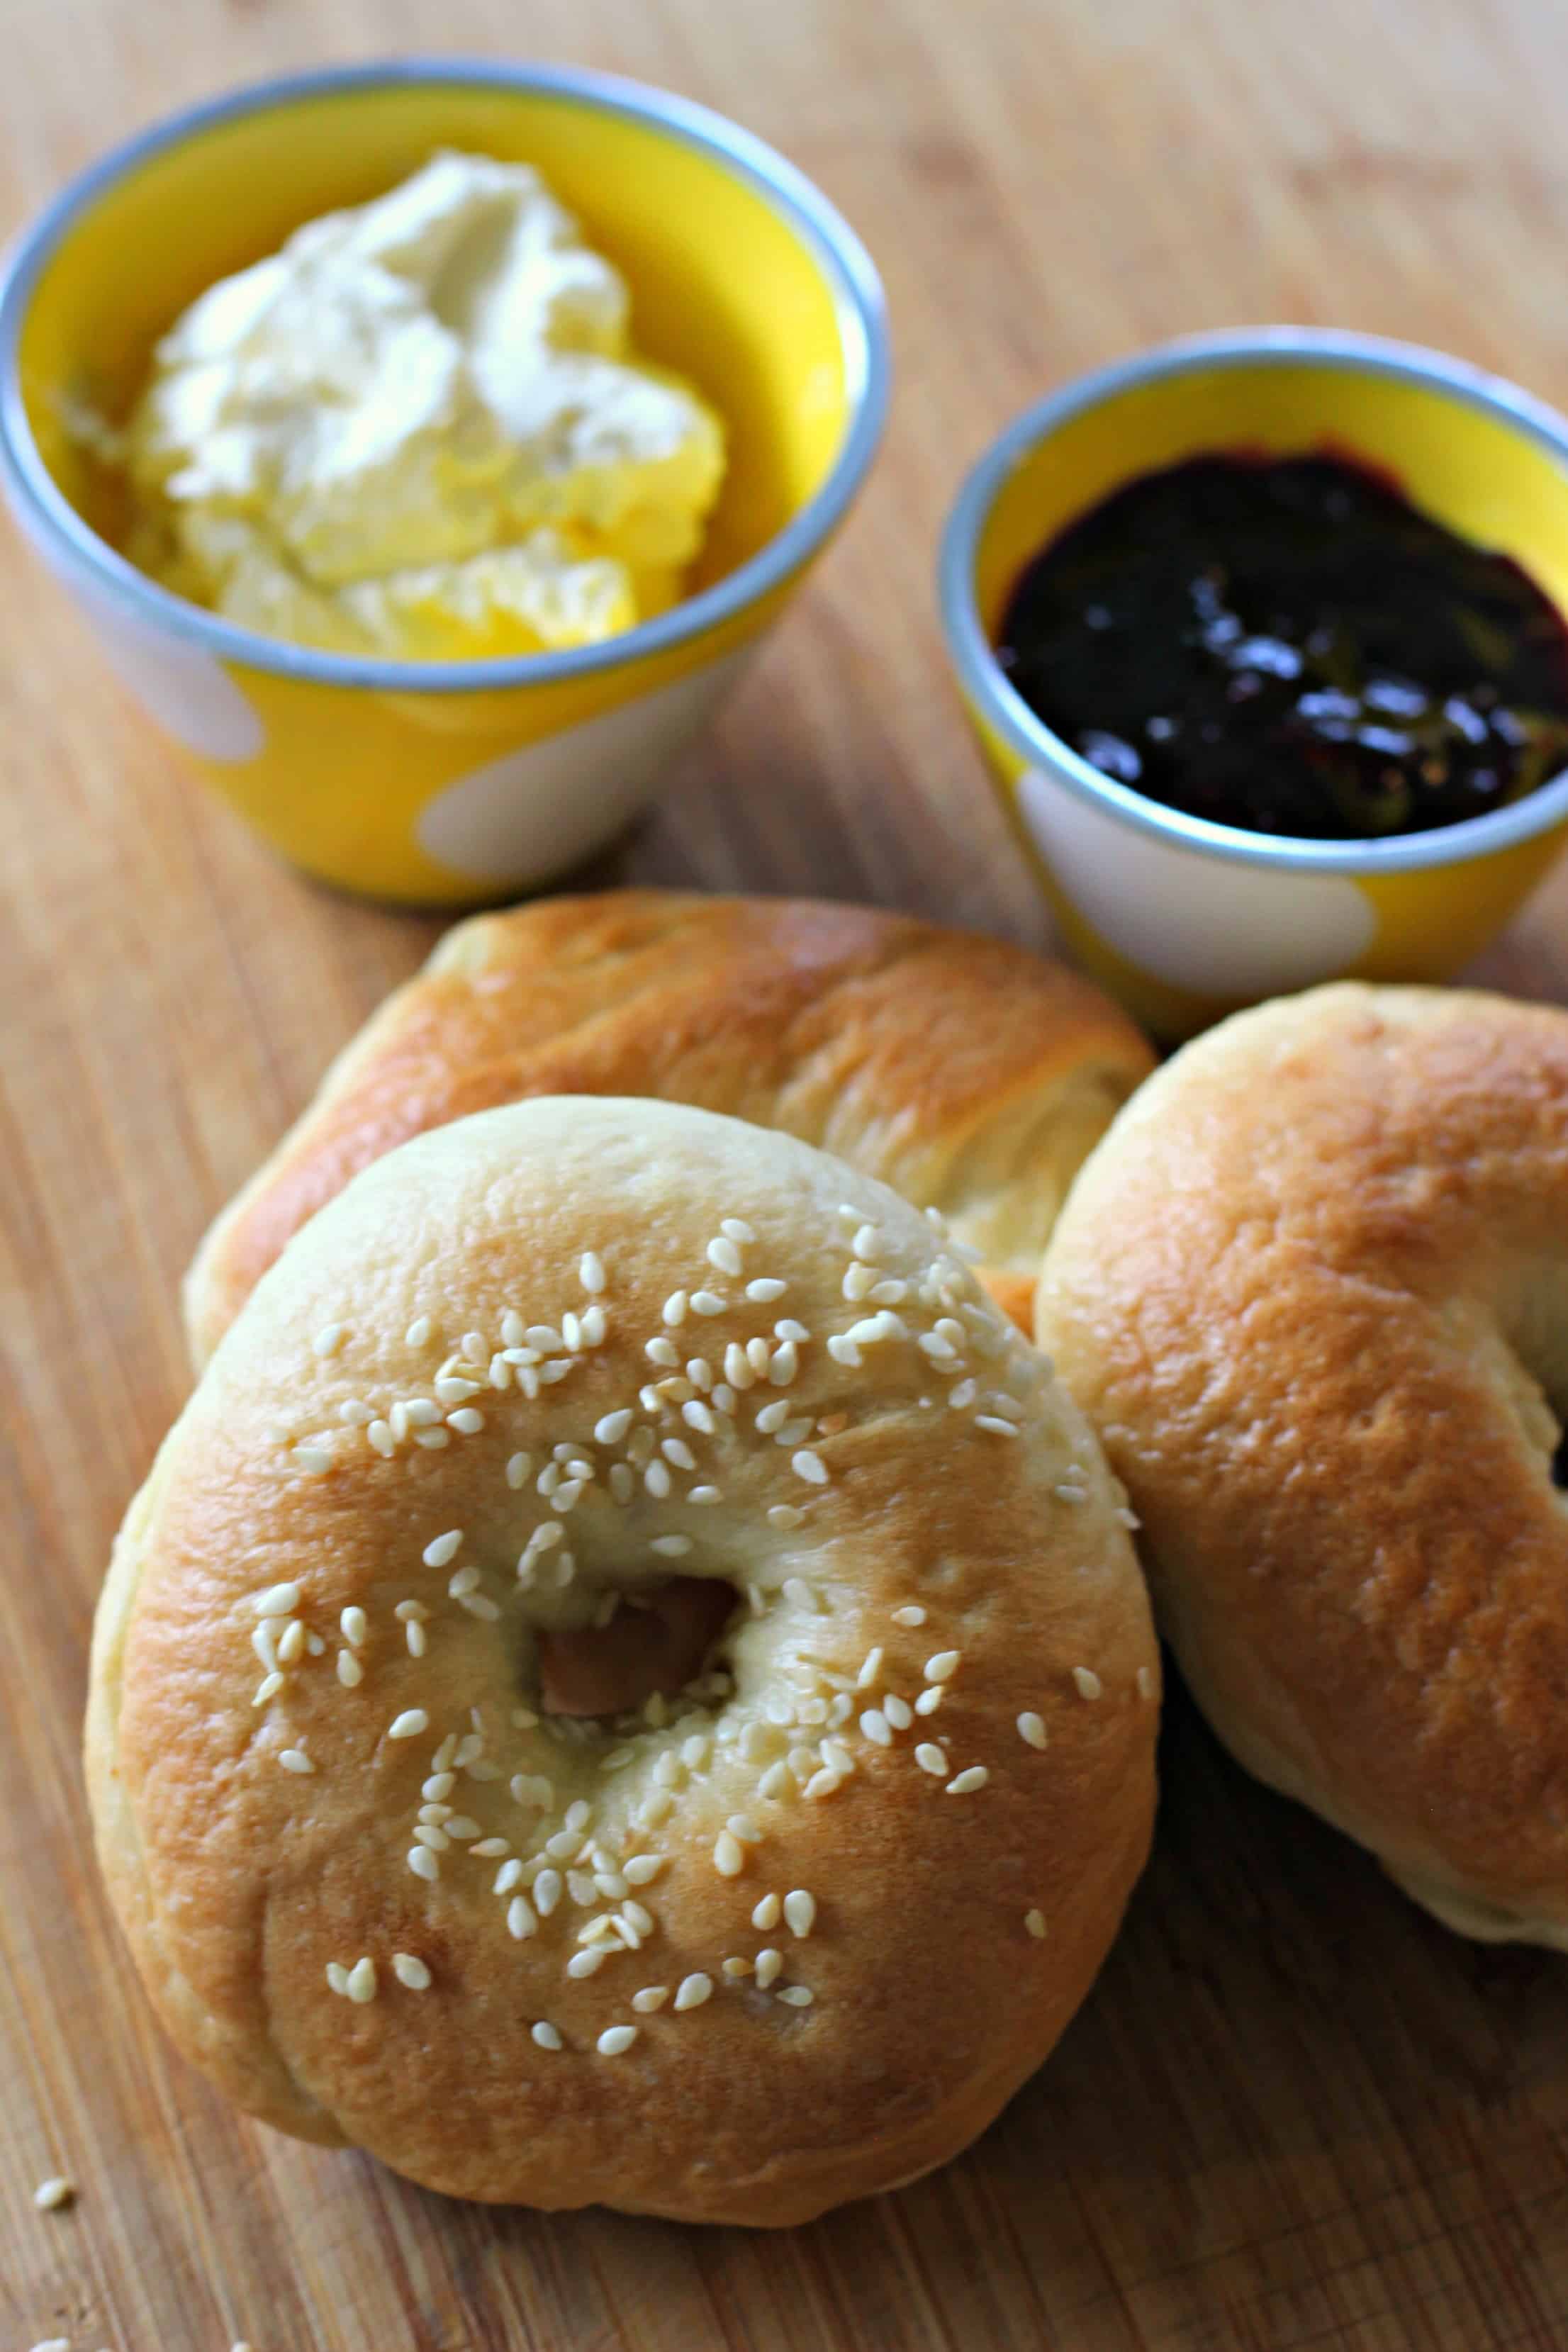
Remove from the water and put back on the oven tray. At this point you can add extras to the bagel tops. Our absolute favourite topping is "Everything Seasoning"
To make your own, mix together:
- 1 Tablespoon poppy seeds
- 1 Tablespoon sesame seeds
- 1 teaspoon garlic powder
- 1 teaspoon onion powder
- 1 teaspoon flaky sea salt
You can also add sesame seeds, poppy seeds, sunflower or pumpkin seeds or grated parmesan cheese which is a huge favourite with my kids.
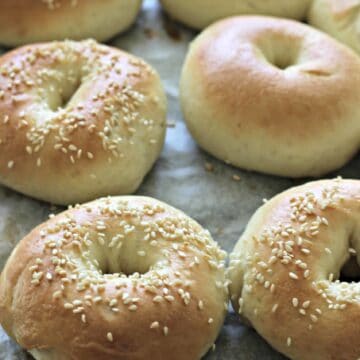
Bake for 15-20 minutes until they look like this and your house smells like a giant loaf of bread that you want to dive into and eat your way out of.
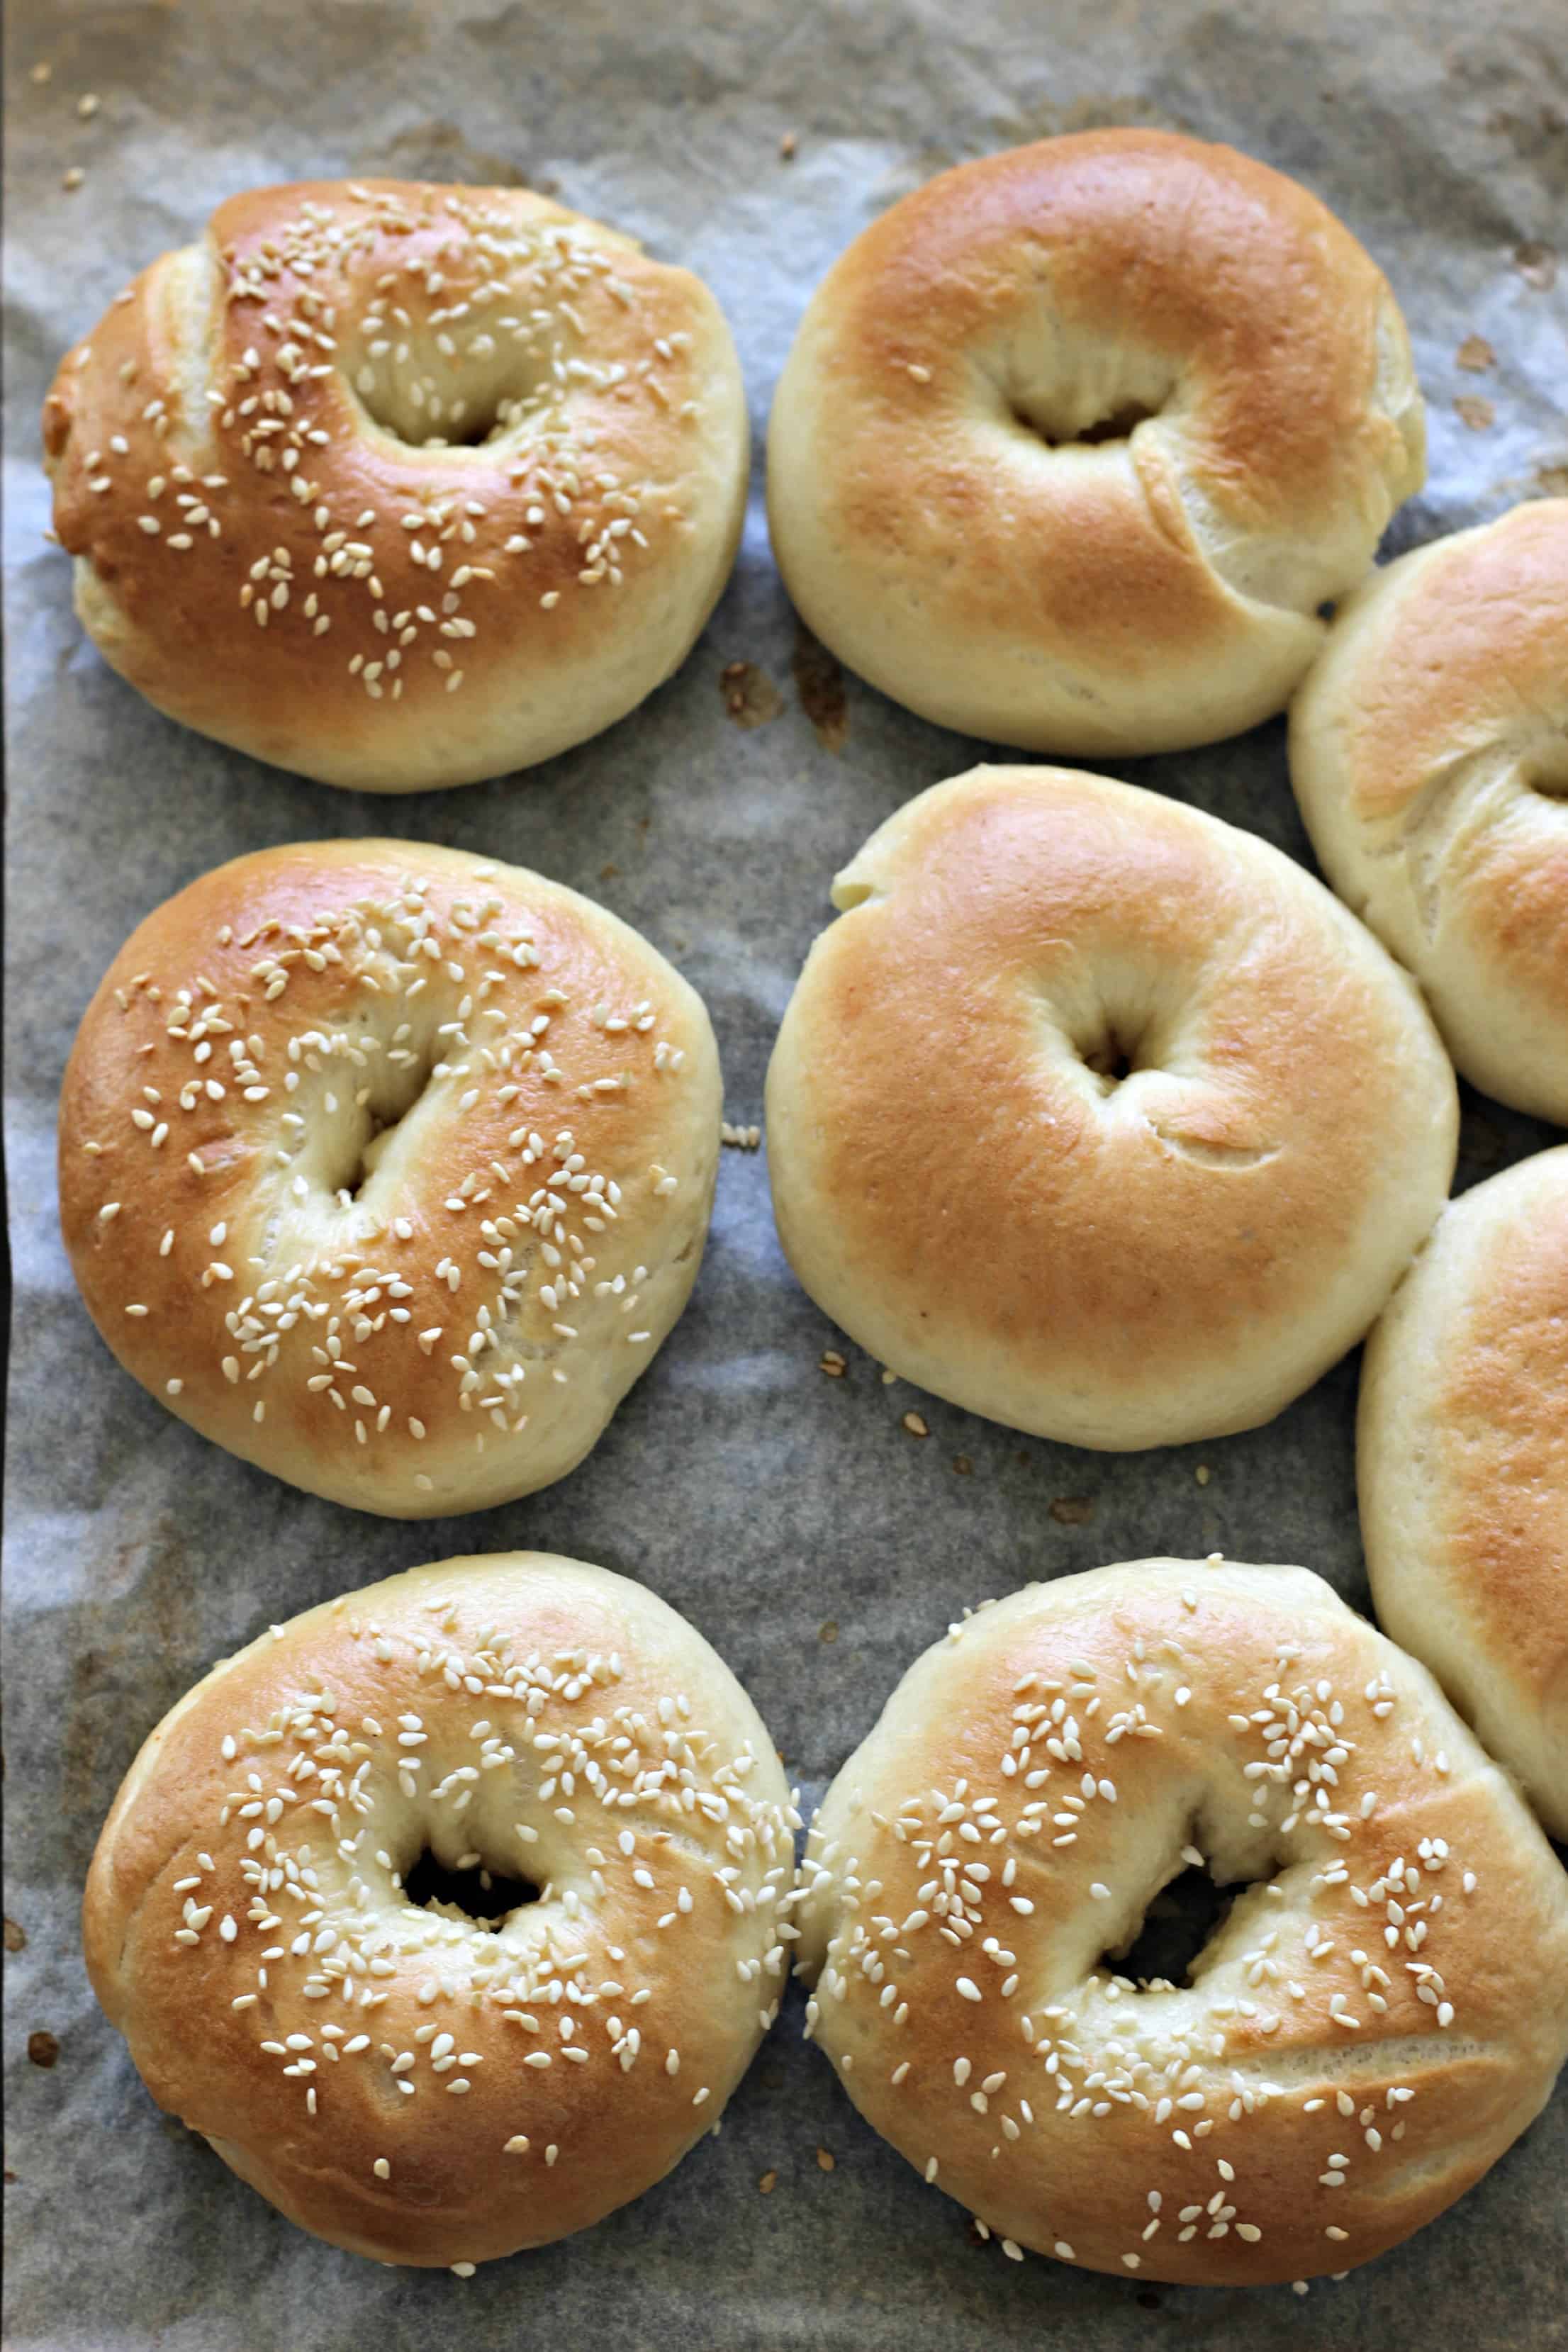
ohmygosh. Yum. Bagel perfection.
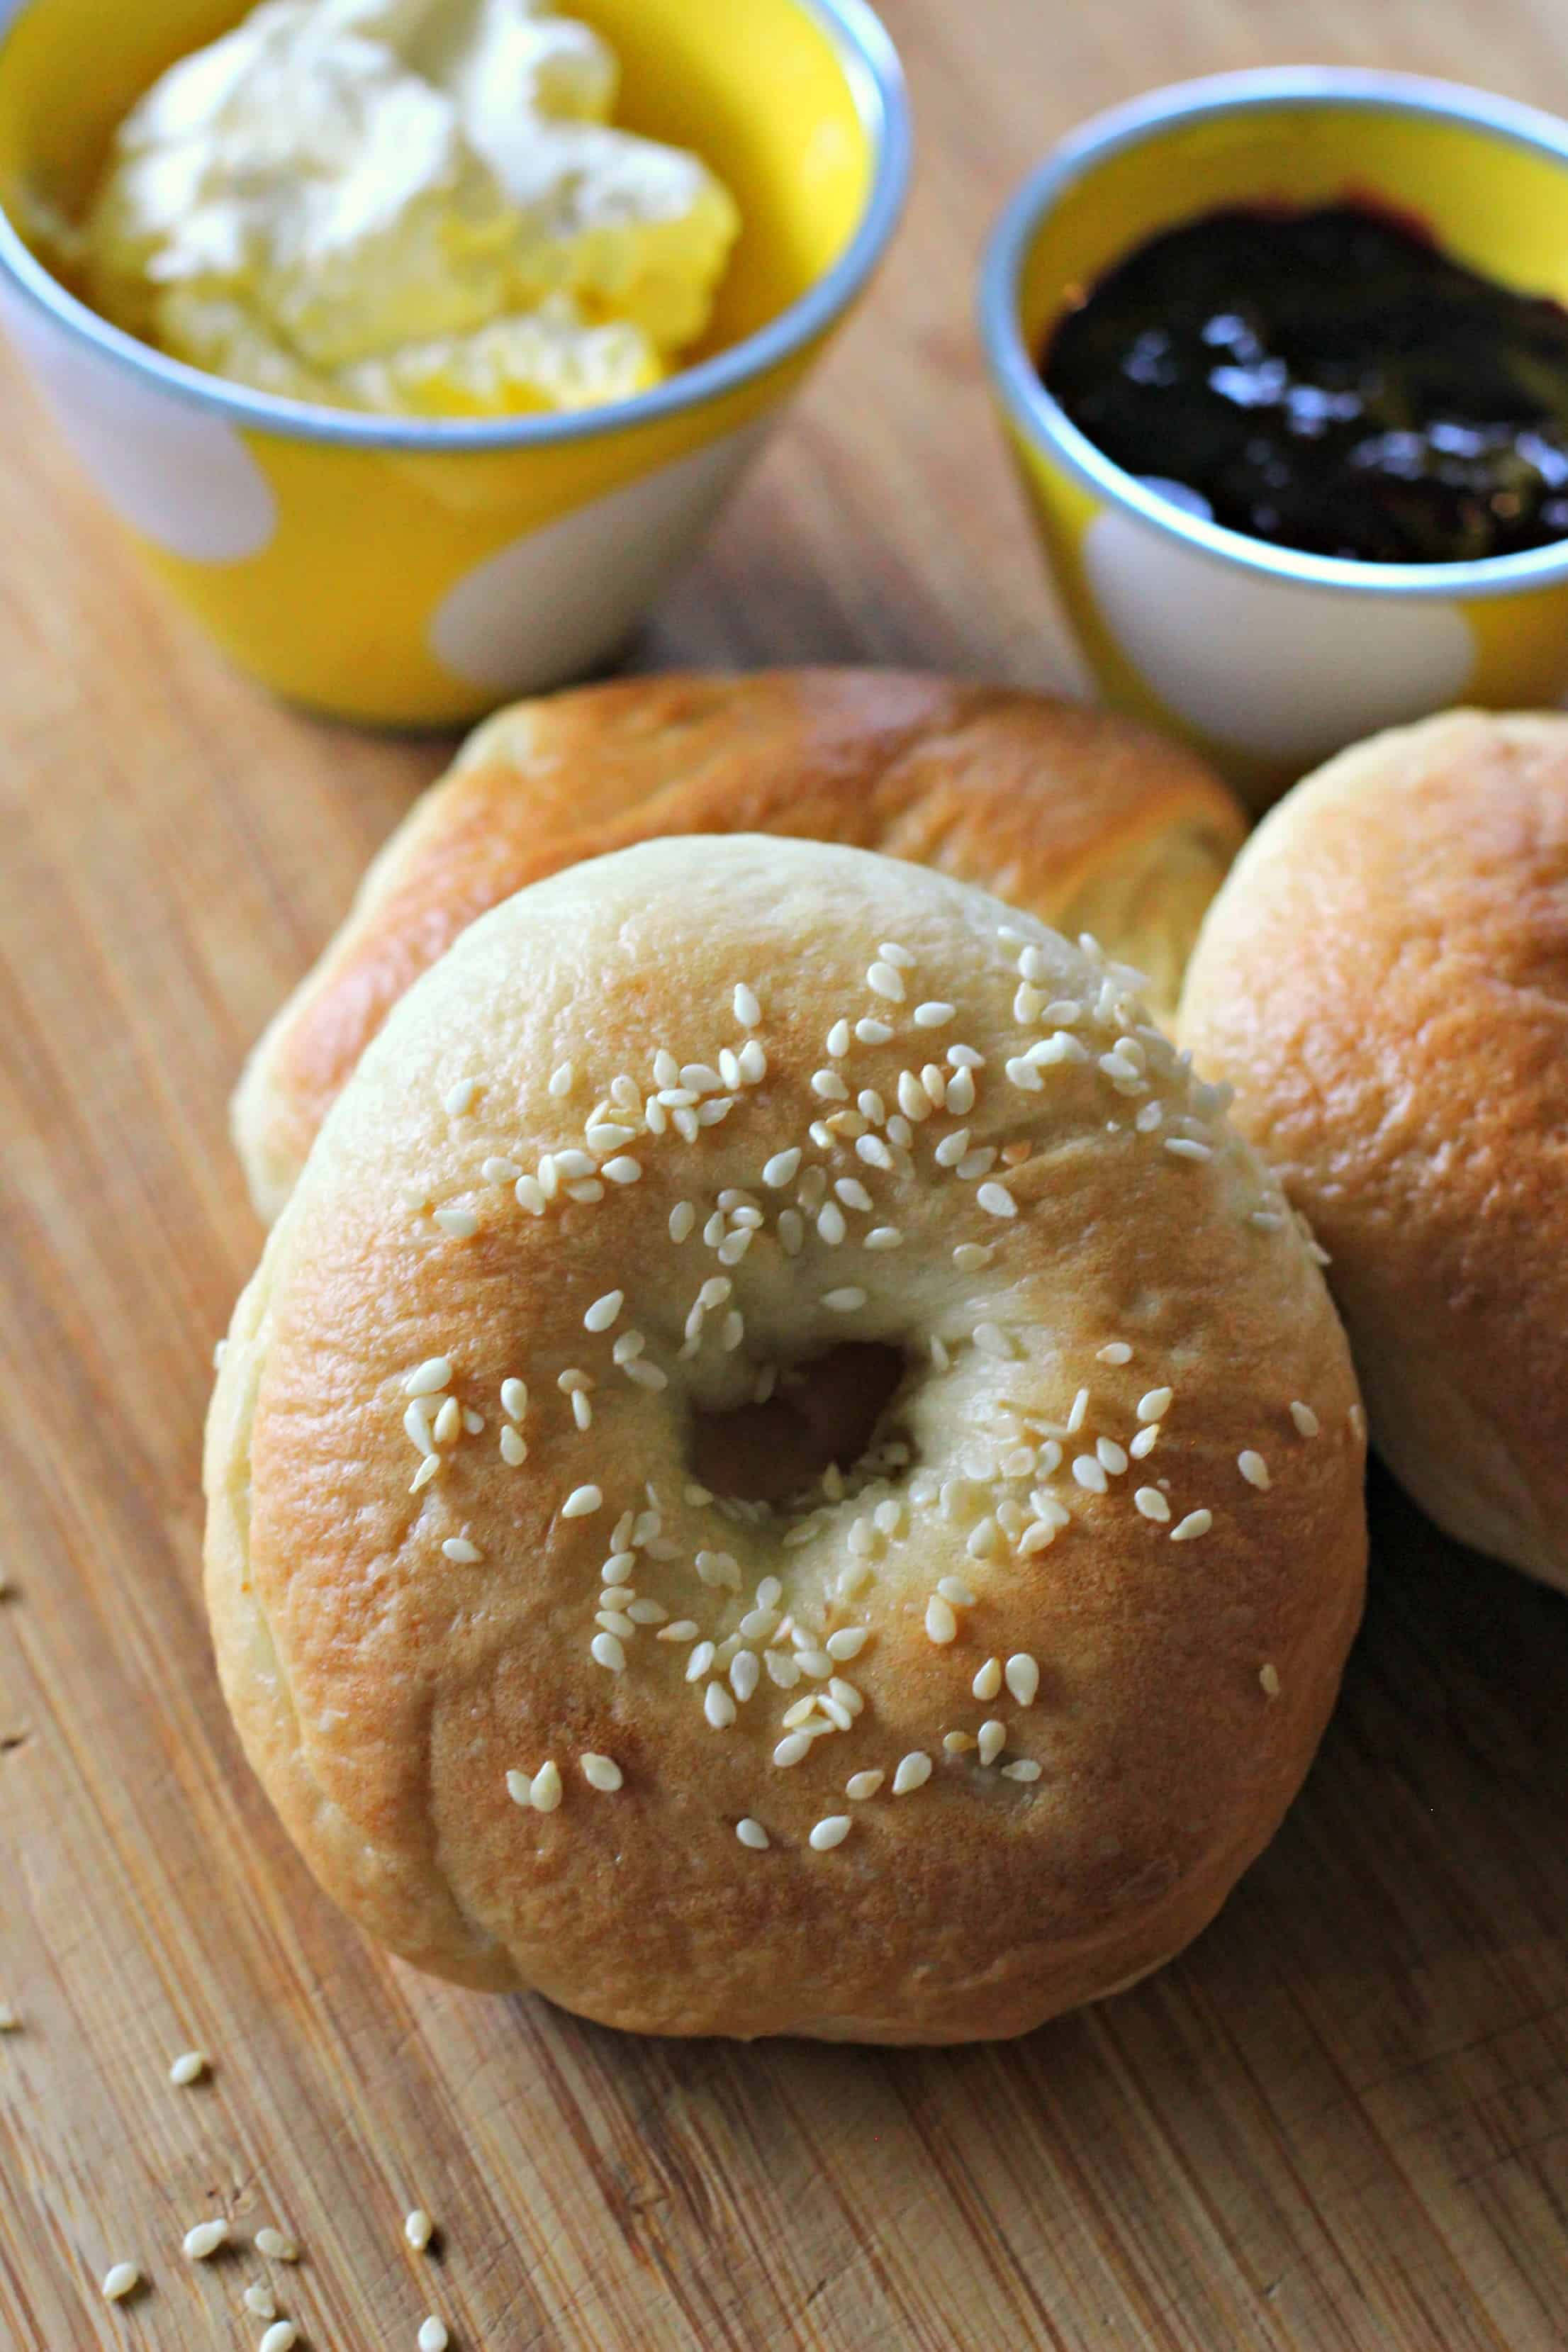
Slather on some cream cheese and smoked salmon and you have got a winner. We also love making BLT bagels for a quick and easy dinner. Follow it up with another one smothered in cream cheese & jam for dessert.
And she never bought bagels from the supermarket again. The end.
Recipe adapted from Girl Versus Dough
Homemade Bagels
Ingredients
- 2 ¼ teaspoon active dry yeast
- 1 ½ Tablespoons sugar
- 1 ¼ cups warm water (about 45°C/110°F)
- 3 ½ cups high grade or plain flour (see recipe note 1)
- 1 ½ teaspoons salt
Instructions
- In a small bowl, add yeast, sugar and ½ cup of the warm water. Whisk together and then let the mixture sit for 5 minutes until yeast is foamy.
- In a large bowl or the bowl of a stand mixer, stir together flour and salt. Add the yeast mixture and the remaining warm water into the bowl and stir to combine. Mix using the dough hook or a wooden spoon until the dough comes together in a ball.
- Knead dough by hand on a lightly floured bench, adding more flour as needed until a firm but smooth and elastic dough forms, about 10 minutes. You could also knead it in a stand mixer but I found that the dough was quite stiff and the mixer had a bit of a hard time.
- Shape the dough into ball and place in a lightly greased bowl. Cover with gladwrap or a tea towel and let rise in a warm place until doubled in size, about 1 hour.
- Once the dough is doubled in size, punch down and let it rest for 10 minutes. Divide the dough into 8 equal pieces. Roll each piece of dough into a smooth ball and then use your finger to poke a hole in the center of each ball and stretch it until the hole is as big as half the diameter of the bagel. It will look like a big hole but it will shrink when boiling and baking. Place bagels on a lightly greased or lined baking tray. Cover with a tea towel and let rest for 10 minutes.
- While waiting, preheat the oven to 220°C/430°F and bring a large pot of water to a boil, then reduce heat to just below a simmer. Using a slotted spoon, lower a few bagels at a time into the water. Allow bagels to float to the top. Leave bagels in the water for 2 minutes, then flip over and leave in the water another 2 minutes. The longer the bagels stay in the water, the chewier they become. Remove the bagels with slotted spoon and return to prepared baking sheet. Repeat with remaining bagels.
- If you are wanting to add toppings to the bagels, sprinkle them on top now. You can brush the bagels with milk or an egg wash first but this is not necessary, it just makes the bagels shinier once baked!
- Bake until golden brown, about 15-20 minutes. Remove from oven and let cool completely on a cooling rack before slicing.
- Bagels are best eaten within 2 days of baking but are still great toasted after that. They also freeze really well, I like to slice them before freezing in a snaplock bag or container.
Notes
- 1 Tablespoon poppy seeds
- 1 Tablespoon sesame seeds
- 1 teaspoon garlic powder
- 1 teaspoon onion powder
- 1 teaspoon flaky sea salt
[/recipe]

Buckinz says
I had a play with boiling times and 2min each side was perfect.
Molly Roselini H. says
Comment and pic sent to your Instagram 6/1/26.😊
Meg says
Made these today for the first time and they’re 10/10!!
Maggie says
I have to double the recipe after making this once because my family ate them all within an hour of me making them. Absolutely making these again and again. Just a tip I found when putting seeds and other toppings on, I put the toppings on a plate then immediately dip the bagels in after being boiled, it makes them stick so much better.
Hollie says
hi, do you think these would be ok to freeze? would you freeze after the boil and before the bake do you think?
Laura says
These freeze beautifully! I make and freeze them all the time. I bake them all the way, then once they are cool I slice them in half and freeze them like that!
Molly says
I followed the recipe to the ketter, even using the same brand ingredients. The dough didn't turn elastic. Kept breaking and ripping. Had to throw it all away and still don't know where I went wrong...
Laura says
Sounds like you may just need to add more water next time - you want it to be slightly sticky to the bottom of the bowl but not so sticky that you can't handle it!
Lucie says
I’m not a confident bread maker and I made these for the first time today - such a simple recipe and it worked so well! Won’t be buying bagels again 😀