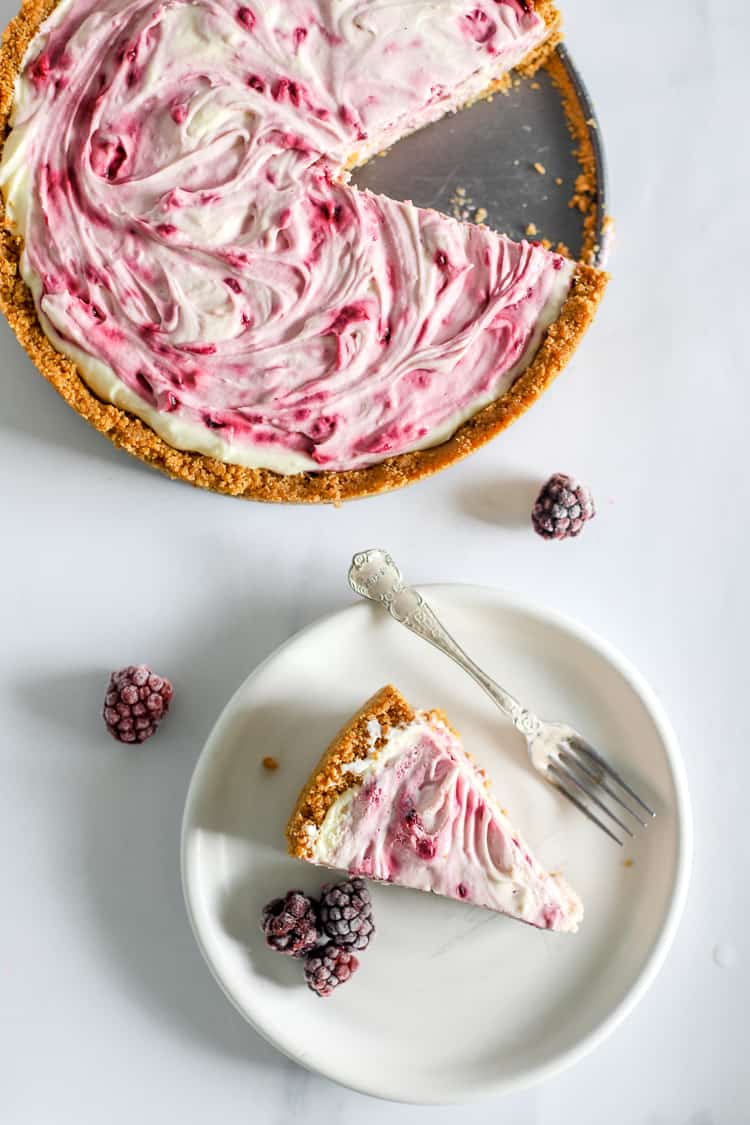
Simple but impressive, this no bake cheesecake is a real crowd pleaser. The white chocolate and boysenberry flavours make it an absolute treat!
Disclaimer: This post is a paid partnership with Countdown Supermarkets. All content and opinions are my own.
Hey cheesecake lovers...I have got a real treat for you today!
Countdown NZ sent me a mystery box full of Own Brand ingredients and challenged me to come up with a recipe using only the ingredients in the box plus a few extra pantry staples.
I put together the delicious ingredients that they sent me and created this show stopping boysenberry & white chocolate no bake cheesecake, and it’s a winner!
It has everything you love about traditional baked cheesecake but without the hassle of water baths and stressing over cracked tops. The filling is creamy, decadent and holds together perfectly once set.
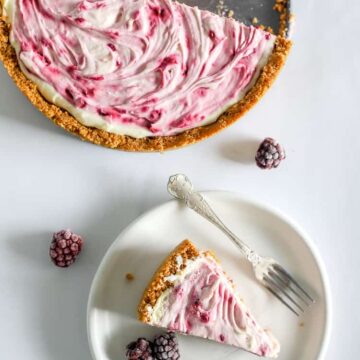
The base is made up of crushed gingernut biscuits which gives the cheesecake an awesome flavour and helps offset the sweetness of the white chocolate.

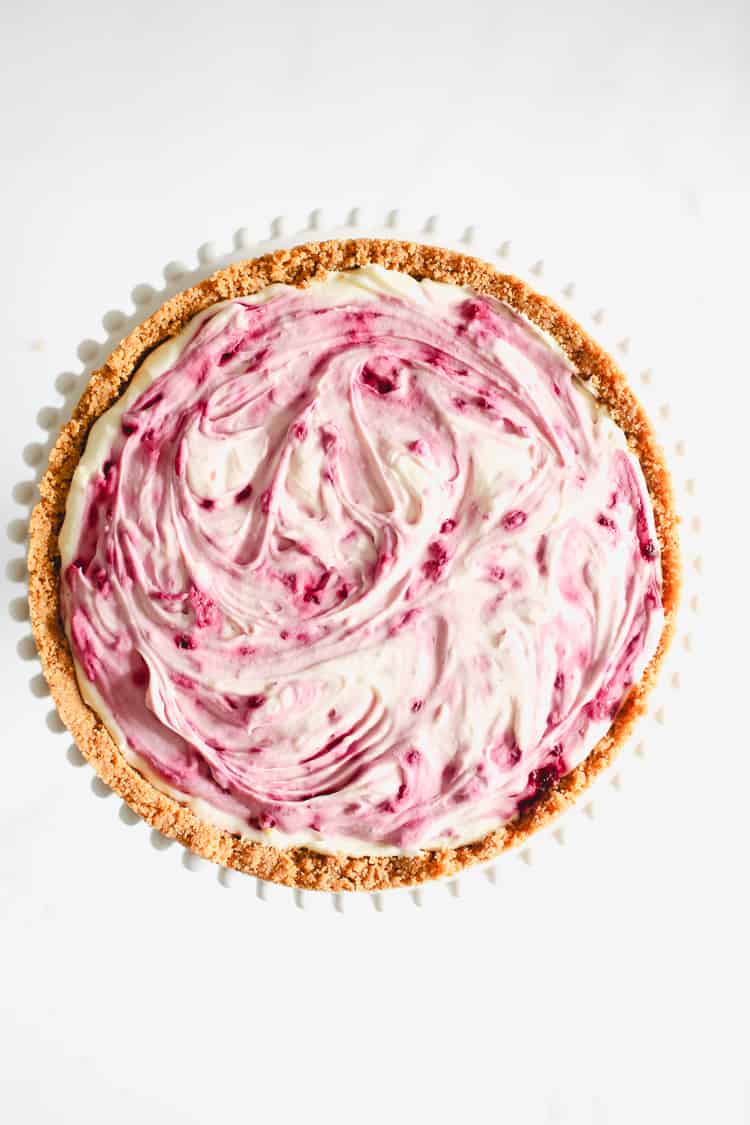
The berry sauce swirled throughout the filling not only adds a beautiful pop of colour but adds a nice tang that complements the creamy filling perfectly.
Make this cheesecake up to 2 days ahead of time if you are planning on entertaining, which leaves you free to enjoy spending time with your guests on the day! It also freezes really well - wrap tightly and then thaw in the fridge for 24 hours before serving!
Boysenberry White Chocolate No Bake Cheesecake
Ingredients
- 250 gram packet of gingernuts. crushed
- ¼ cup caster sugar
- 125 grams butter , melted
FILLING:
- 300 milliliters cream , divided
- 1 x 190 gram block Countdown Belgian white chocolate
- 2 x 225 gram blocks cream cheese , softened
- 2 Tablespoons caster sugar
- 2 Tablespoons icing sugar (optional for a slightly sweeter and thicker cheesecake)
- 1 teaspoon lemon juice
BERRY SWIRL
- 1 cup frozen boysenberries , thawed and drained
- 1 Tablespoon maple syrup
Instructions
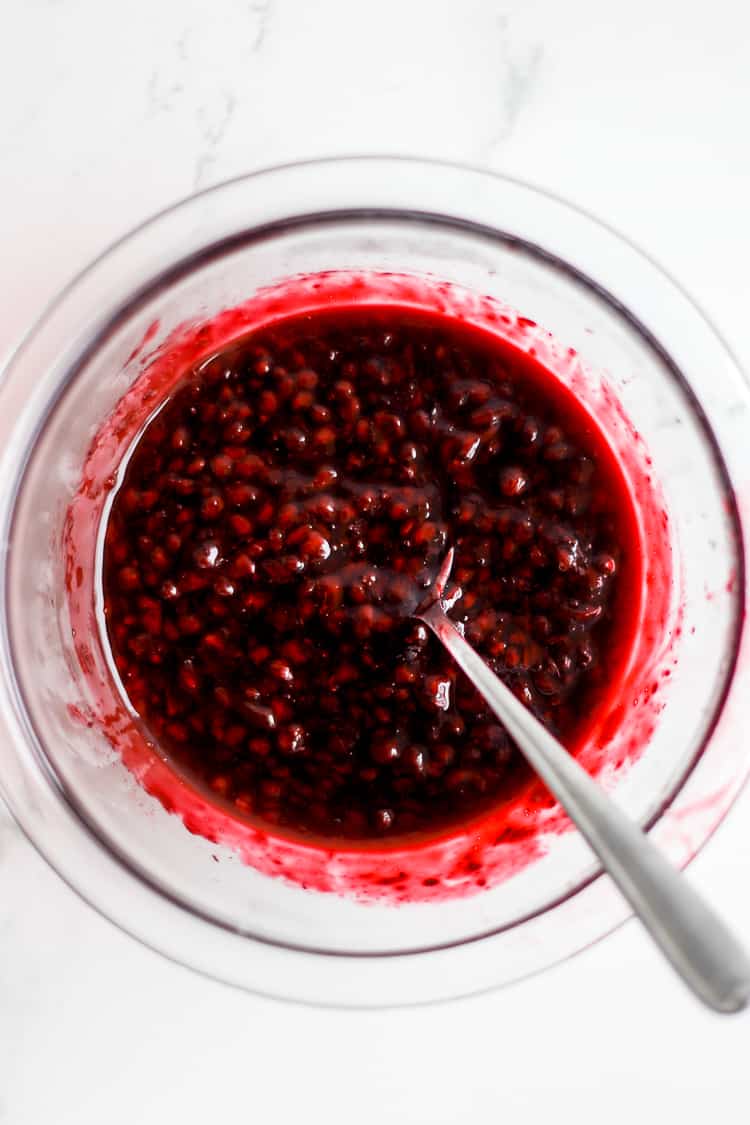
- Put the frozen berries in a small sieve to thaw and drain over a bowl. Once thawed, press out most of the liquid and discard, and add the thawed berries to a small saucepan with the maple syrup. Cook over a medium heat for 5 minutes until the sauce thickens slightly. Remove from heat and put in the fridge to cool until needed.
- Crush the biscuits using a food processor, blender or in a bag with a rolling pin. Stir in the caster sugar and melted butter and press into a 23cm/9 inch round springform cake tin. Use a measuring cup to make sure the base is pressed down really firmly so that it holds together when set. Place the tin in the fridge to start setting.
- In a heatproof bowl combine ¼ cup of the cream with the chocolate and microwave in 20 second increments, stirring each time until melted or place the bowl over a pot of water on a medium heat and stir until melted. Allow to cool slightly.
- Using a handheld or stand mixer with the whisk attachment, whip the remaining cream until stiff peaks form. Set aside.
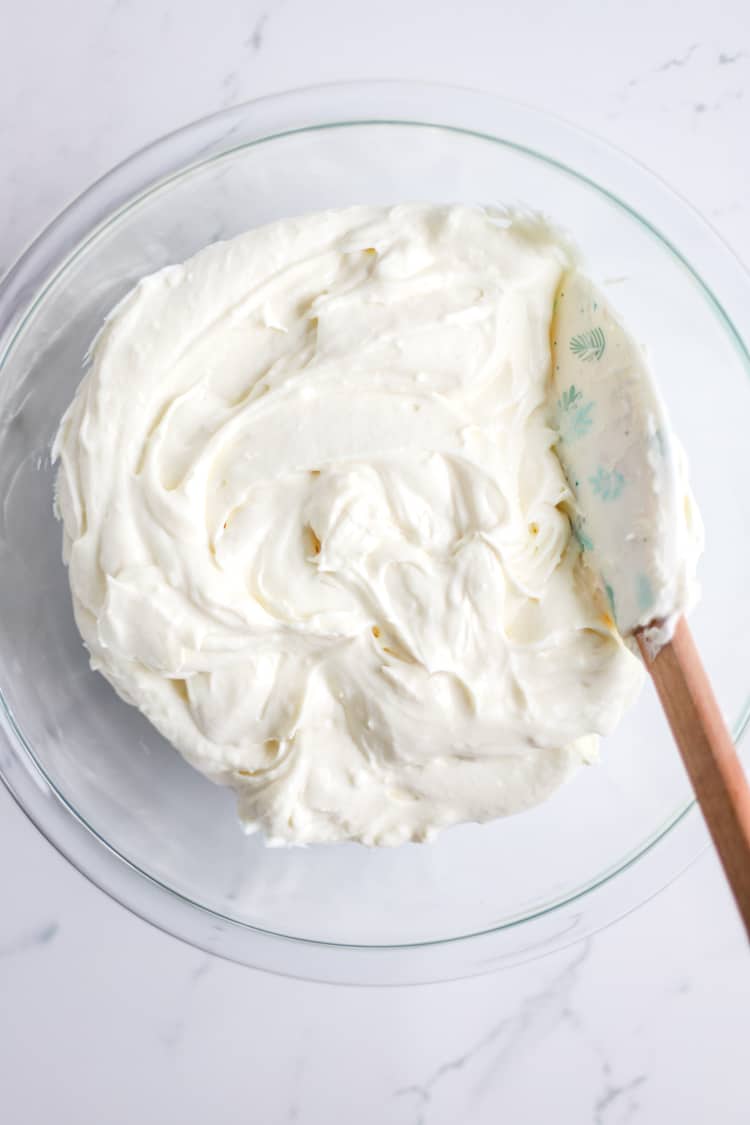
- Using a handheld or stand mixer with the paddle attachment whip the cream cheese and caster sugar for 3-4 minutes on medium-high speed until the mixture is fluffy and there are no lumps of cream cheese. Add the chocolate/cream mixture, icing sugar (if using) and lemon juice and mix on medium-high speed for a further 2-3 minutes, until the mixture lightens in colour and is fluffy. Gently fold through the whipped cream.
- Spoon half of the filling onto the biscuit base. Drop 3-4 tablespoons of berry sauce on top of the filling and use a fork to swirl through the filling. Repeat with the remaining filling and berry sauce.
- Refrigerate for at least 6 hours and up to 48 hours (overnight is preferable) before serving.

Kate says
Best cheesecake recipe ever! Always a party favourite. Thank you
Fleur says
Hi,
This looks delicious, I am going to try this for Christmas dinner.
One question, I notice it has no gelatine, does it set enough without it?
Thanks 🙂
Laura says
It sure does - it's not a strong set like it would be with gelatine but it's a lovely texture!
Wikitoria says
Can you freeze this after making and how long will it last please
Laura says
I have not frozen this before so I couldn't say how successfully it would thaw - but it would be worth a try! I would thaw it in the fridge so that it thaws gradually and stays nice and cold.
Leone says
I made this cheesecake yesterday for the first time. The texture of the filling is ridiculously smooth and tasty. I can see this being my 'go to' recipe in the future. Thanks!
J says
Incredible!! My go to cheese cake recipe! Easily adaptable to use different fruits aswell!
Andrea Wood says
Hi there ur cheesecake I'm about to make 😋 did u use double cream which is hard to find sometimes.thanku for the recipe
Laura says
Hi! I just use regular cream in the bottle!
ljay says
This was an awesome recipe! Especially for a beginner like me. Looked so professional by the end. I used canned boysenberry and reduced sugar but it was still a hit. Thank you so much!
Jess says
Definitely recommend making this! I've made it for several occasions and it's always a big hit. It's all my family talk about!
Hungrymuch says
Hi there, Assuming you use the red/double cream? 😊
Laura says
Sure do!
Lyn says
Hi Laura,
Can you use other berries ( strawberries, blueberries)?
Laura says
You sure can!
Di says
Can you replace frozen boyensberries with drained can of boyensberries?
Laura says
Yes definitely!
Mahalia says
This was delicious and such a hit with the family. It was quite sweet so will reduce the sugar in both the base and filling, when I make it again. Thanks so much!
Andrew says
How big was you cake tin?
Laura says
9 inch/23cm
Judy Kilgour says
When making the boysenberry sauce, do you use the drained liquid or the berries?
Laura says
Hi Judy, use the berries and discard the liquid. I have changed the wording in the recipe as it was confusing, sorry about that!! Laura
Kes says
Hi Laura, this cheesecake looks perfect, just what I was looking for.
Can you please tell me what size tin you are using here?
Cheers
Laura says
Hi Kes, I used a 9inch/23cm round springform tin
Belinda Boyd says
Hi there, what size tin did you use?
Laura says
Hi Belinda, I used a 9inch/23cm round springform tin