*Please note this post does contain some slightly graphic images of the process so if you are squeamish, maybe just scroll through the pictures really fast!
Well it's only taken me another 8 weeks to write this post so here goes. The business end of raising chicks for meat. I wasn't sure how I was going to feel about having to kill the chicks that we had raised from 1 day old but I was absolutely fine. I think knowing right from the start that the purpose of these birds was for meat made it much easier. And I was looking forward to my roast chicken!
We 'graduated' the chicks in 2 batches as it is quite a lengthy process by the time you cull, pluck, gut and clean - first time we only did 3, and then the other 8. They all weighed in at just over 3kg which we were very happy with.
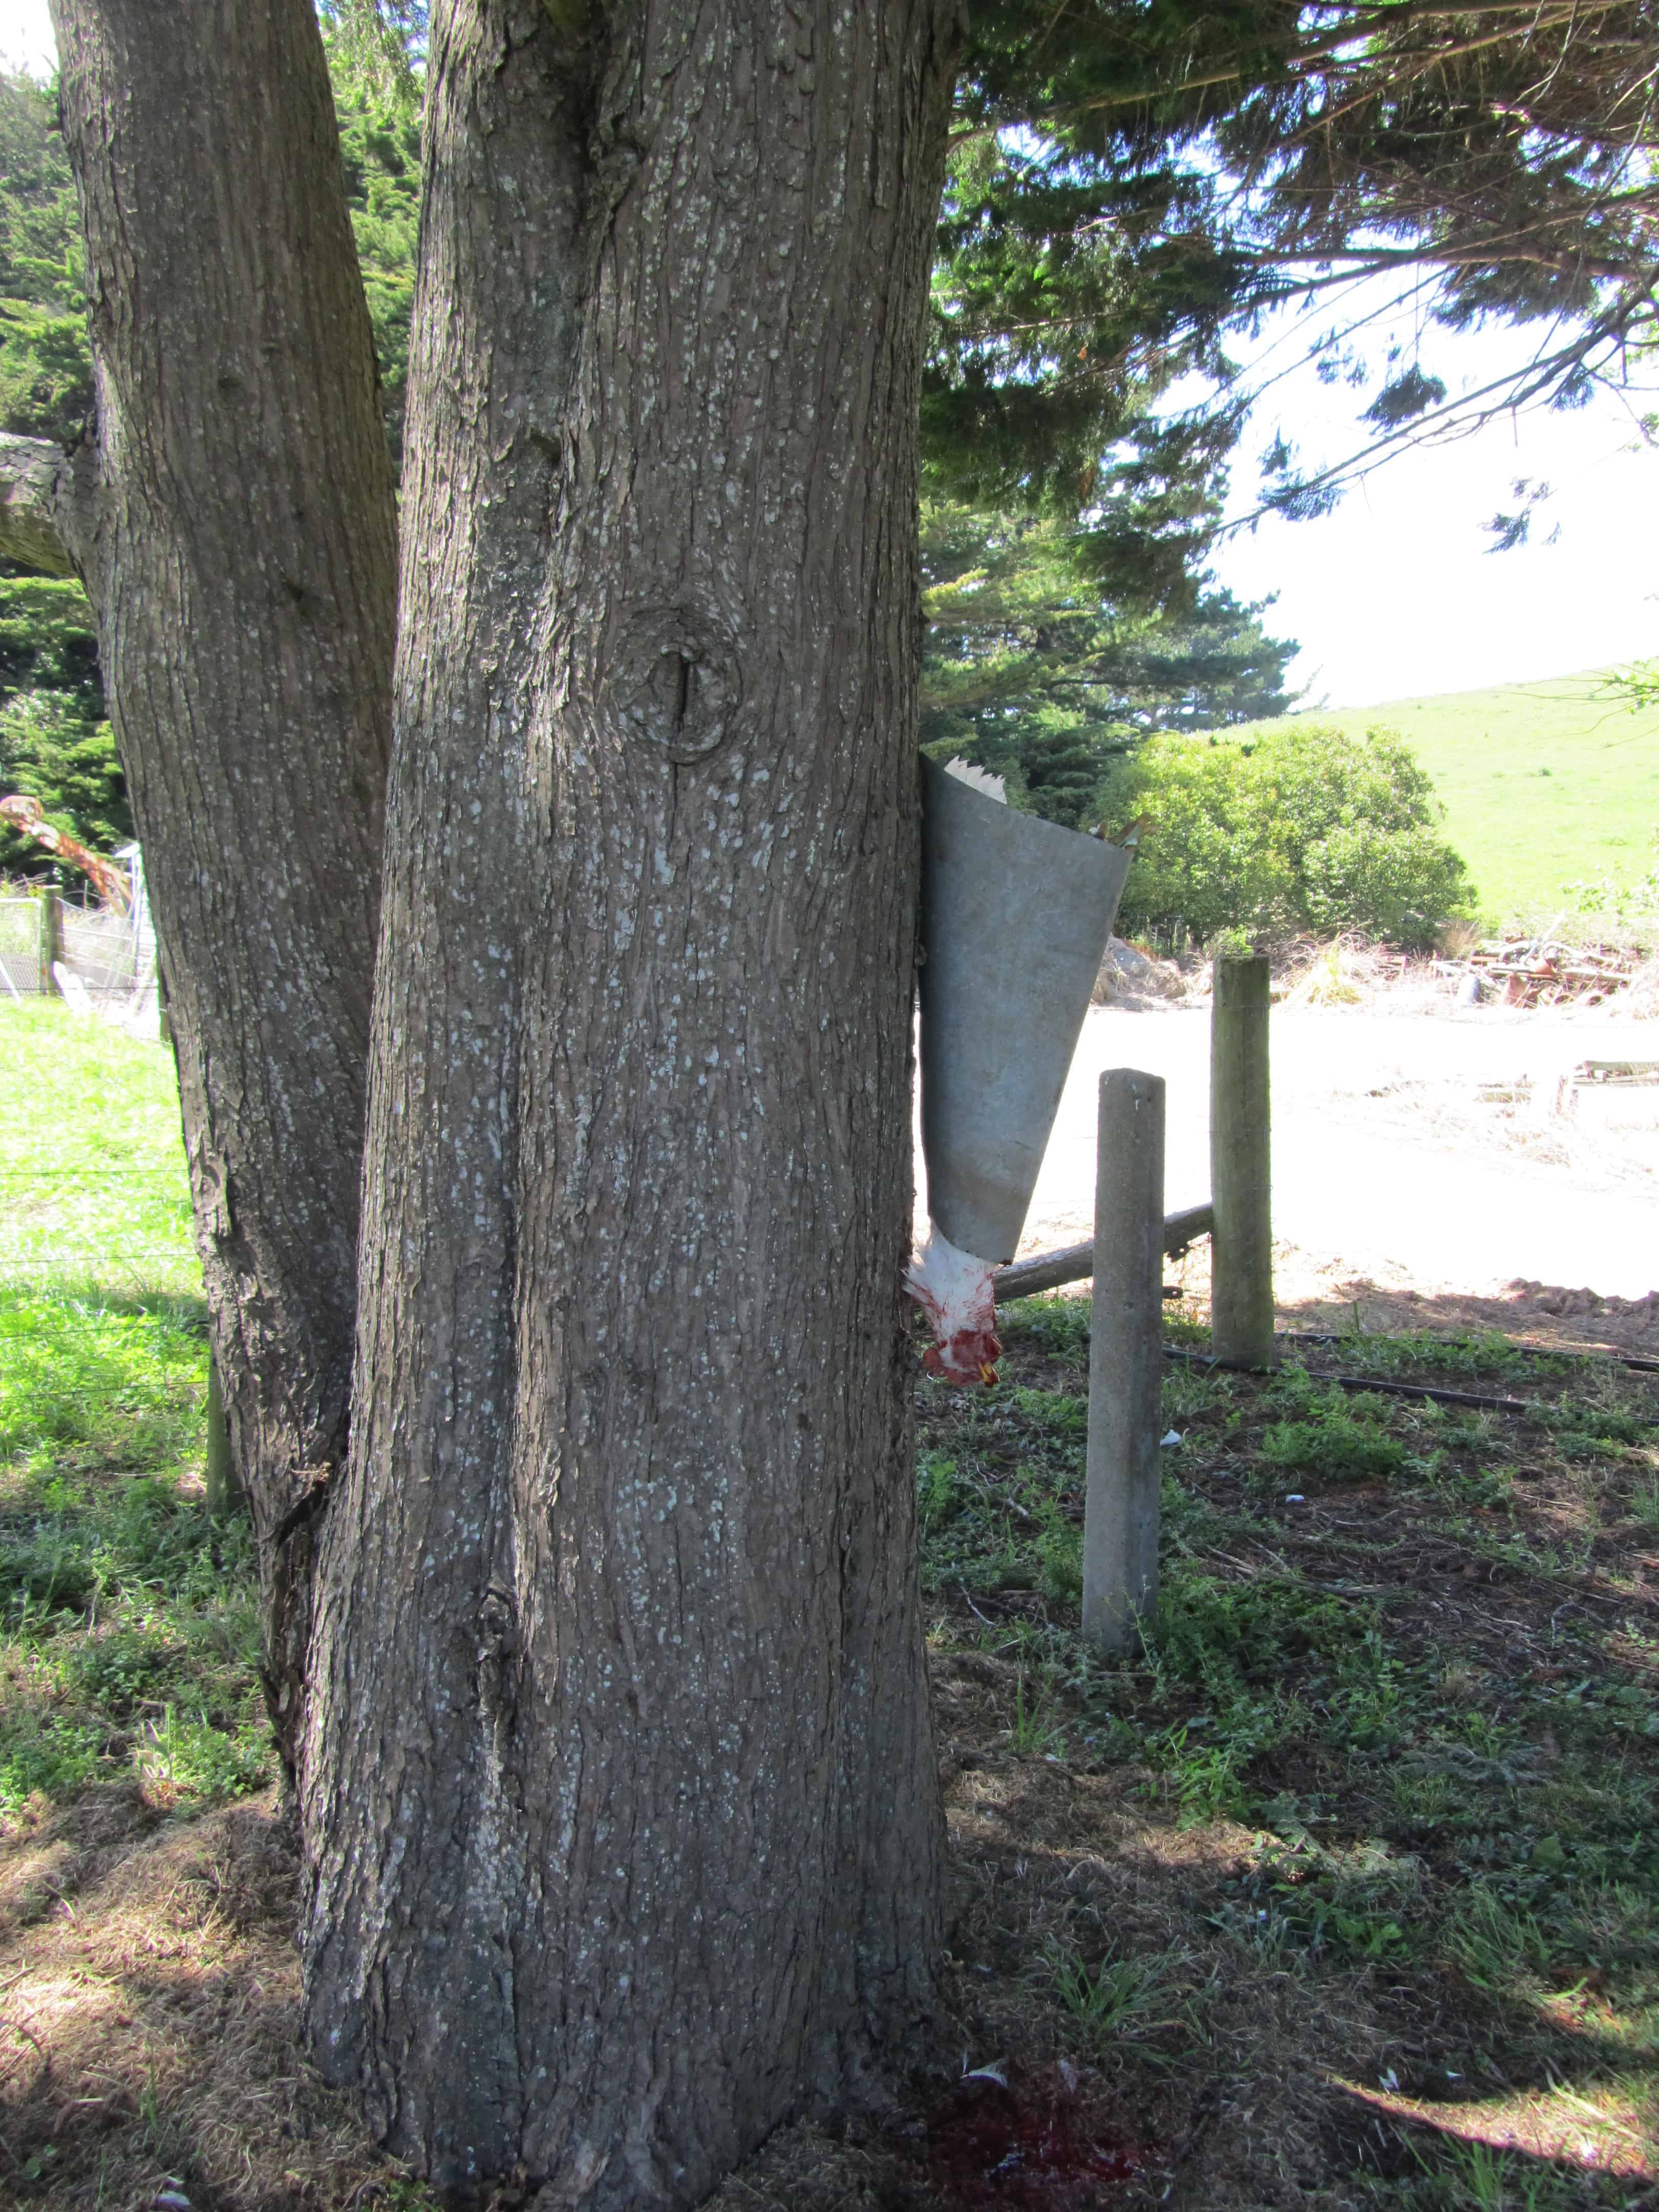
Firstly, we had made sure not to feed the chickens for about 12 hours before we were going to process them - this just makes it less messy from the gutting point of view. We picked the first chicken out of the paddock and took it to the cone that we have attached to a tree. Josh used a knife to cut the throat and we let the chook bleed out which only took a few minutes. This is an important step in the process as if not bled out, the birds have a tendency to bruise in the plucker.
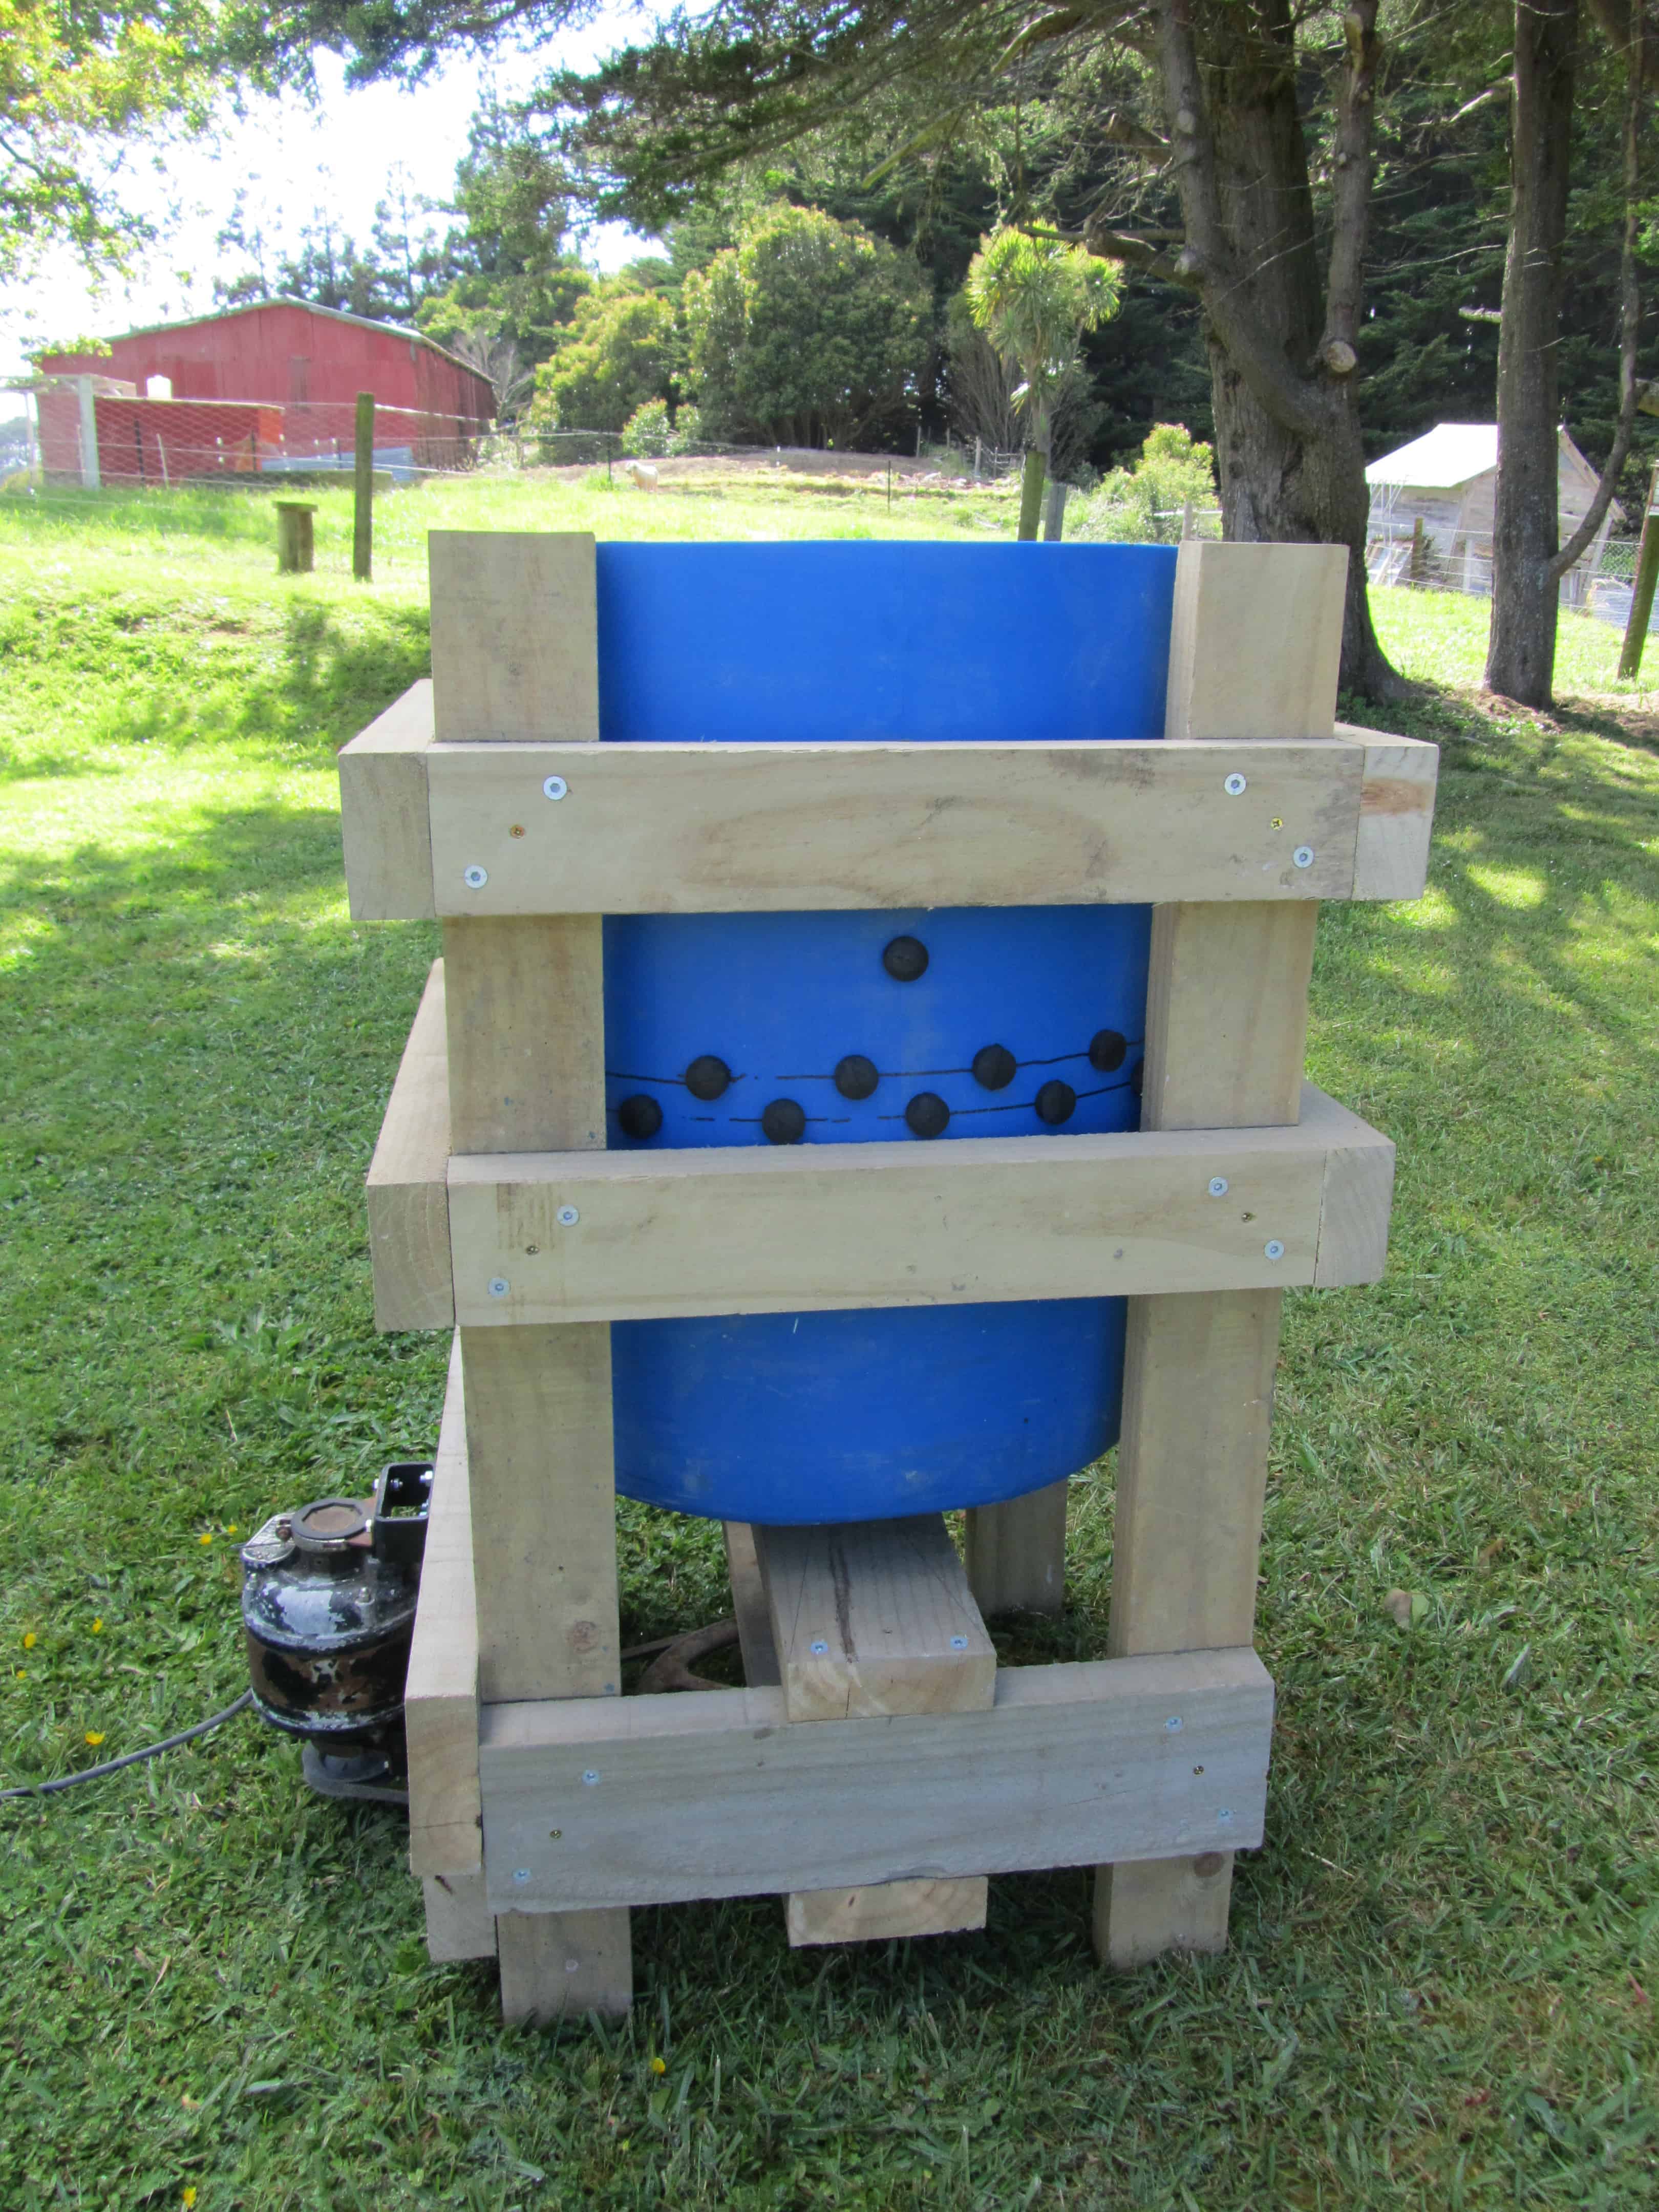
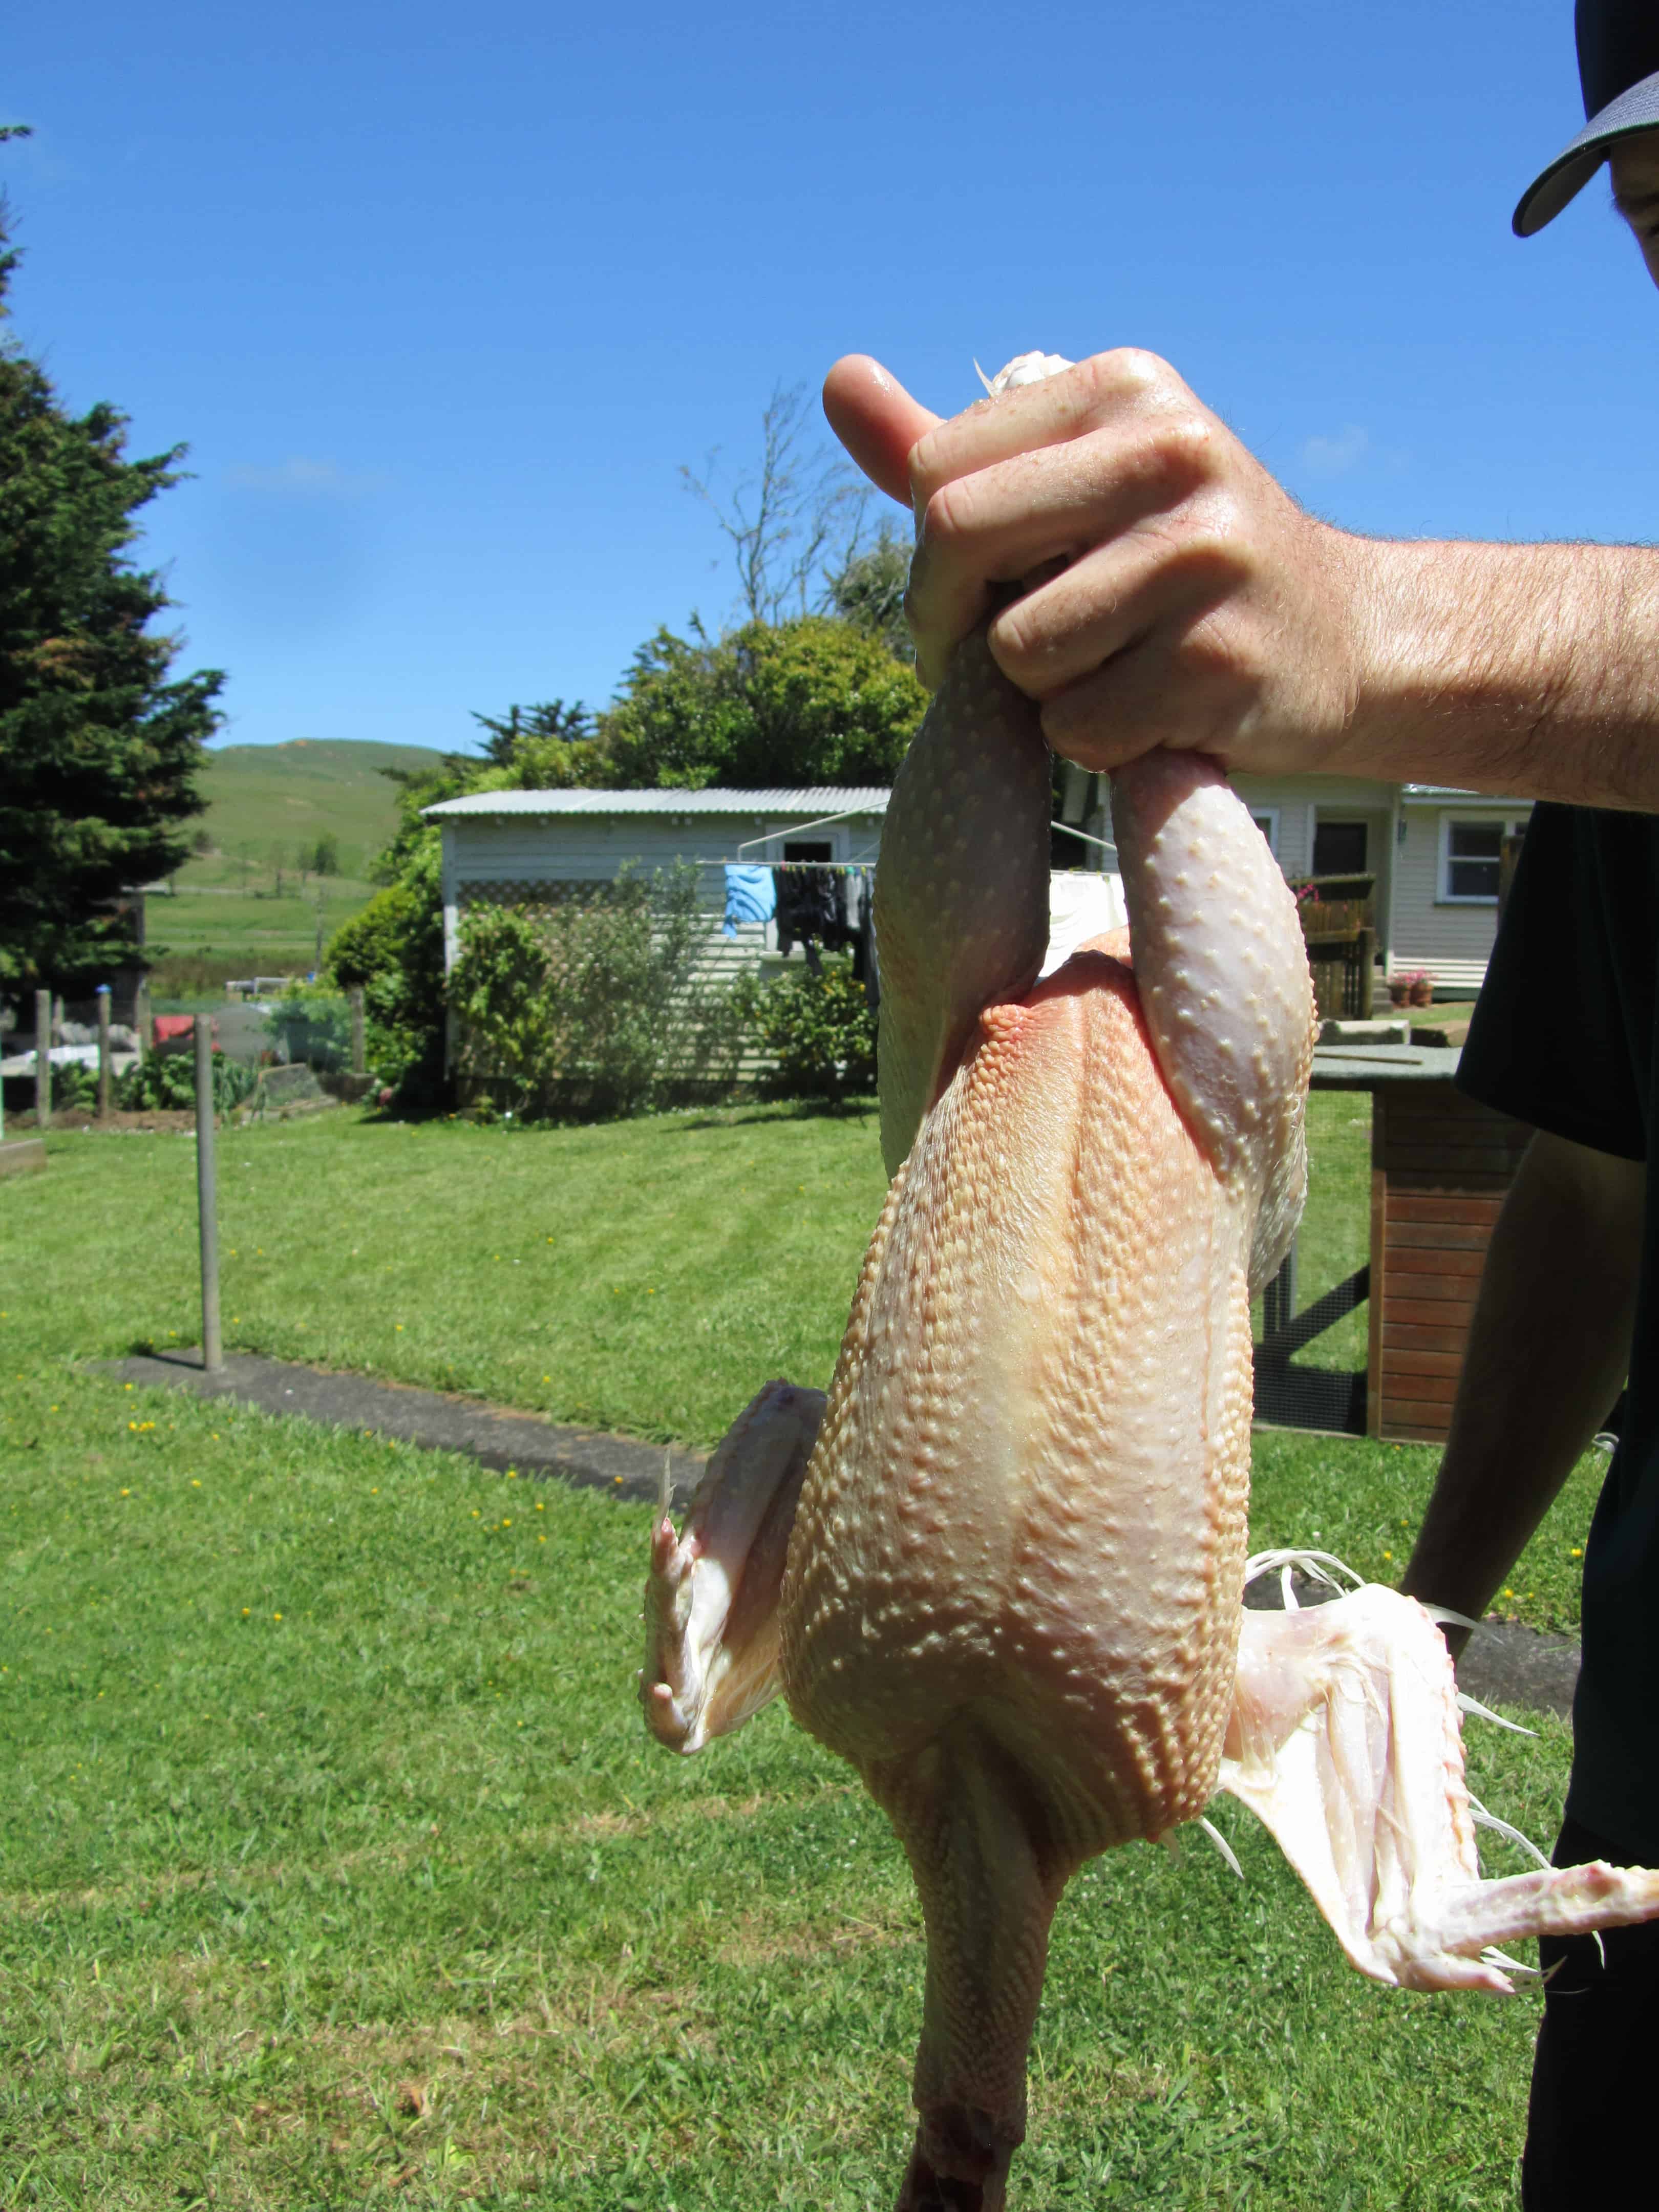
The next step was to scald the bird. We had a gas hob with a large stock pot filled with water that we got to a temperature of 65°C. Hot enough to loosen the feathers but not too hot as to start cooking the bird! Holding the bird by the feet we dunked it in the water for about 45 seconds. It was then moved to the plucker. The first time we processed birds we were plucking by hand. While not a hard job it was very tedious and time consuming so Josh being the builder he is, found a model online and built a motorised plucker from a 200L plastic drum, a metal plate, rubber fingers and an old motor. And it is brilliant! Never again will I pluck a chicken by hand. It took about 30 seconds and all that was left were a few big feathers that pulled out quite easily.

I then had the job of beginning the gutting while Josh started on more chooks. First was cutting off the neck and removing the crop - you need to be careful to not cut the crop as this is where they store their food and it can contaminate the meat, however as we had not fed the chickens their crops were empty. Next, I flipped the chicken around and carefully cut around the vent. You have to be even more careful at this point as you need to avoid the intestines and the stuff in them...you know...it could get gross. Once this was out of the way I cut a little way up so that I could fit my hand in and then you just have to get in there and fish out those insides...it's definitely not for the faint hearted! The insides pretty much all came out in one go except for the lungs which were pretty well up against the ribcage. I found that pushing my finger up underneath and prying them away from the ribcage worked well. Then the chooks were cleaned out, checked to make sure we hadn't missed anything and taken inside.
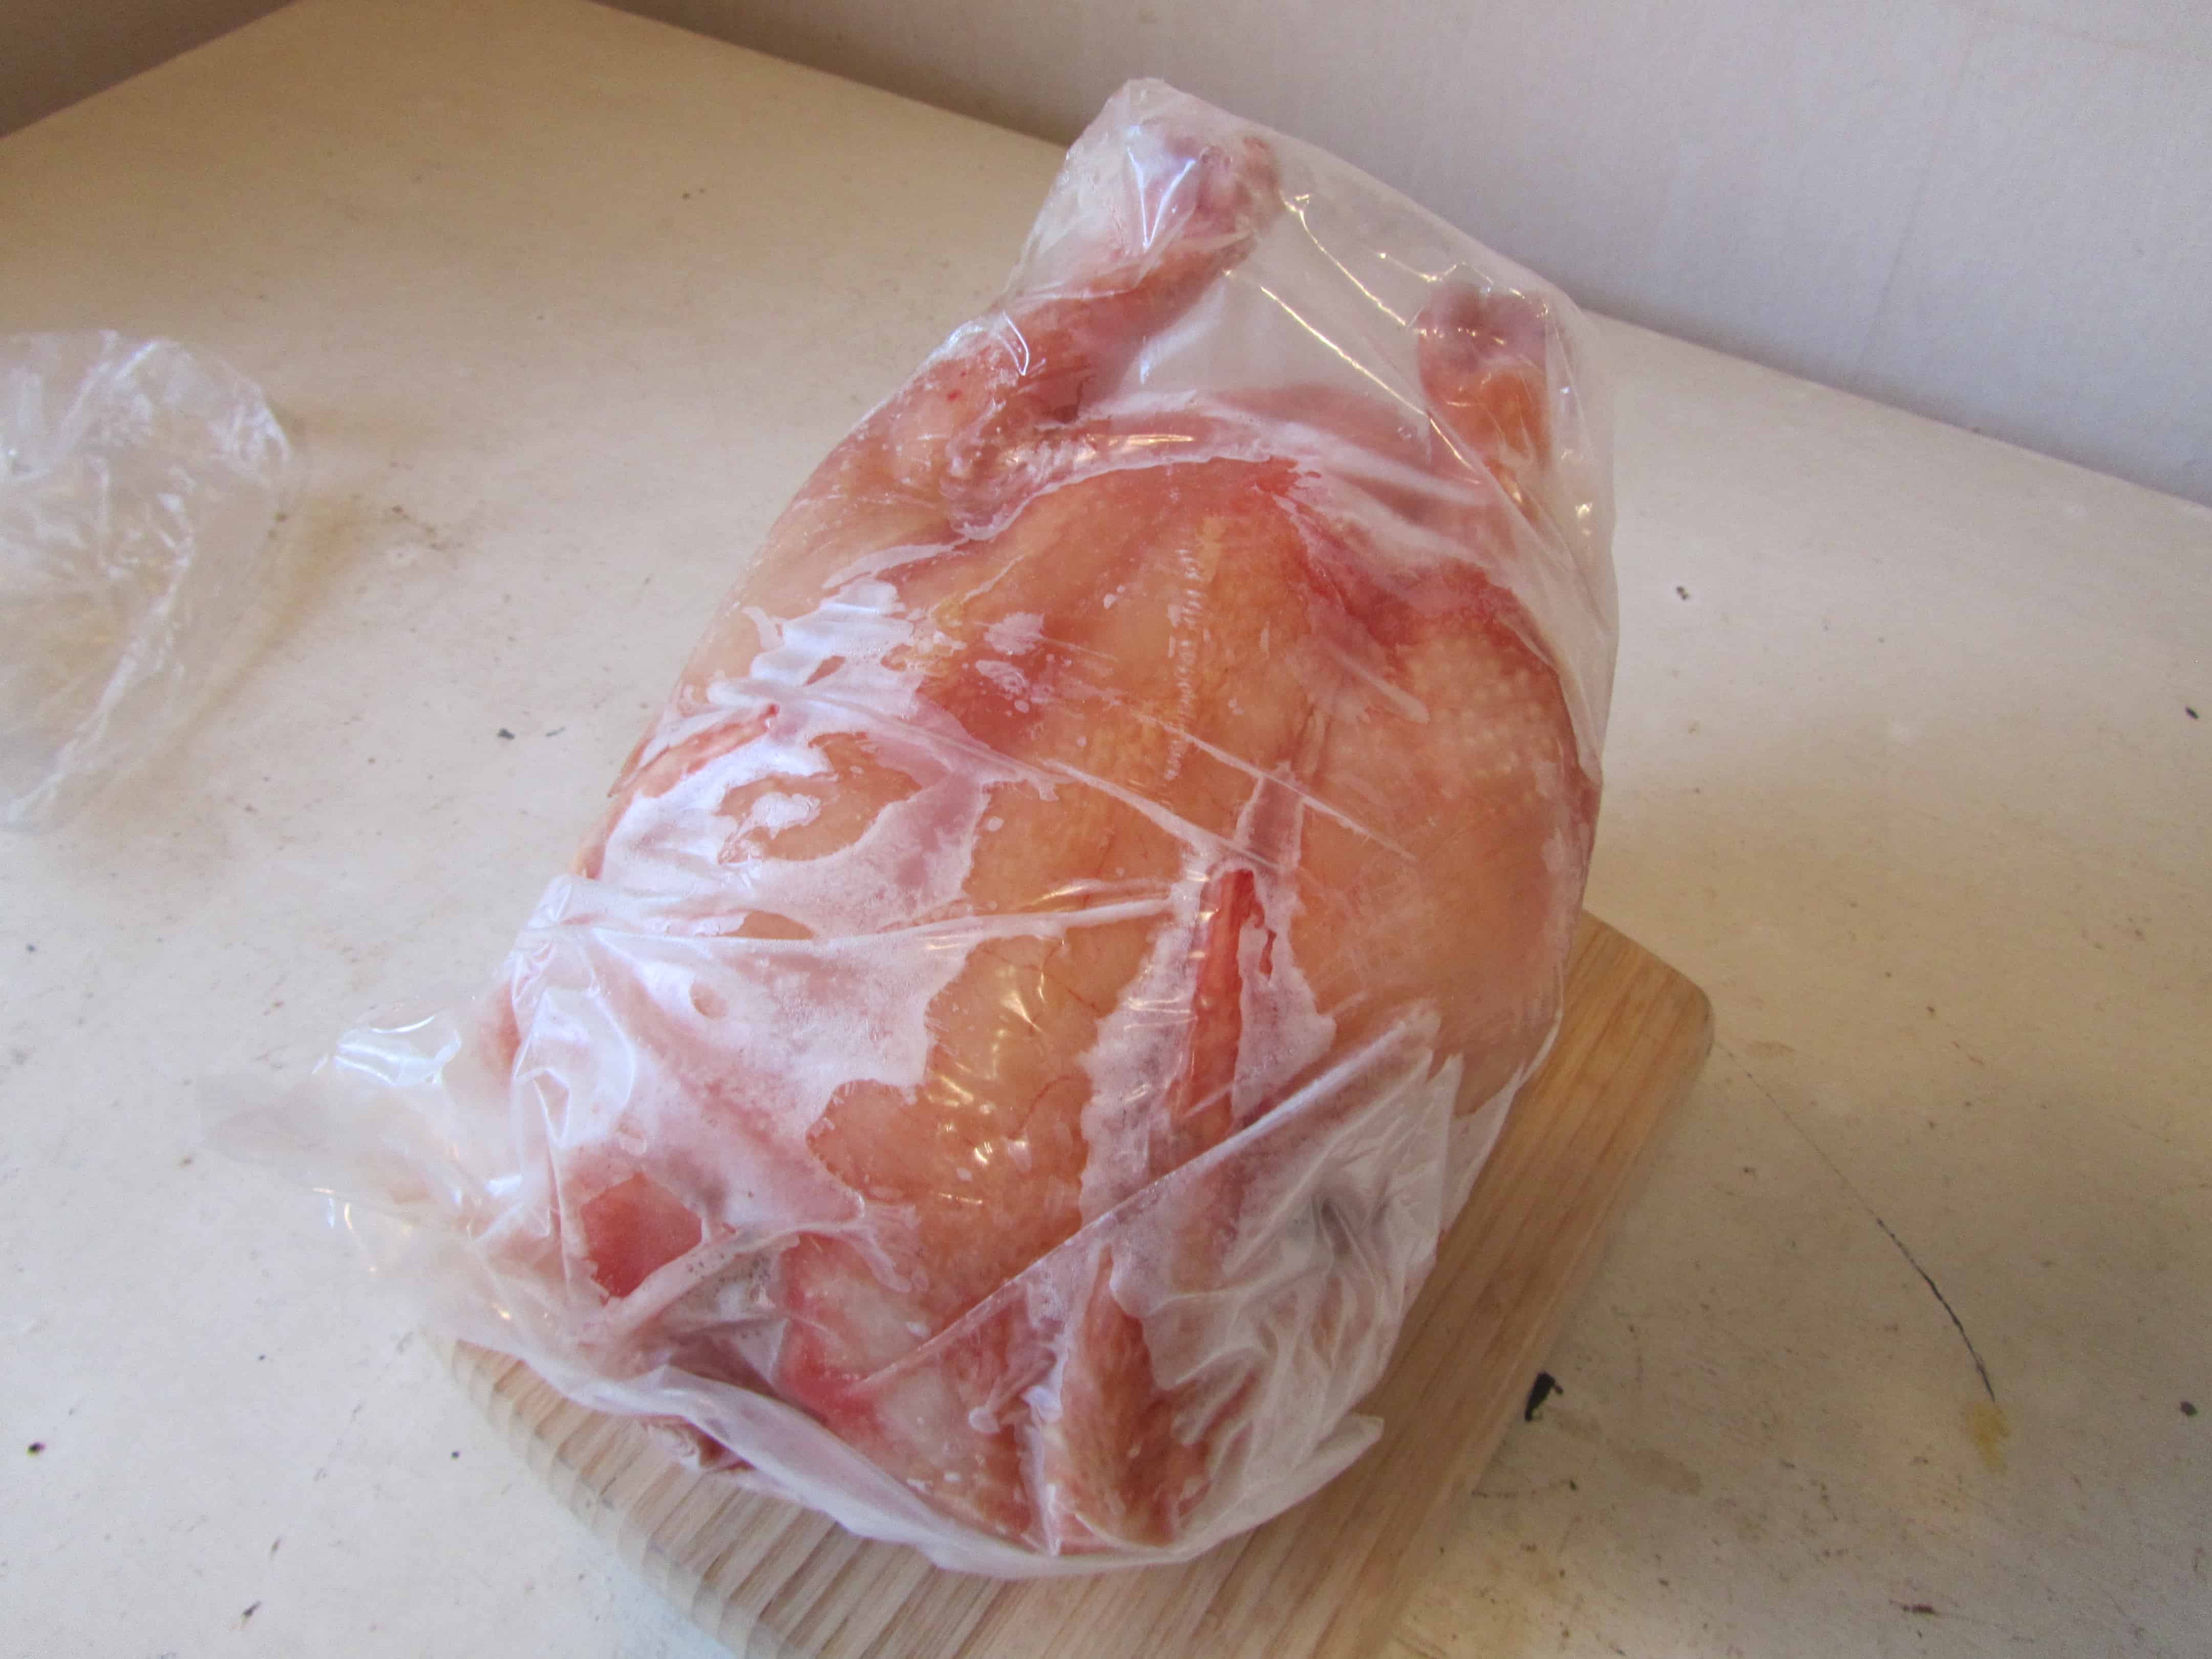
Some chooks we kept whole, but others we portioned into breasts, wings, and legs. However we decided to keep them, we washed them out again before putting them in snaplock bags and leaving them in the fridge for 24 hours. We had read that this gives the muscles time to relax as rigor mortis will have set in. After this period we put them all in the freezer.
And that's it! Once we had done a couple we got the hang of it and it didn't take too long. The whole chickens weigh about 2.5kg which I think is pretty good. We roasted the first one the other night and it was nothing like any chicken I've ever eaten before. Extremely tender and SO tasty! I was so excited to eat it that I forgot to take a photo...whoops! Will update with the next one!
Knowing that these chickens were not force fed or locked up in cages and were able to do as they please is something I can't argue with. It was well worth all the effort we had put into raising the chicks from day 1 and we will certainly carry on raising chickens for meat.


Noeleen says
Love this practical and not overly complicated guide! I would love a closer look at the pucker if you are willing to share. Have you found a use for the feathers?
Garry Tadema says
Could we have the photos of the plucker also please.
Regards Garry
Ben says
Hi Laura,
I'm really looking for a barrel plucker but don't want to be the mass produced ones you get advertised. Do you perhaps know of anyone who could build one for me. Cheers.
Laura says
Hi Ben! I'm not sure if there is anyone who does build them but if you are handy (or know someone who is) these are the plans we used to build ours and it's excellent - https://www.planetwhizbang.com/poultry-processing
Jared says
Good morning, is there any chance you could send me some photos of your plucker as would like to make one. We are just getting into raising meat birds and found your weekly posts really helpful.
Laura says
Hi Jared, I will email you pictures!
Marg says
Hi Laura, we too would like some photos of plucker please. Cheers, Marg
Laura says
This is where we got the plans to make the plucker and there are some photos of it on their website - I will update this post with photos of ours next time we have it set up! https://www.planetwhizbang.com/poultry-processing
Emily says
Hi Laura,
Thanks so much for your step by step guide, exactly what I need for a first timer looking at what set up I need. I was just wondering what breed you are using these days? I saw a comment somewhere that you were thinking of using the Rhode Island Red for meat and eggs; do you still kill the meat ones at roughly 10 weeks? Or do you kill as and when you need them?
Thanks so much,
Emily
Laura says
Hi Emily! We now exclusively breed Rhode Island Reds. They are by far the best dual purpose birds - great layers and for meat! We kill them later - more like 16-20 weeks as that gives them time to grow slowly which we love!
the blonde gardener says
These look like cornish cross? We are gearing up for another chicken season here. I'm not sure I could eat a grocery store chicken after doing this.
Laura says
They are Cobb chickens - they are a weird breed that are bred specifically for eating - all the big chicken farms here in NZ use them. I think we are going to opt for a more natural breed next time though - they are a little bit scary how much they are motivated by food and how fast they grow! And I agree - I would struggle to go back to supermarket chicken now too!